crwdns2935425:06crwdne2935425:0
crwdns2931653:06crwdne2931653:0


-
We came armed with our entire Pro Tech Toolkit, but only need a single Torx bit to twirl away the heat sink screws.
-
Here's one thing we're glad Microsoft didn't change: All the screws so far are just Torx. That was the previous Surface Pro's sole positive repairability point, and it's good to see it return.
-
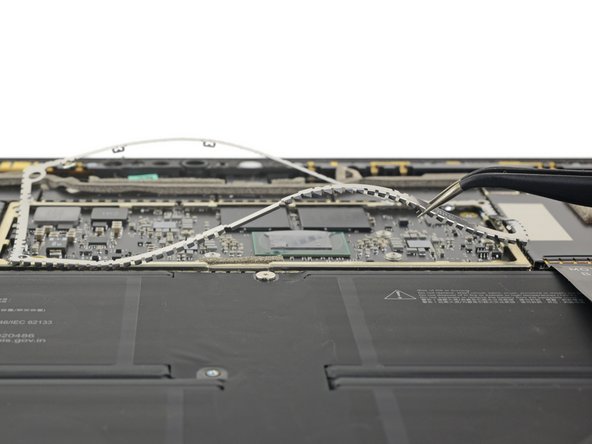
Supporting the heat sink is an interesting bit of
abstract artintermediate frame-age. We briefly pause to contemplate its meaning before pulling it away from the board. -
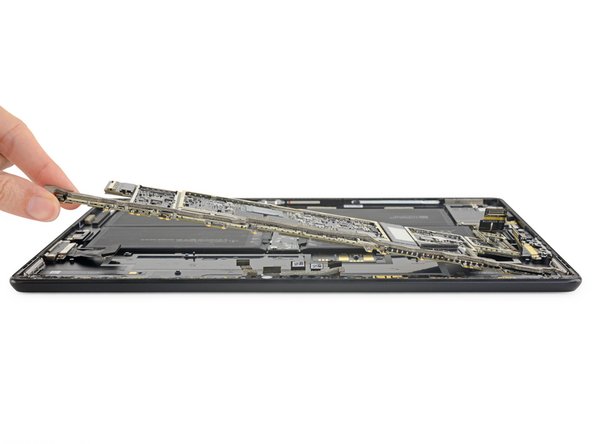
With the heat sink and quite a few shields and screws out of the way, the motherboard slides out. Time for some silicon sleuthing!
crwdns2944171:0crwdnd2944171:0crwdnd2944171:0crwdnd2944171:0crwdne2944171:0