crwdns2933423:0crwdne2933423:0

Samsung Galaxy Note10+ 5G の分解

crwdns2936315:0crwdne2936315:0
crwdns2936323:0crwdne2936323:0
crwdns2931653:04crwdne2931653:0
Samsung Galaxy Note10+ 5G Teardown: crwdns2935265:00crwdnd2935265:01crwdnd2935265:03crwdne2935265:0 Samsung Galaxy Note10+ 5G Teardown: crwdns2935265:00crwdnd2935265:02crwdnd2935265:03crwdne2935265:0 Samsung Galaxy Note10+ 5G Teardown: crwdns2935265:00crwdnd2935265:03crwdnd2935265:03crwdne2935265:0
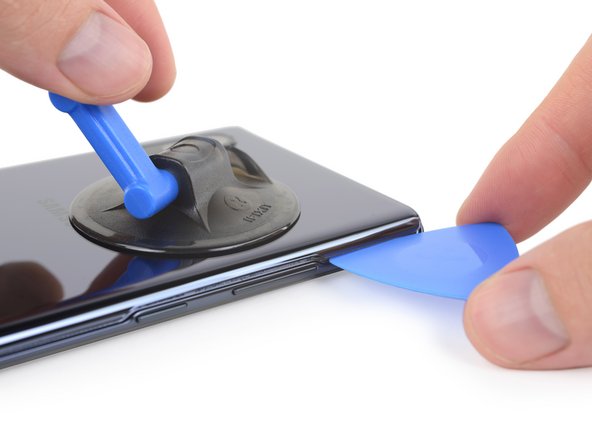
  • Annnnd we're off! The delightful duo Heat and Pick get under the back cover without breaking a sweat (although the same may not be said for their wielders). It's almost like they do this every day.

  • This is standard procedure for most modern, glue-laden smartphones, but we sure wish that wasn't the case.

  • As we slice away at the adhesive, we notice that, this year, the cover is contoured around the volume and Bixby power buttons—not quite the change to the opening procedure we hoped for.

いよいよ作業開始です!熱と開口ピックのデュオを、バックカバーの下に難なく滑り込ませることができました。(作業をしているエンジニアたちは、汗だくだったでしょう。) 彼らは毎日こんなことをやっているから出来るのです。

接着剤で固められた現代スマートフォンは、通常このような作業から始まります。でも、私たちはこれが当たり前のようになって欲しくはありません。

接着剤を切開していくと、新モデルのカバーが音量と電源ボタン周辺に沿って形取られています。これにより、私たちが全く望んでいなかった作業に変更を余儀なくされました。

crwdns2944171:0crwdnd2944171:0crwdnd2944171:0crwdnd2944171:0crwdne2944171:0