crwdns2935425:02crwdne2935425:0
crwdns2931653:02crwdne2931653:0


-
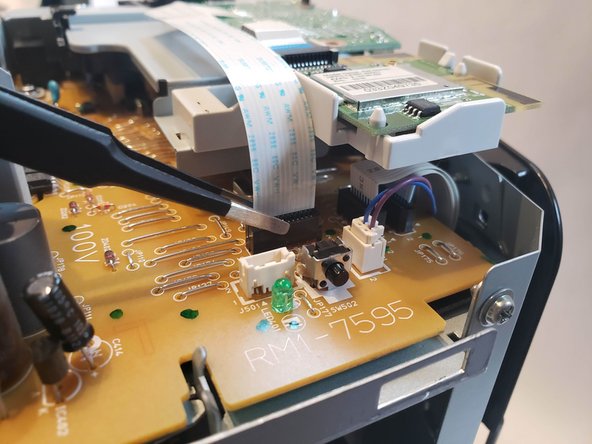
Using a pair of blunt nose tweezers, disconnect both ribbon wires.
-
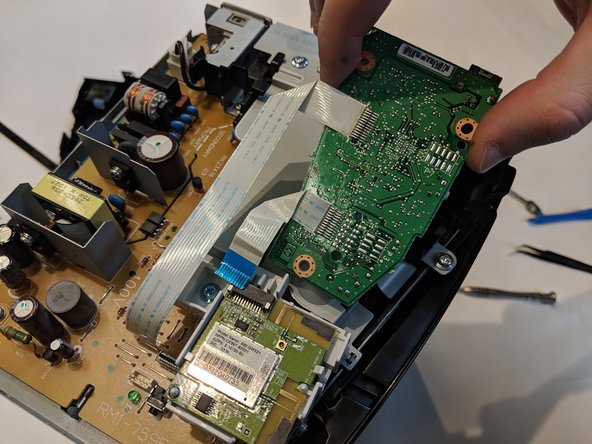
With both ribbon wires removed we can lift the motherboard out of its housing.
| - | [* red] Using a pair of blunt nose tweezers, disconnect both ribbon wires. |
|---|---|
| + | [* red] Using a pair of blunt nose [product|IF145-020|tweezers], disconnect both ribbon wires. |
| [* black] With both ribbon wires removed we can lift the motherboard out of its housing. | |
| [* icon_note] There is a little black notch holding the motherboard down by the thumb in the final picture. | |
| [* icon_caution] Be careful pulling, as ribbon wires are very fragile. |
crwdns2944171:0crwdnd2944171:0crwdnd2944171:0crwdnd2944171:0crwdne2944171:0