crwdns2933423:0crwdne2933423:0

Hover-1 Chrome Left Gyroscope Sensor Board Replacement

crwdns2935425:04crwdne2935425:0

crwdns2936315:0crwdne2936315:0
crwdns2936325:0crwdne2936325:0
crwdns2931653:04crwdne2931653:0
Hover-1 Chrome Left Gyroscope Sensor Board Replacement: crwdns2935265:00crwdnd2935265:01crwdnd2935265:02crwdne2935265:0 Hover-1 Chrome Left Gyroscope Sensor Board Replacement: crwdns2935265:00crwdnd2935265:02crwdnd2935265:02crwdne2935265:0
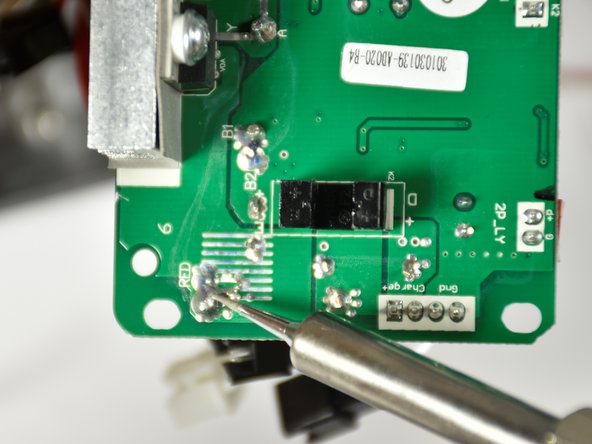
  • Locate the five solder locations on the underside of the gyroscope sensor board.

  • Plug in soldering iron and wait for the tip tip to reach its target temperature.

  • Rest the tip of the iron on the solder and wait for the solder to melt. The wire will drop out of the sensor board.

  • Be aware of where the tip of the soldering iron is at ALL times. Put on safety glasses before picking up the soldering iron. Turn on a fan and face it towards the device to vent harmful fumes away from the solderers face.

crwdns2935429:0crwdne2935429:0

crwdns2935429:0crwdne2935429:0

crwdns2935429:0crwdne2935429:0

crwdns2935429:0crwdne2935429:0

crwdns2944171:0crwdnd2944171:0crwdnd2944171:0crwdnd2944171:0crwdne2944171:0