crwdns2935425:011crwdne2935425:0


-
Be conscious of the orientation of the new capacitor. Electrolytic capacitors like this one are polarized and will only work in one direction.
-
Notice that I am using a capacitor with the same capacitance, but a higher voltage rating. This only increases the voltage the capacitor can handle before failing, it does not raise the voltage of the circuit. It is important not to use a lower value, however. Be sure to use the correct capacitance (1000uF).
-
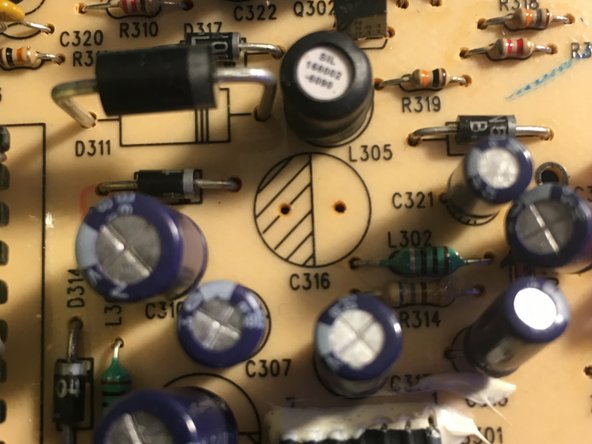
The grey line indicates which side is negative. The negative side also typically has a shorter lead. On the board, the "shaded" half of the circle with the hashmarks is the negative side.
-
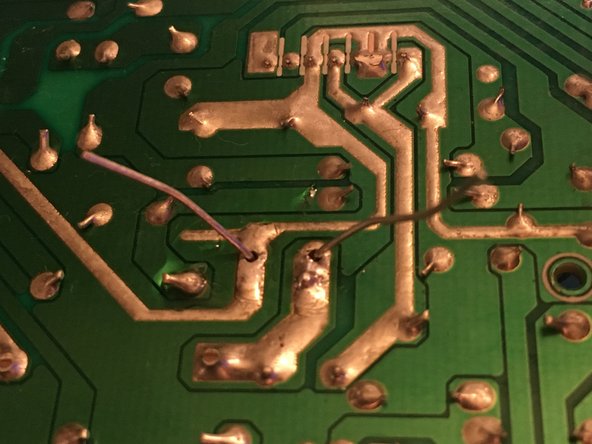
Insert the new capacitor and bend the legs outward to help hold it in place when you turn the board over.
-
Solder the leads and clip the excess length.
crwdns2944171:0crwdnd2944171:0crwdnd2944171:0crwdnd2944171:0crwdne2944171:0