crwdns2933423:0crwdne2933423:0

iPad 3 4G フロントパネルの取り外し

crwdns2931529:0crwdnd2931529:0crwdnd2931529:0crwdnd2931529:0153crwdnd2931529:0crwdne2931529:0

crwdns2936315:0crwdne2936315:0
crwdns2936323:0crwdne2936323:0
crwdns2931653:022crwdne2931653:0
Removing iPad 3 4G Front Panel: crwdns2935265:00crwdnd2935265:01crwdnd2935265:02crwdne2935265:0 Removing iPad 3 4G Front Panel: crwdns2935265:00crwdnd2935265:02crwdnd2935265:02crwdne2935265:0
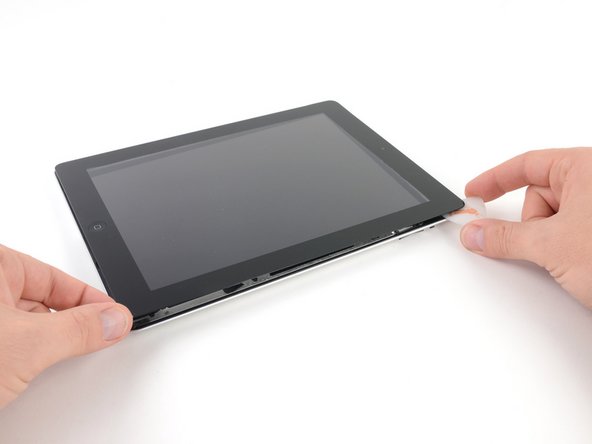
  • Using one of the opening picks, pry up the bottom right corner of the iPad and grab it with your fingers.

  • Some of the adhesive along the perimeter of the iPad may have stuck back down again. If this is the case, slide a pick underneath the edge of the iPad where the front glass is still stuck and "cut" the adhesive.

開口ピックを1つ使って、iPadの右下角を持ち上げ、指で掴みます。

iPadの周囲沿いの接着剤によって再び接着される場合があります。この場合、フロントガラスが接着剤で固定されているiPad端の下にピックをスライドして、接着剤を"切開"します。

crwdns2944171:0crwdnd2944171:0crwdnd2944171:0crwdnd2944171:0crwdne2944171:0