crwdns2933423:0crwdne2933423:0

iPad 3 4G フロントパネルの取り外し

crwdns2931529:0crwdnd2931529:0crwdnd2931529:0crwdnd2931529:0153crwdnd2931529:0crwdne2931529:0

crwdns2936315:0crwdne2936315:0
crwdns2936323:0crwdne2936323:0
crwdns2931653:021crwdne2931653:0
Removing iPad 3 4G Front Panel: crwdns2935265:00crwdnd2935265:01crwdnd2935265:02crwdne2935265:0 Removing iPad 3 4G Front Panel: crwdns2935265:00crwdnd2935265:02crwdnd2935265:02crwdne2935265:0
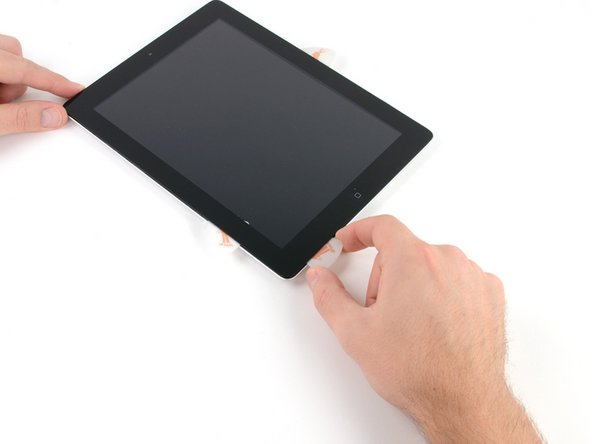
  • Using the opening pick that is still underneath the bottom edge of the iPad, release the adhesive along the bottom left corner.

  • The bottom of the digitizer cable is only ~1" (25 mm) from the bottom of the iPad. Work carefully and slowly, making sure to not sever this cable.

iPadの底部端の下にある開口ピックを使って、左下角に沿って接着剤を解放します。

デジタイザーケーブルの底部は、iPadの底部から最長25mmしかありません。このケーブルを切断しないよう確認しながら、作業は注意深く、かつ慎重に進めてください。

crwdns2944171:0crwdnd2944171:0crwdnd2944171:0crwdnd2944171:0crwdne2944171:0