crwdns2933423:0crwdne2933423:0

Remplacement du boitier en plastique du Netgear Arlo

crwdns2931529:0crwdnd2931529:0crwdnd2931529:0crwdnd2931529:03crwdnd2931529:0crwdne2931529:0

crwdns2936315:0crwdne2936315:0
crwdns2936317:0crwdne2936317:0
crwdns2931653:04crwdne2931653:0
Netgear Arlo Plastic Housing Replacement: crwdns2935265:00crwdnd2935265:01crwdnd2935265:03crwdne2935265:0 Netgear Arlo Plastic Housing Replacement: crwdns2935265:00crwdnd2935265:02crwdnd2935265:03crwdne2935265:0 Netgear Arlo Plastic Housing Replacement: crwdns2935265:00crwdnd2935265:03crwdnd2935265:03crwdne2935265:0
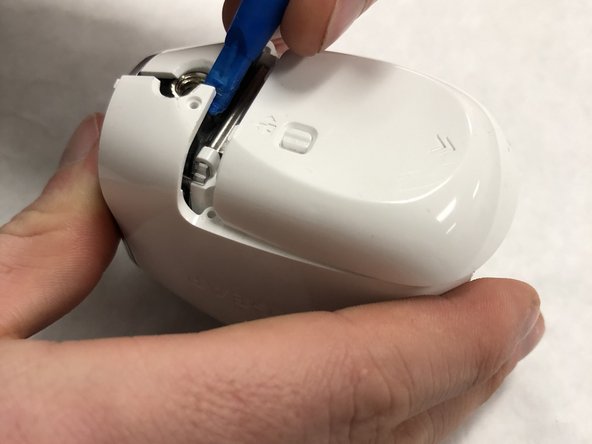
  • Use a plastic opening tool to start separating the plastic housing from the front side of the battery cover.

  • Next, start separating the plastic cover from the rear of the plastic housing, and work your way down the seam line.

  • Make sure the plastics snaps on the front of the plastic get unhooked from the grey plastic ring around the front of the camera.

Utilisez un outil d'ouverture en plastique pour commencer à séparer le boîtier en plastique de la face avant du couvercle de la batterie.

Ensuite, commencez à séparer le couvercle en plastique de l'arrière du boîtier en plastique et descendez la ligne de couture.

Assurez-vous que les clips en plastique à l'avant du plastique se décrochent de l'anneau en plastique gris à l'avant de la caméra.

crwdns2944171:0crwdnd2944171:0crwdnd2944171:0crwdnd2944171:0crwdne2944171:0