crwdns2915892:0crwdne2915892:0
The iRULU AX106 is a android tablet and due to the tablet being released in 2012 there is many things that will need to be replaced over the years. This guide requires the use of a soldering iron and also the use of a screwdriver. In this replacement guide the user will learn how to disassemble the iRULU down to the logic board, and replace the battery.
crwdns2942213:0crwdne2942213:0
-
-
Using a Philips head #00 screwdriver locate and remove each of the four screws located along the tall side of the iRulu.
-
-
-
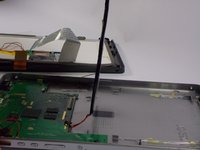
Use the opening tool to pry the screen from the case applying pressure at each of the four corners of the screen.
-
-
-
crwdns2935267:0crwdne2935267:0Tweezers$4.99
-
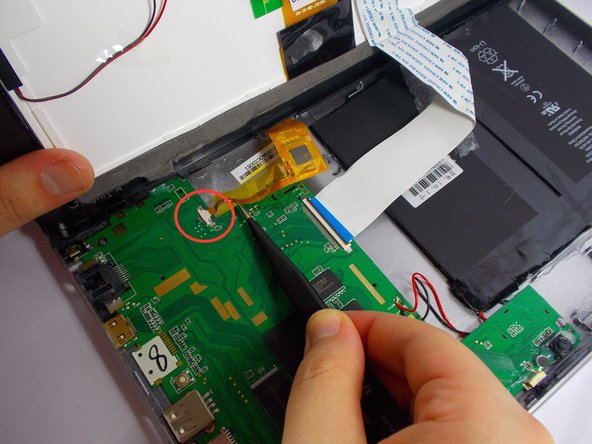
Using a pair of tweezers, gently disconnect the cable connectors from the circuit board.
-
Completely separate the screen and case.
-
-
-
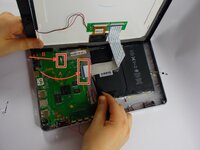
The battery is located right above the logic board, and can be identified as a large flat black rectangle.
-
Use the plastic opening to scrape away the glue that is holding down the battery.
-
-
crwdns2935267:0crwdne2935267:0Desoldering Pump$3.99
-
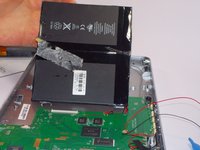
You should see that the battery is connected by 2 wires, one black and one red that lead to the logic board.
-
Heat up a soldering iron and melt the solder that is connecting the battery to the logic board.
-
Completely remove the battery from the device.
-
Insert the new battery and re-solder the corresponding wires to their respective locations.
-


To reassemble your device, follow these instructions in reverse order. Take your e-waste to an R2 or e-Stewards certified recycler.
crwdns2935221:0crwdne2935221:0
crwdns2935229:02crwdne2935229:0
crwdns2935287:0crwdne2935287:0

UMass Dartmouth, Team 4-7, Vijaybhaskar Spring 2015 crwdns2935289:0UMass Dartmouth, Team 4-7, Vijaybhaskar Spring 2015crwdne2935289:0
UMASSD-VIJAYBHASKAR-S15S4G7
crwdns2931471:03crwdne2931471:0
crwdns2935297:08crwdne2935297:0
crwdns2947412:03crwdne2947412:0
Where do you get a new battery
The batteries should be in a holder, not have to unsolder and solder. Most people do not have a soldering iron.
Is that a iPad battery?