crwdns2942213:0crwdne2942213:0
-
-
Power off your iPhone before beginning disassembly.
-
Remove the two 3.4 mm pentalobe screws on the bottom edge of the iPhone.
-
-
-
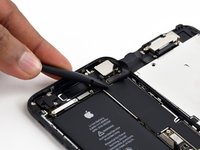
Use a spudger or a fingernail to disconnect the two lower display connectors by prying them straight up from their sockets on the logic board.
-
-
-
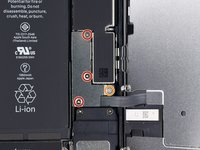
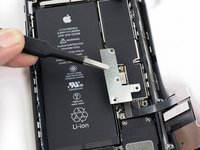
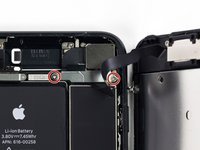
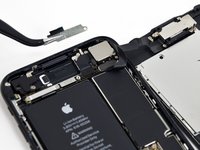
Remove the two 1.3 mm Phillips #000 screws securing the bracket over the front panel sensor assembly connector.
-
-
-
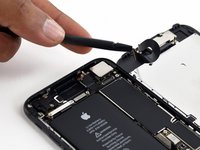
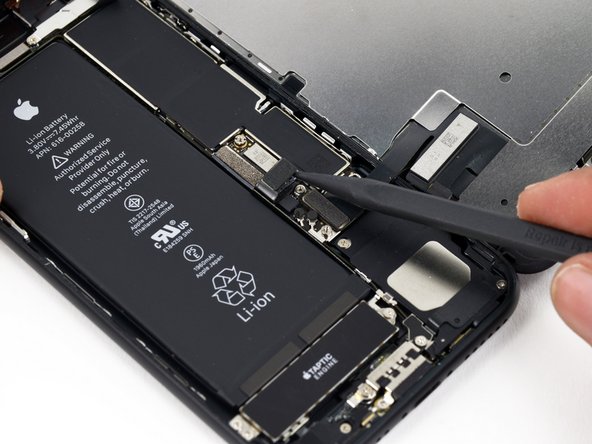
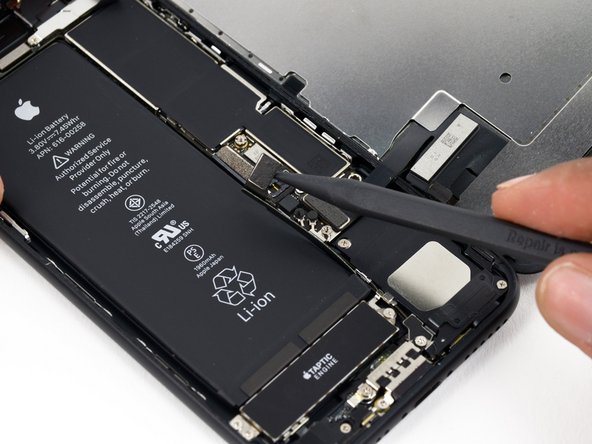
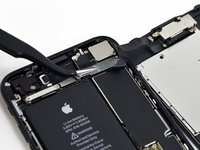
Disconnect the front panel sensor assembly connector from its socket on the logic board.
-
-
-
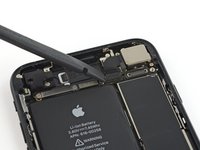
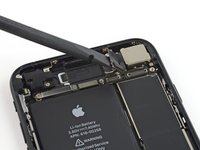
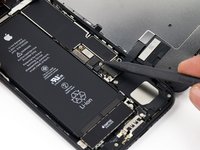
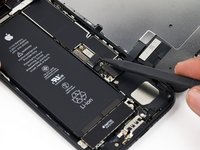
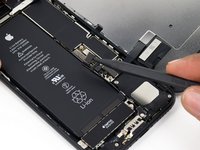
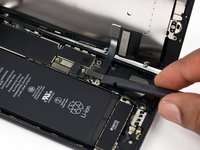
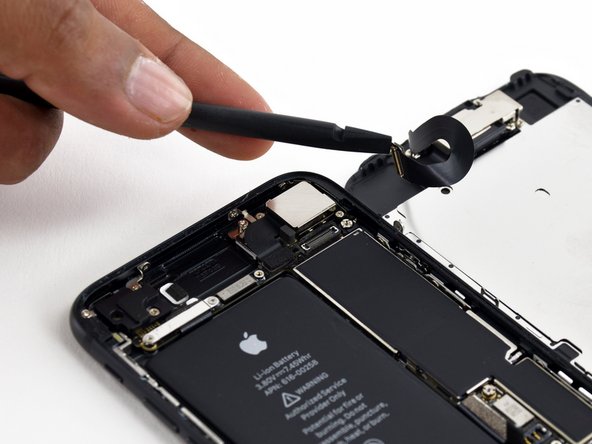
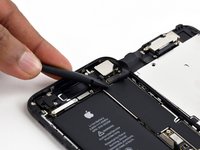
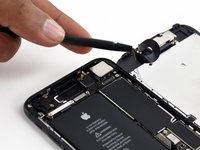
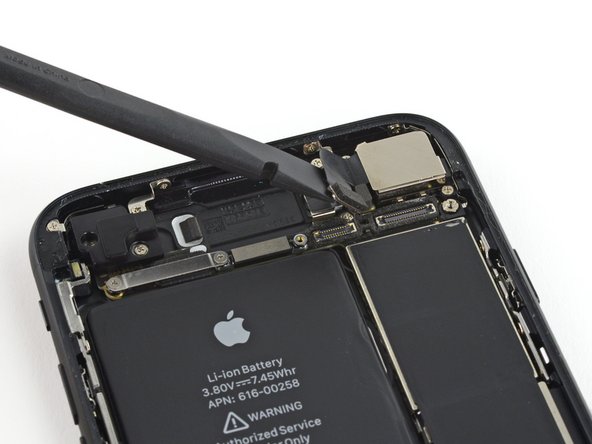
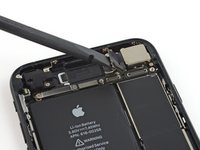
Use the flat end of a spudger to disconnect the rear-facing camera's press connector from its socket on the logic board.
-
-
-
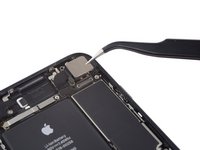
Remove the following Phillips screws securing the rear camera bracket over the camera module:
-
One 1.3 mm screw
-
One 2.5 mm screw
-
-
-
Turn off your iPhone before starting to take it apart.
-
Remove the two 3.4 mm pentalobe screws at the bottom of your iPhone
-
-
-
Put the hot iOpener over the bottom of the phone to soften the adhesive that holds the display.
-
-
-
-
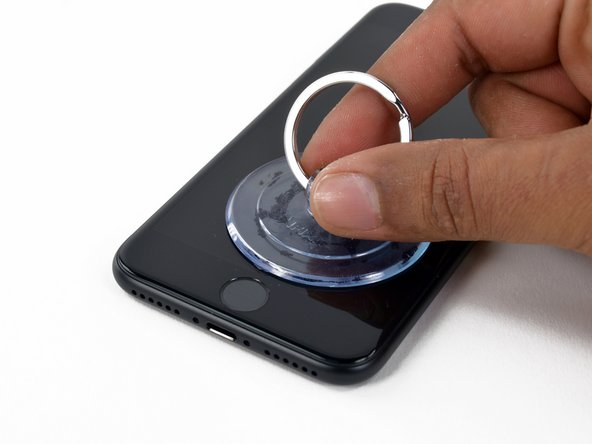
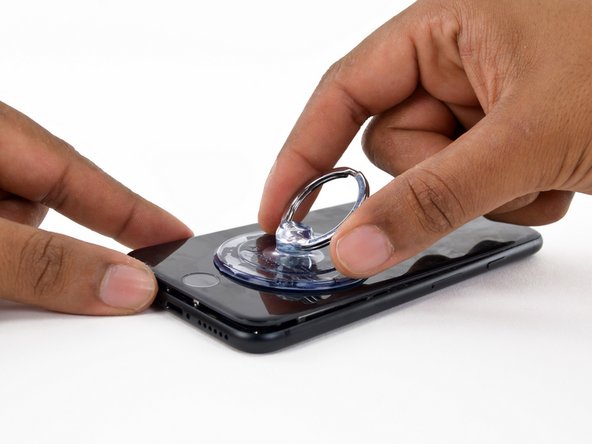
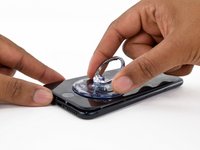
Apply a suction cup to the bottom half of the display assembly, just above the home button.
-
-
-
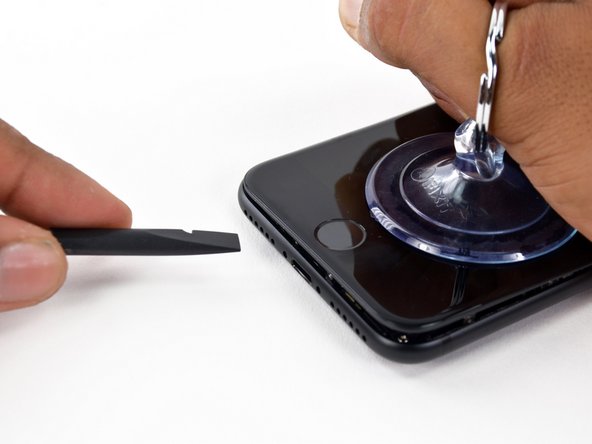
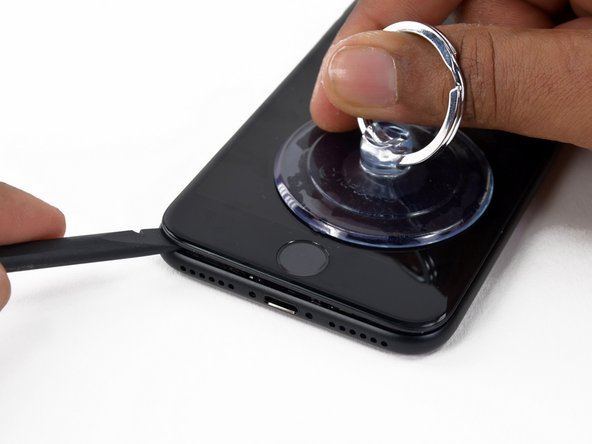
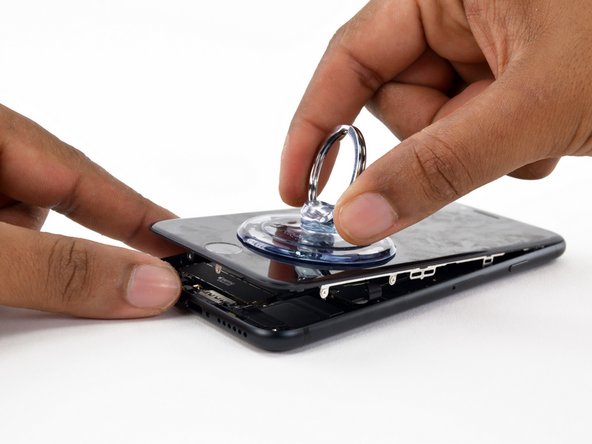
Pull the suction cup to create a small gap between the display assembly and the back case.
-
-
-
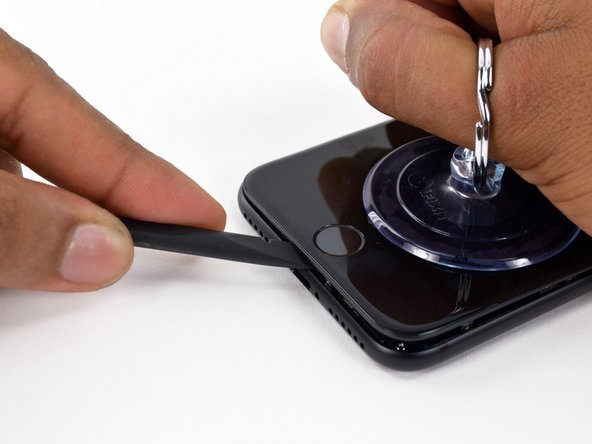
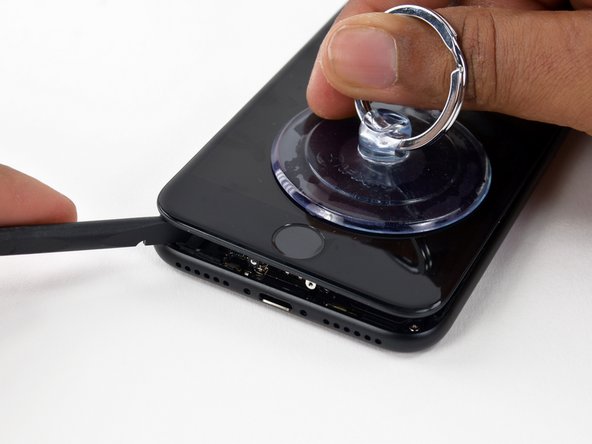
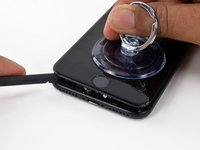
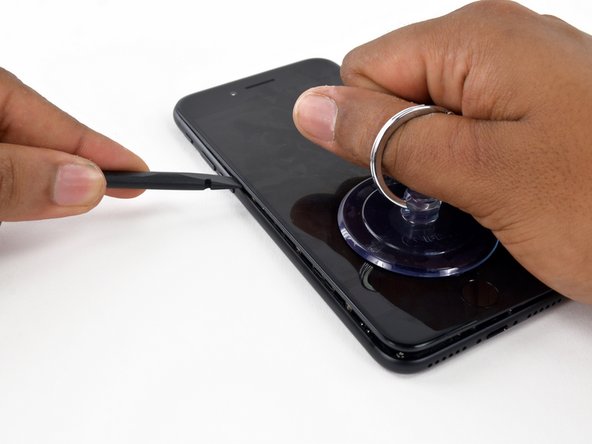
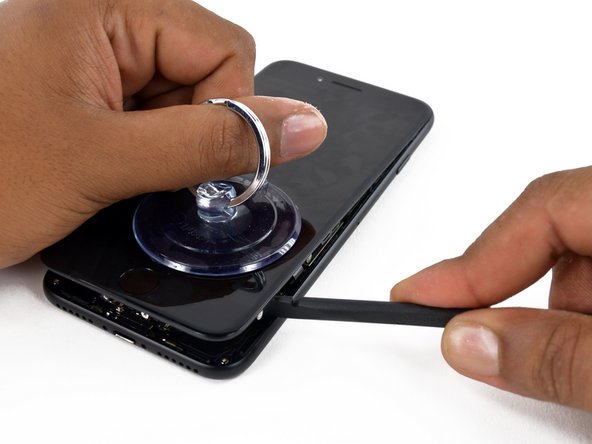
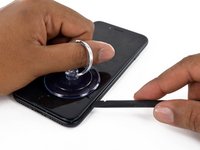
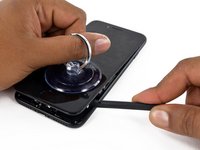
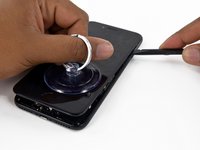
Slide the spudger to the left along the bottom side of the iPhone.
-
Twist the spudger to widen the gap between the display and the back case.
-
-
-
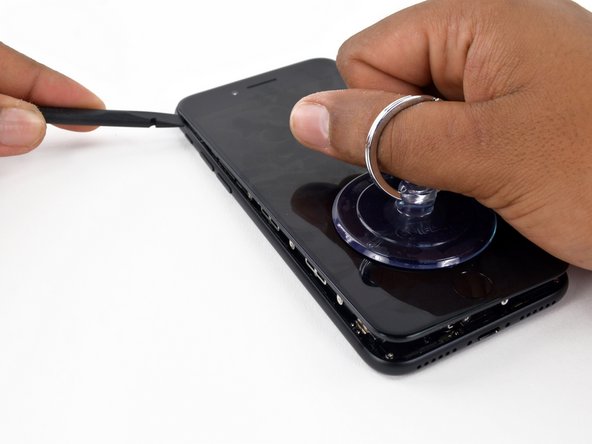
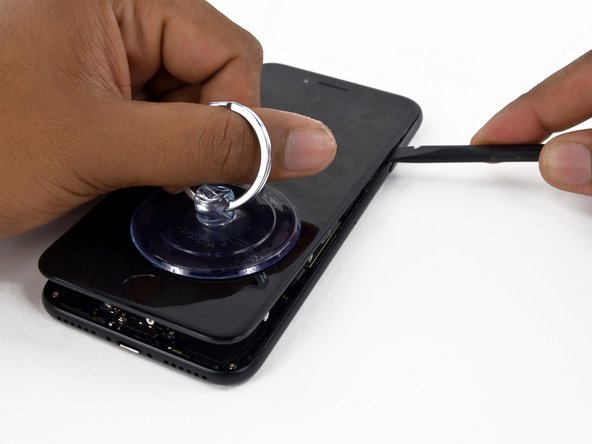
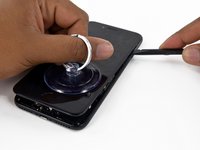
Slide the spudger along the left side of the iPhone, starting at the bottom and moving to the volume control buttons and the silent mode switch.
-
-
-
Remove the spudger from the left side of the iPhone and insert the flat end into the lower right corner of the device.
-
Rotate the spudger to widen the gap between the display assembly and the rear case.
-
Slide the flat end of the spudger to the right side of the phone to break the adhesive that holds the display in place.
-
-
-
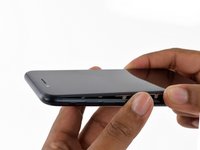
Pull the suction cup up to lift the display and open the iPhone.
-
-
-
Lift the small appendage of the suction cup to remove the instrument from the front panel.
-
-
-
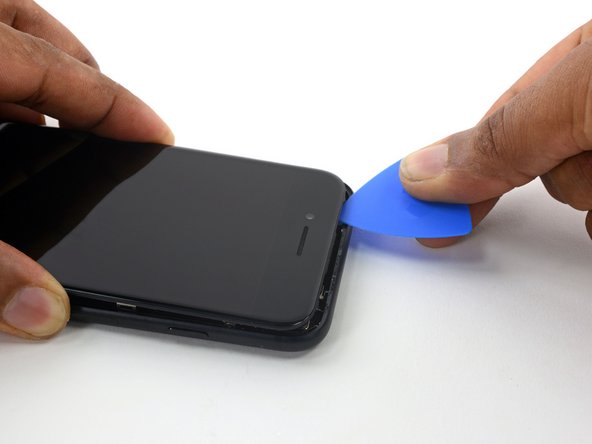
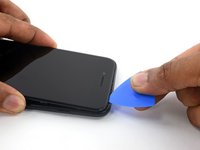
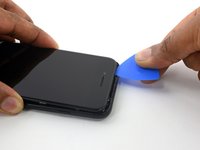
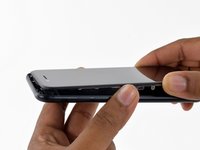
Slide an opening tool along the top side of the iPhone, between the back case and the front panel, to break the rest of the sticker that holds the screen in place.
-
-
-
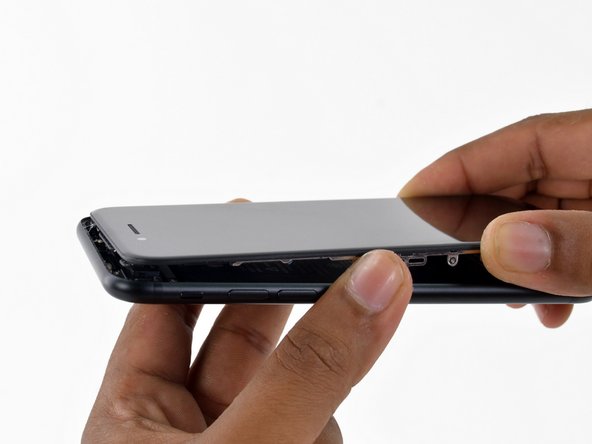
Carefully pull the display assembly horizontally to move it away from the top of the phone to disconnect the clips that lock the screen to the back case.
-
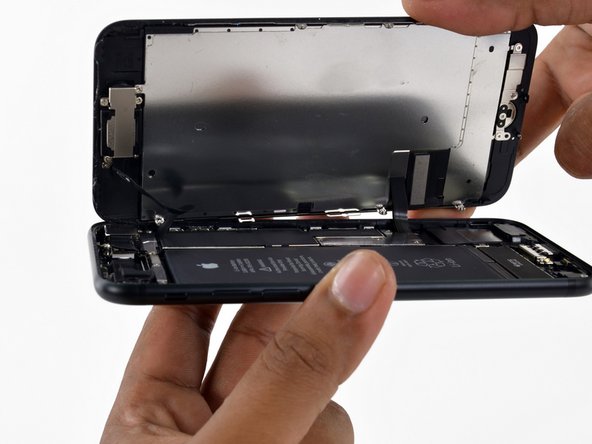
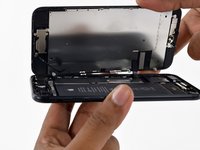
Open the iPhone lifting the display from the right side, like the back cover of a book.
-
-
-
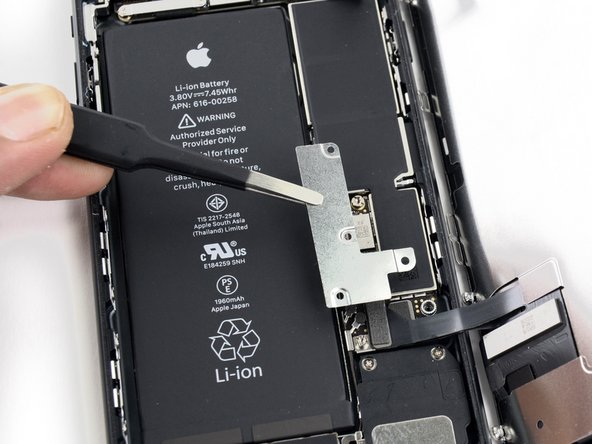
Remove the following Y000 tri-wing screws from the connector lower bracket:
-
Three 1.2 mm screws
-
One 2.4 mm screw
-
Remove the connector lower bracket.
-
-
-
Use the pointed end of a spudger to lift the battery connector from its socket on the logic board.
-
-
-
Use the flat end of a spudger or a fingernail to disconnect the two lower display connectors lifting them straight from their socket on the logic board.
-
-
-
Remove the two 1.3 mm Phillips screws securing the bracket to the front panel sensor assembly connector.
-
Remove the bracket.
-
-
-
Detach the front panel sensor assembly connector from its socket on the logic board.
-
-
-
Use the flat end of a spudger to detach the rear camera's pressure connector from its seat on the logic board.
-
-
-
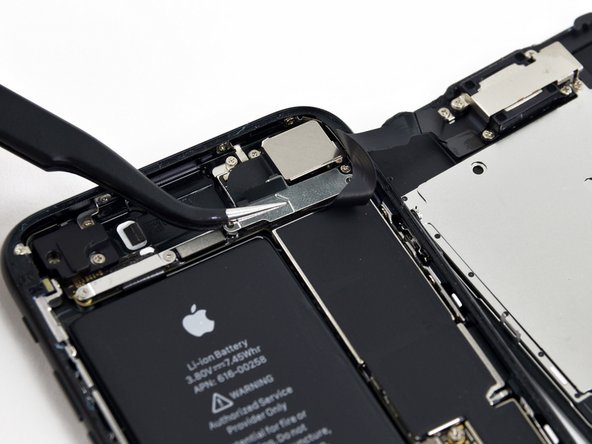
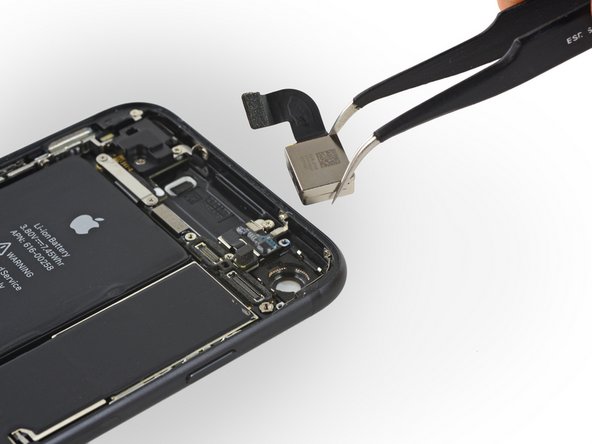
Remove the following Phillips screws that secure the rear camera bracket to the camera module:
-
A 1.3 mm screw
-
A 2.5 mm screw
-
-
-
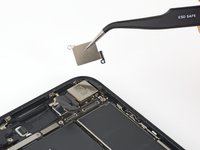
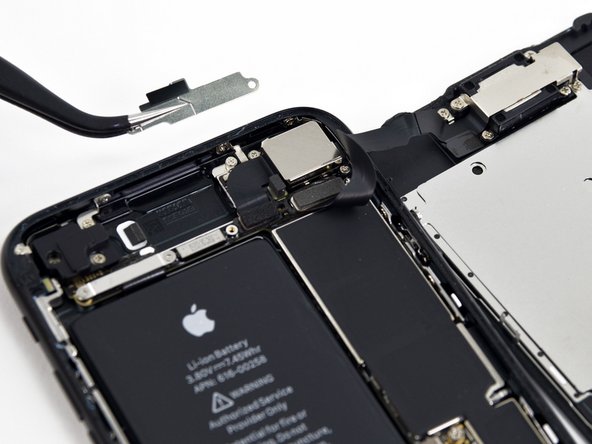
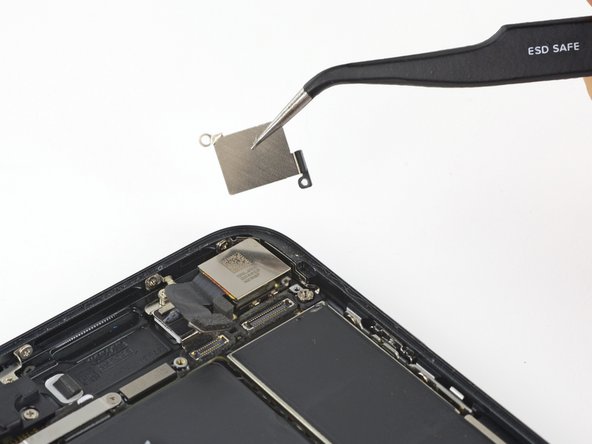
Remove the bracket. The inner edge of the bracket seems welded to the lens ring of the camera.
-
-
-
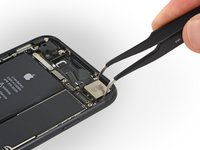
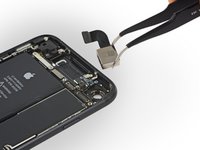
As a last step you will have to eject the broken lens.
-
First of all, look for an instrument that you prefer and that you can use strongly. Then he points the chosen instrument towards the lens to be replaced and press strongly until it is detached.
-
To reassemble your device, Follow these instructions in reverse order.
To reassemble your device, Follow these instructions in reverse order.
crwdns2934873:0crwdne2934873:0
100%
crwdns2934885:0crwdne2934885:0 crwdns2934875:0crwdne2934875:0
crwdns2934877:0crwdne2934877:0 ›


