crwdns2915892:0crwdne2915892:0
Prereq only
crwdns2942213:0crwdne2942213:0
-
crwdns2935267:0crwdne2935267:0Clampy - Anti-Clamp$24.95
-
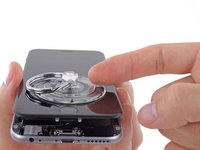
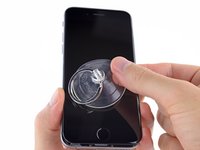
If you don't have an Anti-Clamp, use a single suction cup to lift the front panel:
-
Press a suction cup onto the screen, just above the home button.
-
-
-
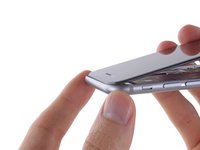
While holding the iPhone down with one hand, pull up on the suction cup to slightly separate the front panel assembly from the rear case.
-
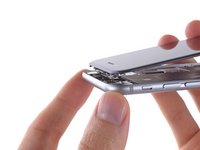
Using a plastic opening tool, begin to gently pry the rear case down, away from the display assembly, while continuing to pull up with the suction cup.
-
-
-
Pull the plastic nub to release the vacuum seal on the suction cup.
-
Remove the suction cup from the display assembly.
-
-
-
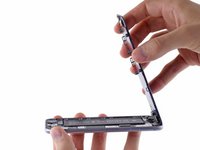
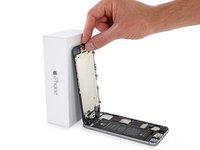
Open the iPhone by swinging the home button end of the front panel assembly away from the rear case, using the top of the phone as a hinge.
-
-
-
Open the display to about a 90º angle, and lean it against something to keep it propped up while you're working on the phone.
-
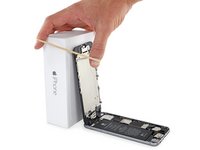
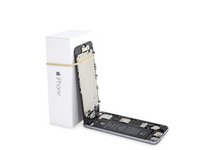
Add a rubber band to keep the display securely in place while you work. This prevents undue strain on the display cables.
-
-
-
crwdns2935267:0crwdne2935267:0Magnetic Project Mat$19.95
-
Remove the following Phillips screws from the battery connector bracket:
-
One 2.2 mm screw
-
One 3.2 mm screw
-
-
-
Remove the metal battery connector bracket from the iPhone.
-
-
-
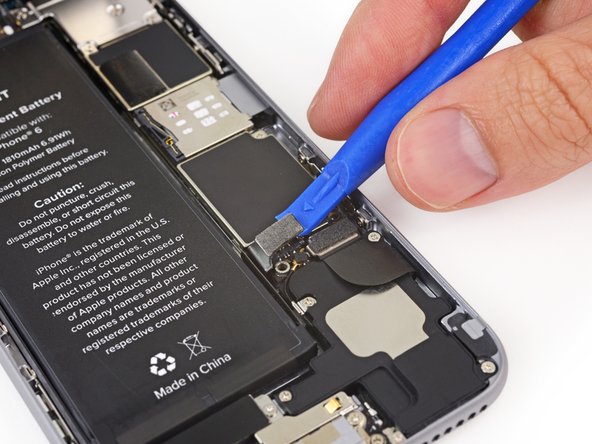
Use a plastic opening tool to gently pry the battery connector up from its socket on the logic board.
-
-
-
Remove the following five Phillips screws securing the front panel assembly cable bracket:
-
Three 1.2 mm screws
-
One 1.7 mm screw
-
One 3.1 mm screw
-
-
-
Remove the front panel assembly cable bracket from the logic board.
-
-
-
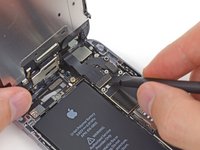
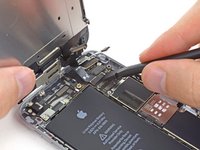
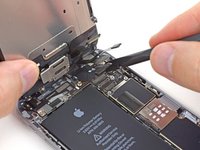
Use a spudger or a fingernail to disconnect the front-facing camera and sensor cable connector.
-
-
-
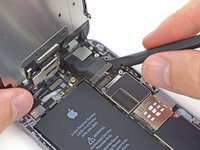
Use a spudger or a fingernail to disconnect the home button cable connector.
-
-
-
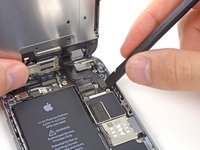
Use a spudger or a fingernail to disconnect the display data cable connector.
-
-
-
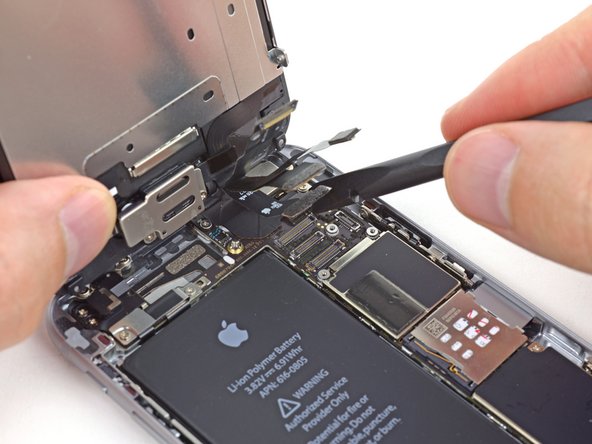
Use the flat end of a spudger to disconnect the digitizer cable connector.
-
-
-
Remove the front panel assembly from the rear case.
-
Compare your new replacement part to the original part—you may need to transfer remaining components or remove adhesive backings from the new part before installing.
To reassemble your device, follow the above steps in reverse order.
Take your e-waste to an R2 or e-Stewards certified recycler.
Repair didn’t go as planned? Try some basic troubleshooting, or search our Answers forum for help.
crwdns2935221:0crwdne2935221:0
crwdns2935229:013crwdne2935229:0
crwdns2947412:03crwdne2947412:0
Undo the last edit, I was not trying to modify this guide
how about replacing the battery ?
Hi. I messed up with the screws in the cover guard sheet for the display ribbon and my iPhone 6 plus isn't turning on. Does that mean the logic board is dead or the battery ? Should I throw the phone in the garbage can ?


