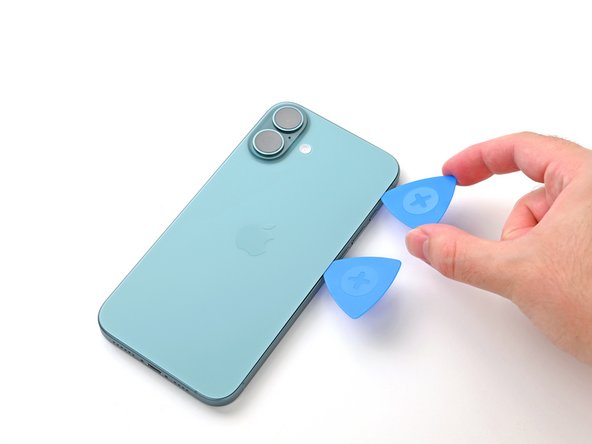
crwdns2933423:0crwdne2933423:0

iPhone 16 Plus Microphone Removal

crwdns2862623:0crwdne2862623:0
crwdns2942641:0crwdne2942641:0
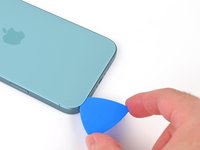
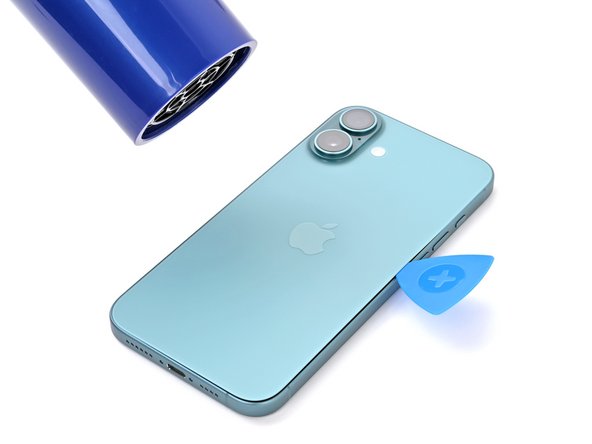
  1. iPhone 16 Plus Microphone Removal, Heat the bottom edge: crwdns2935265:01crwdnd2935265:01crwdnd2935265:02crwdne2935265:0 iPhone 16 Plus Microphone Removal, Heat the bottom edge: crwdns2935265:01crwdnd2935265:02crwdnd2935265:02crwdne2935265:0
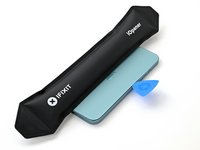
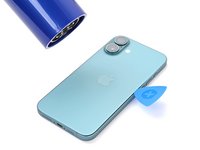
    • Apply a heated iOpener to the bottom edge of the back glass for two minutes.

    • Alternatively, you can use a hair dryer or heat gun to heat the bottom edge of the back glass until it's hot to the touch.

    • Be careful not to heat the phone hotter than this—the battery is susceptible to heat damage.

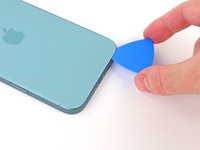
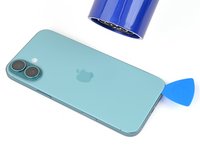
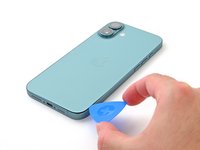
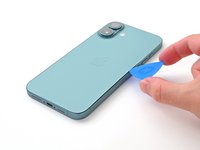
  2. iPhone 16 Plus Microphone Removal, Insert an opening pick: crwdns2935265:02crwdnd2935265:01crwdnd2935265:03crwdne2935265:0 iPhone 16 Plus Microphone Removal, Insert an opening pick: crwdns2935265:02crwdnd2935265:02crwdnd2935265:03crwdne2935265:0 iPhone 16 Plus Microphone Removal, Insert an opening pick: crwdns2935265:02crwdnd2935265:03crwdnd2935265:03crwdne2935265:0
    • Apply a suction handle to the bottom edge of the back glass, above the USB-C port.

    • Pull up on the handle with a strong, steady force to create a gap between the back glass and the frame.

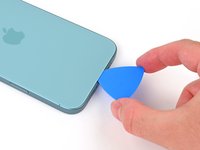
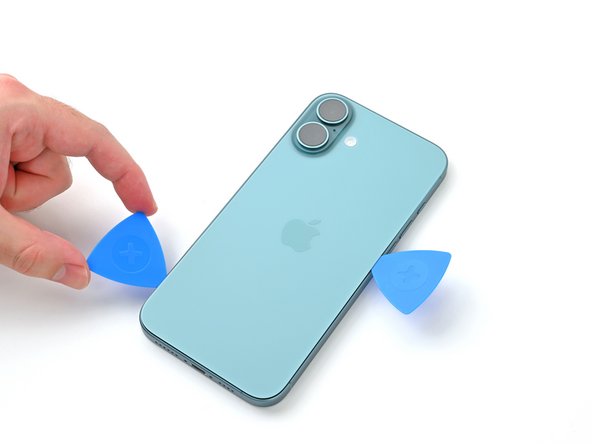
    • Insert the tip of an opening pick into the gap.

  3. iPhone 16 Plus Microphone Removal, Back glass information: crwdns2935265:03crwdnd2935265:01crwdnd2935265:02crwdne2935265:0 iPhone 16 Plus Microphone Removal, Back glass information: crwdns2935265:03crwdnd2935265:02crwdnd2935265:02crwdne2935265:0
    • As you slice the adhesive securing the back glass in the next steps, be careful of the following areas:

    • There's a delicate cable connecting the back glass to the phone, right next to the volume up button. Don't insert your pick here to avoid slicing the cable.

    • There are multiple spring contacts around the perimeter of the phone. Be extra careful not to insert your pick deeper than suggested in each step to avoid bending these contacts.

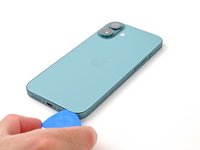
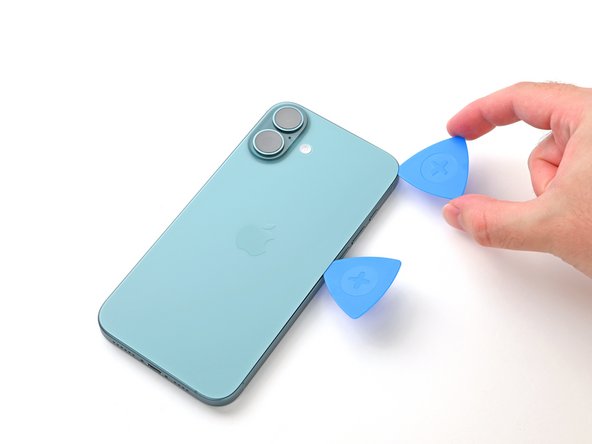
  4. iPhone 16 Plus Microphone Removal, Separate the bottom edge adhesive: crwdns2935265:04crwdnd2935265:01crwdnd2935265:03crwdne2935265:0 iPhone 16 Plus Microphone Removal, Separate the bottom edge adhesive: crwdns2935265:04crwdnd2935265:02crwdnd2935265:03crwdne2935265:0 iPhone 16 Plus Microphone Removal, Separate the bottom edge adhesive: crwdns2935265:04crwdnd2935265:03crwdnd2935265:03crwdne2935265:0
    • Don't insert your pick deeper than 5 mm on the bottom edge to avoid damaging the spring contacts.

    • Slide your pick back and forth along the bottom edge to separate the adhesive.

    • Leave your pick inserted in the bottom right corner to prevent the adhesive from resealing.

  5. iPhone 16 Plus Microphone Removal, Heat the right edge: crwdns2935265:05crwdnd2935265:01crwdnd2935265:02crwdne2935265:0 iPhone 16 Plus Microphone Removal, Heat the right edge: crwdns2935265:05crwdnd2935265:02crwdnd2935265:02crwdne2935265:0
    • Apply a heated iOpener to the right edge of the back glass for two minutes.

    • When using a hair dryer or heat gun, heat the back glass until it's hot to the touch.

  6. iPhone 16 Plus Microphone Removal, Separate the bottom right corner adhesive: crwdns2935265:06crwdnd2935265:01crwdnd2935265:03crwdne2935265:0 iPhone 16 Plus Microphone Removal, Separate the bottom right corner adhesive: crwdns2935265:06crwdnd2935265:02crwdnd2935265:03crwdne2935265:0 iPhone 16 Plus Microphone Removal, Separate the bottom right corner adhesive: crwdns2935265:06crwdnd2935265:03crwdnd2935265:03crwdne2935265:0
    • Don't insert your pick deeper than 5 mm along the right edge to avoid damaging the spring contacts and ribbon cable.

    • Slide your pick around the bottom right corner and slide it halfway up the right edge, or until you feel a hard stop at a clip securing the back glass.

    • Don't slice near the volume buttons to avoid damaging the wireless charging/flash cable.

    • Leave this pick inserted to prevent the adhesive from resealing.

  7. iPhone 16 Plus Microphone Removal, Heat the left edge: crwdns2935265:07crwdnd2935265:01crwdnd2935265:02crwdne2935265:0 iPhone 16 Plus Microphone Removal, Heat the left edge: crwdns2935265:07crwdnd2935265:02crwdnd2935265:02crwdne2935265:0
  8. iPhone 16 Plus Microphone Removal, Separate the left edge adhesive: crwdns2935265:08crwdnd2935265:01crwdnd2935265:03crwdne2935265:0 iPhone 16 Plus Microphone Removal, Separate the left edge adhesive: crwdns2935265:08crwdnd2935265:02crwdnd2935265:03crwdne2935265:0 iPhone 16 Plus Microphone Removal, Separate the left edge adhesive: crwdns2935265:08crwdnd2935265:03crwdnd2935265:03crwdne2935265:0
    • Don't insert your pick deeper than 5 mm along the left edge to avoid damaging the spring contact.

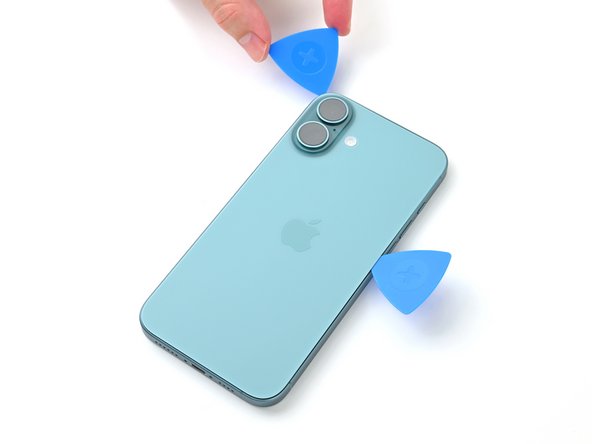
    • Insert a second opening pick at the bottom edge.

    • Slide the second pick around the bottom left corner and along the left edge of the screen to separate the adhesive and release the metal clips.

    • You'll hear and feel the metal clips release as you pass them.

    • Leave this pick inserted at the top left corner to prevent the adhesive from resealing.

  9. iPhone 16 Plus Microphone Removal, Heat the top edge: crwdns2935265:09crwdnd2935265:01crwdnd2935265:02crwdne2935265:0 iPhone 16 Plus Microphone Removal, Heat the top edge: crwdns2935265:09crwdnd2935265:02crwdnd2935265:02crwdne2935265:0
    • Apply a heated iOpener to the top edge of the back glass, angled to include the volume buttons, for two minutes.

    • When using a hair dryer or heat gun, heat until it's hot to the touch.

  10. iPhone 16 Plus Microphone Removal, Separate the top edge adhesive: crwdns2935265:010crwdnd2935265:01crwdnd2935265:03crwdne2935265:0 iPhone 16 Plus Microphone Removal, Separate the top edge adhesive: crwdns2935265:010crwdnd2935265:02crwdnd2935265:03crwdne2935265:0 iPhone 16 Plus Microphone Removal, Separate the top edge adhesive: crwdns2935265:010crwdnd2935265:03crwdnd2935265:03crwdne2935265:0
    • Don't insert your pick deeper than 3 mm along the top edge to avoid damaging the spring contacts.

    • Slide your opening pick across the top edge and around the top right corner to the volume up button to separate the adhesive.

    • You should hear and feel clicks as the top two clips release.

  11. iPhone 16 Plus Microphone Removal, Swing open the back glass: crwdns2935265:011crwdnd2935265:01crwdnd2935265:02crwdne2935265:0 iPhone 16 Plus Microphone Removal, Swing open the back glass: crwdns2935265:011crwdnd2935265:02crwdnd2935265:02crwdne2935265:0
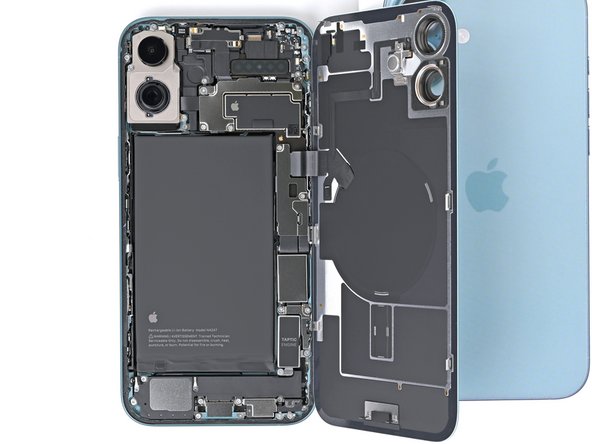
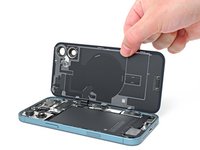
    • Don't try to fully remove the back glass just yet—it's still attached with a delicate ribbon cable. Follow the next few steps to remove it safely.

    • If the back glass doesn't swing open easily, don't force it—go back around the perimeter with your pick to check for missed sections of adhesive or stuck clips.

    • You may need to lift the back glass up slightly before swinging it open to fully disengage the clips.

    • Gently swing open the back glass towards the volume buttons.

    • Support the back glass with a clean, sturdy object like a small box to avoid straining the cable.

    • Remove the opening picks.

  12. iPhone 16 Plus Microphone Removal, Unfasten the middle connector cover: crwdns2935265:012crwdnd2935265:01crwdnd2935265:02crwdne2935265:0 iPhone 16 Plus Microphone Removal, Unfasten the middle connector cover: crwdns2935265:012crwdnd2935265:02crwdnd2935265:02crwdne2935265:0
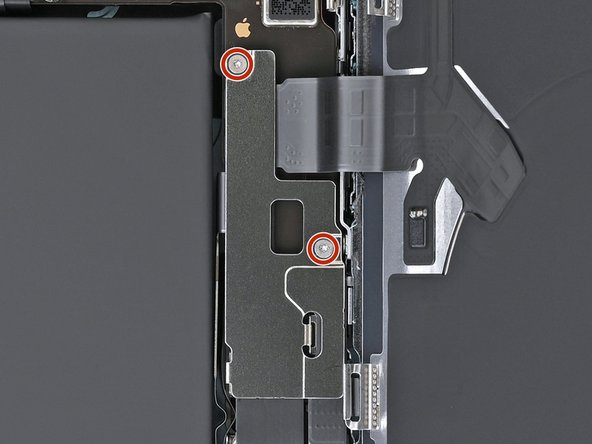
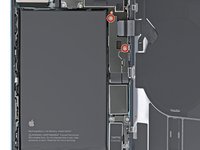
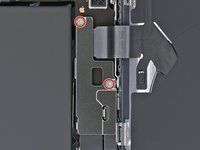
    • Use a tri-point Y000 driver to remove the two 1.3 mm-long screws securing the middle connector cover.

  13. iPhone 16 Plus Microphone Removal, Remove the middle connector cover: crwdns2935265:013crwdnd2935265:01crwdnd2935265:02crwdne2935265:0 iPhone 16 Plus Microphone Removal, Remove the middle connector cover: crwdns2935265:013crwdnd2935265:02crwdnd2935265:02crwdne2935265:0
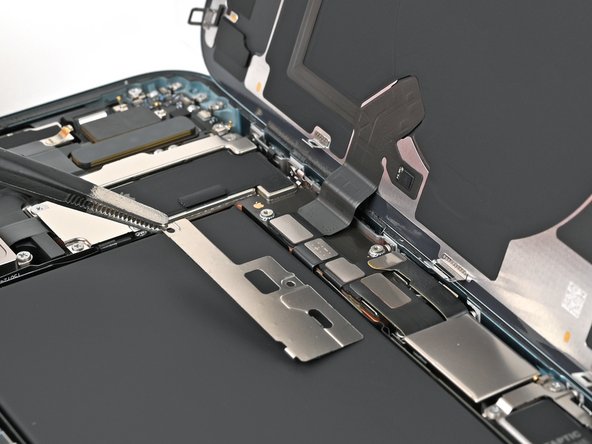
    • Be careful not to dent or puncture the battery during this step.

    • Use blunt-nose tweezers or your fingers to slide the cover towards the left edge of the phone and release its hook from its slot on the logic board.

    • Remove the cover.

    • During reassembly, align the hooks over their slots on the logic board. Then, press the cover down and slide it towards the right edge to re-engage the hooks.

  14. iPhone 16 Plus Microphone Removal, Disconnect the battery: crwdns2935265:014crwdnd2935265:01crwdnd2935265:03crwdne2935265:0 iPhone 16 Plus Microphone Removal, Disconnect the battery: crwdns2935265:014crwdnd2935265:02crwdnd2935265:03crwdne2935265:0 iPhone 16 Plus Microphone Removal, Disconnect the battery: crwdns2935265:014crwdnd2935265:03crwdnd2935265:03crwdne2935265:0
    • Use the point of a spudger to pry up and disconnect the battery press connector.

    • During reassembly, align the connector carefully over its socket and press down with your fingertip or the flat end of a spudger—first on one side, then the other—until it clicks into place. Don't try to force the connector into place. If you're having trouble, reposition it and try again.

  15. iPhone 16 Plus Microphone Removal, Disconnect the wireless charger: crwdns2935265:015crwdnd2935265:01crwdnd2935265:02crwdne2935265:0 iPhone 16 Plus Microphone Removal, Disconnect the wireless charger: crwdns2935265:015crwdnd2935265:02crwdnd2935265:02crwdne2935265:0
    • Use the point of a spudger to pry up and disconnect the wireless charging coil press connector.

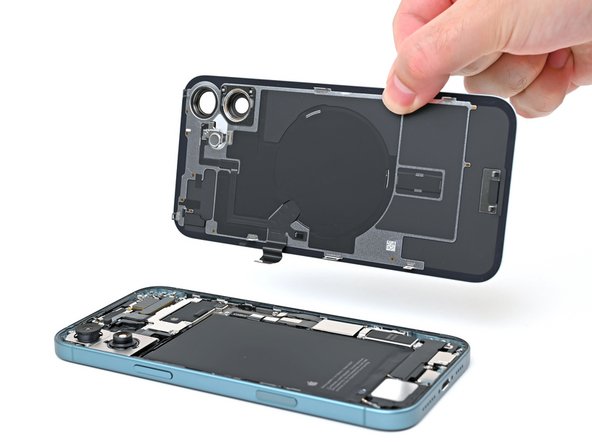
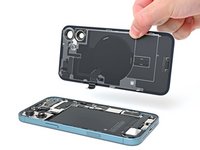
  16. iPhone 16 Plus Microphone Removal, Remove the back glass: crwdns2935265:016crwdnd2935265:01crwdnd2935265:02crwdne2935265:0 iPhone 16 Plus Microphone Removal, Remove the back glass: crwdns2935265:016crwdnd2935265:02crwdnd2935265:02crwdne2935265:0
    • Lift the back glass off the frame and remove it.

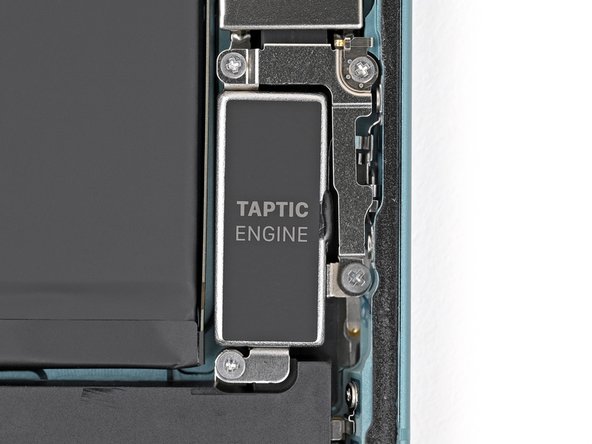
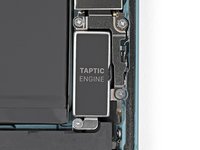
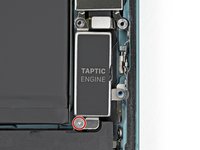
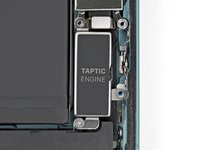
  17. iPhone 16 Plus Microphone Removal, Remove the Taptic Engine bracket screws: crwdns2935265:017crwdnd2935265:01crwdnd2935265:02crwdne2935265:0 iPhone 16 Plus Microphone Removal, Remove the Taptic Engine bracket screws: crwdns2935265:017crwdnd2935265:02crwdnd2935265:02crwdne2935265:0
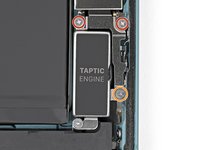
    • Use a Phillips screwdriver to remove the three screws securing the Taptic Engine bracket:

    • Two 1.9 mm‑long screws

    • One 2.1 mm‑long screw

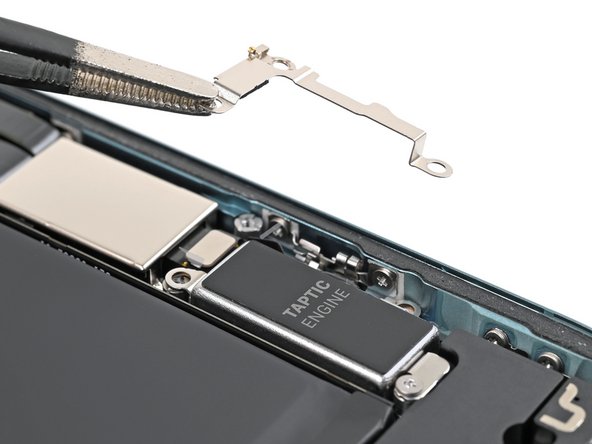
  18. iPhone 16 Plus Microphone Removal: crwdns2935265:018crwdnd2935265:01crwdnd2935265:02crwdne2935265:0 iPhone 16 Plus Microphone Removal: crwdns2935265:018crwdnd2935265:02crwdnd2935265:02crwdne2935265:0
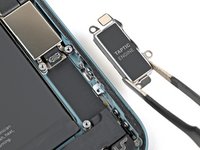
    • Use tweezers or your fingers to remove the Taptic Engine bracket.

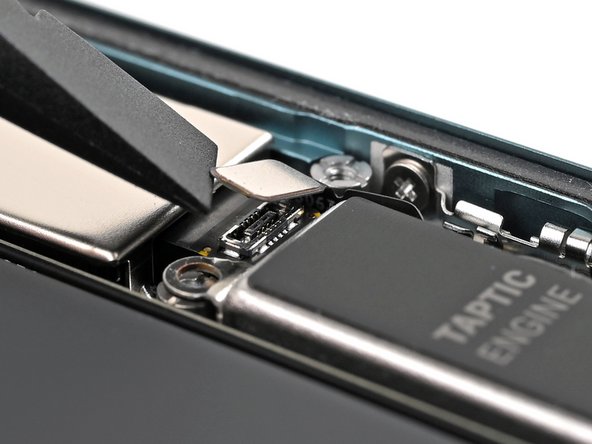
  19. iPhone 16 Plus Microphone Removal, Disconnect the Taptic Engine: crwdns2935265:019crwdnd2935265:01crwdnd2935265:02crwdne2935265:0 iPhone 16 Plus Microphone Removal, Disconnect the Taptic Engine: crwdns2935265:019crwdnd2935265:02crwdnd2935265:02crwdne2935265:0
    • Use the flat end of a spudger to pry up and disconnect the Taptic Engine press connector.

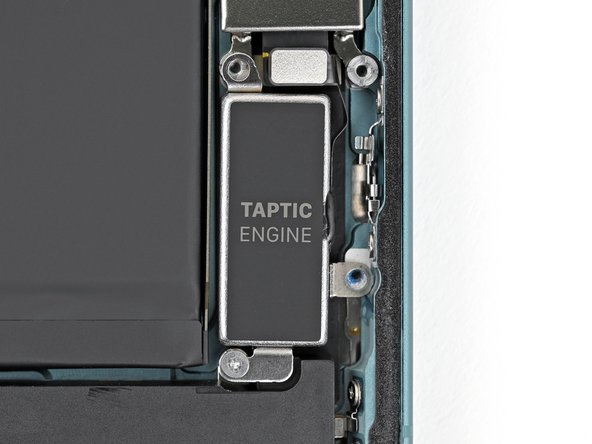
  20. iPhone 16 Plus Microphone Removal, Remove the Taptic Engine screw: crwdns2935265:020crwdnd2935265:01crwdnd2935265:02crwdne2935265:0 iPhone 16 Plus Microphone Removal, Remove the Taptic Engine screw: crwdns2935265:020crwdnd2935265:02crwdnd2935265:02crwdne2935265:0
    • Use a Phillips screwdriver to remove the 1.8 mm screw securing the Taptic Engine.

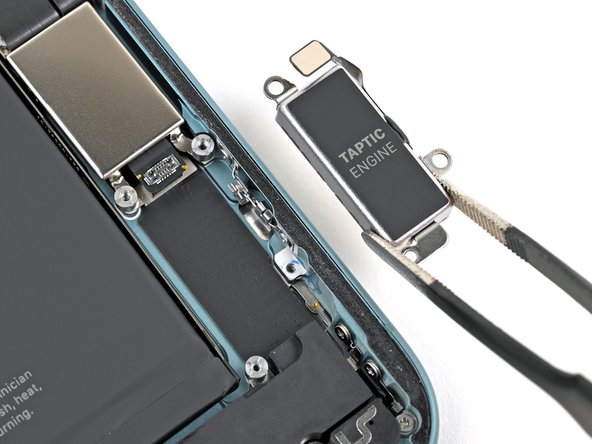
  21. iPhone 16 Plus Microphone Removal, Remove the Taptic Engine: crwdns2935265:021crwdnd2935265:01crwdnd2935265:02crwdne2935265:0 iPhone 16 Plus Microphone Removal, Remove the Taptic Engine: crwdns2935265:021crwdnd2935265:02crwdnd2935265:02crwdne2935265:0
    • Use blunt-nose tweezers or your fingers to pick up and remove the Taptic Engine.

  22. iPhone 16 Plus Microphone Removal, Remove the loudspeaker screws: crwdns2935265:022crwdnd2935265:01crwdnd2935265:02crwdne2935265:0 iPhone 16 Plus Microphone Removal, Remove the loudspeaker screws: crwdns2935265:022crwdnd2935265:02crwdnd2935265:02crwdne2935265:0
    crwdns2935267:0crwdne2935267:0
    Standoff Screwdriver for iPhones
    $5.49
    • Be careful not to puncture or dent the battery with your screwdriver.

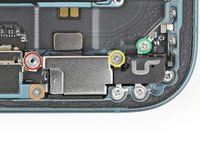
    • Use your Phillips screwdriver to remove four of the screws securing the loudspeaker:

    • Three 1.5 mm-long screws

    • One 3.0 mm-long screw

    • Use your tri-point Y000 screwdriver to remove the 1.3 mm-long screw securing a grounding contact and the loudspeaker.

    • Use your standoff screwdriver to remove the 3.4 mm-long screw securing the loudspeaker.

    • If you don't have a standoff driver, you may use a thin flathead driver—but be careful not to strip the shallow notches in the screw heads.

  23. iPhone 16 Plus Microphone Removal, Remove the loudspeaker: crwdns2935265:023crwdnd2935265:01crwdnd2935265:02crwdne2935265:0 iPhone 16 Plus Microphone Removal, Remove the loudspeaker: crwdns2935265:023crwdnd2935265:02crwdnd2935265:02crwdne2935265:0
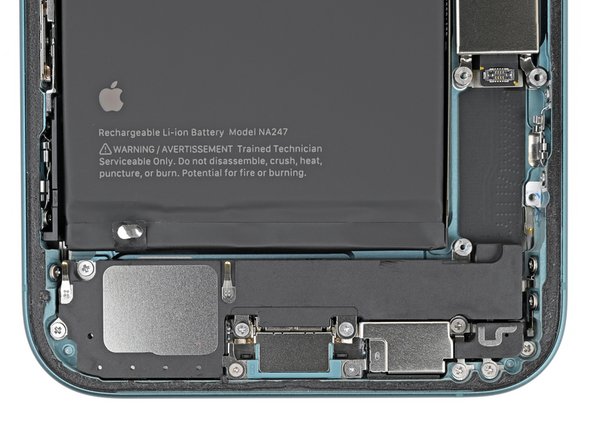
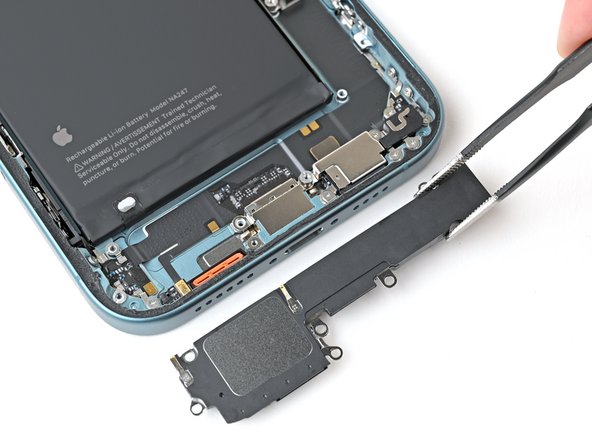
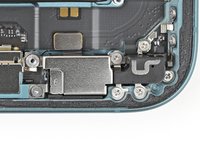
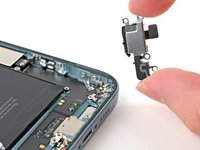
    • Grab the loudspeaker and remove it.

  24. iPhone 16 Plus Microphone Removal, Disconnect the microphone: crwdns2935265:024crwdnd2935265:01crwdnd2935265:02crwdne2935265:0 iPhone 16 Plus Microphone Removal, Disconnect the microphone: crwdns2935265:024crwdnd2935265:02crwdnd2935265:02crwdne2935265:0
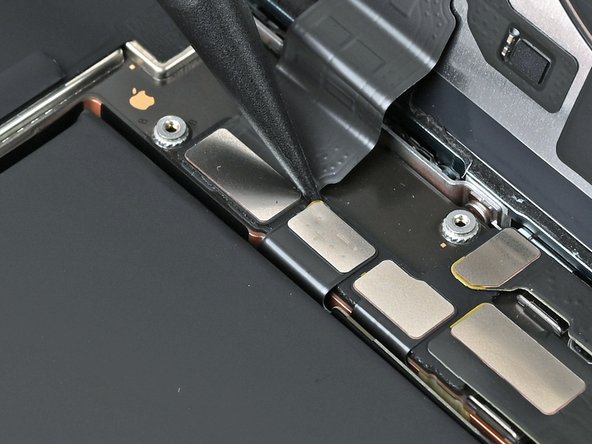
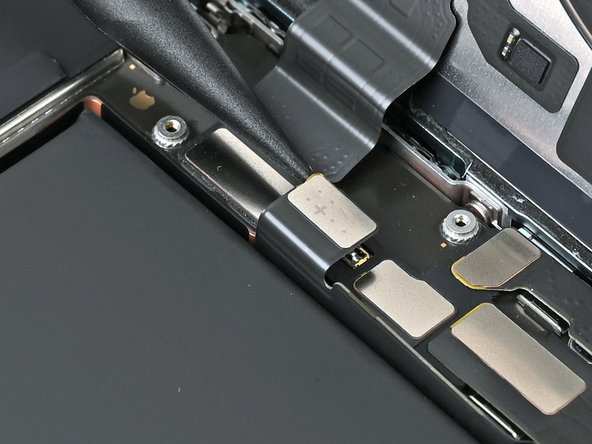
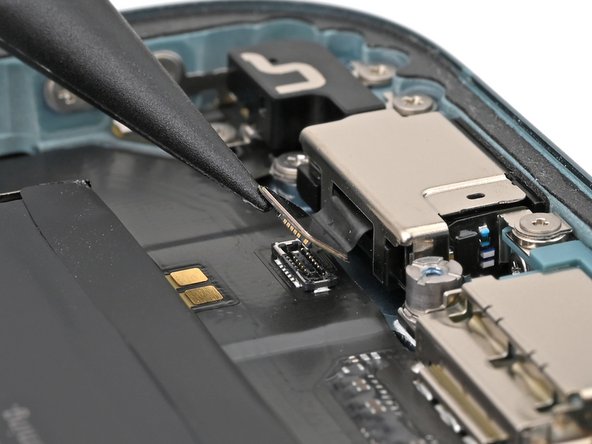
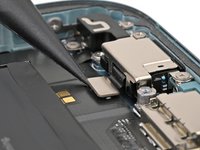
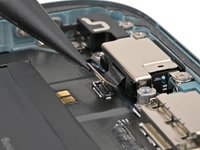
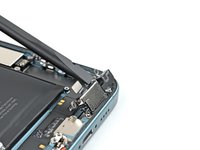
    • Use the point of a spudger to pry up and disconnect the microphone's press connector.

    • Don't pry against the battery, it could catch fire if damaged.

  25. iPhone 16 Plus Microphone Removal, Remove the microphone screws: crwdns2935265:025crwdnd2935265:01crwdnd2935265:02crwdne2935265:0 iPhone 16 Plus Microphone Removal, Remove the microphone screws: crwdns2935265:025crwdnd2935265:02crwdnd2935265:02crwdne2935265:0
    • Remove the four screws securing the microphone:

    • One 3.3 mm‑long standoff screw

    • One 1.3 mm‑long tri-point Y000 screw

    • One 1.5 mm‑long Phillips screw

    • One 1.3 mm‑long Phillips screw

  26. iPhone 16 Plus Microphone Removal, Remove the microphone: crwdns2935265:026crwdnd2935265:01crwdnd2935265:03crwdne2935265:0 iPhone 16 Plus Microphone Removal, Remove the microphone: crwdns2935265:026crwdnd2935265:02crwdnd2935265:03crwdne2935265:0 iPhone 16 Plus Microphone Removal, Remove the microphone: crwdns2935265:026crwdnd2935265:03crwdnd2935265:03crwdne2935265:0
    crwdns2935267:0crwdne2935267:0
    Tesa 61395 Tape
    $6.99
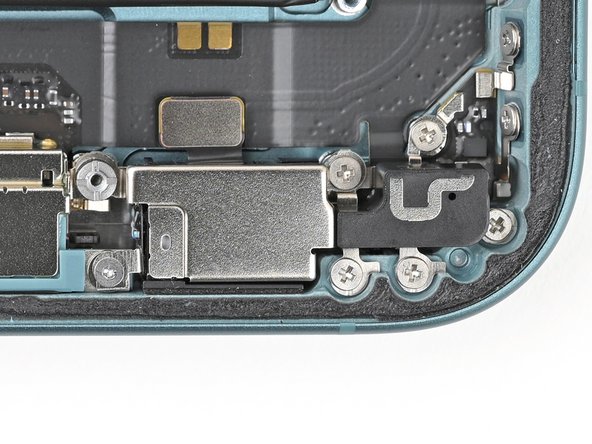
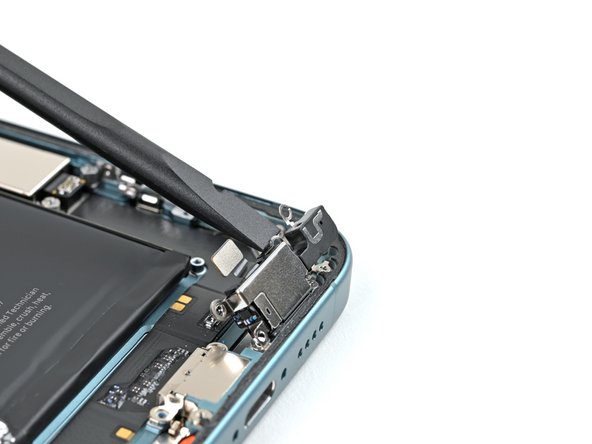
    • The microphone is held in place by strong adhesive to the bottom edge of the phone.

    • Don't pry against the battery, it could catch fire if damaged.

    • Insert the flat end of a spudger under the top edge of the microphone and pry up until you can grab it with your fingers.

    • If the microphone does not budge, try adding a little bit of heat using an iOpener, hair dryer, or heat gun. Only heat it it's slightly hot to touch, as the battery is susceptible to heat damage.

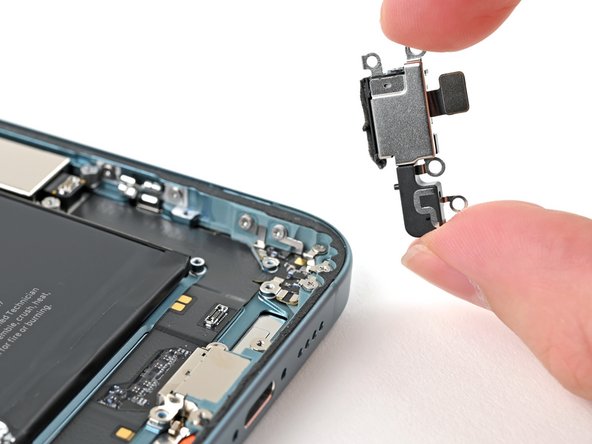
    • Peel the microphone from the adhesive securing it to the frame and remove it.

    • During reassembly, if your replacement part doesn't include adhesive, use thin, double-sided tape instead. Make sure it doesn't block the sound cutouts during installation.

crwdns2915888:0crwdne2915888:0

To reassemble your device, follow these instructions in reverse order.

Nick Schultz

crwdns2935283:003/24/24crwdne2935283:0

20,083 crwdns2915208:0crwdne2915208:0

crwdns2935297:0115crwdne2935297:0

crwdns2915084:0crwdne2915084:0

iFixit crwdns2935289:0iFixitcrwdne2935289:0

Staff

crwdns2931471:0119crwdne2931471:0

crwdns2935297:021,124crwdne2935297:0

crwdns2947412:00crwdne2947412:0

crwdns2917038:0crwdne2917038:0

crwdns2936625:0crwdne2936625:0:

crwdns2936751:024crwdne2936751:0 1

crwdns2936753:07crwdne2936753:0 1

crwdns2936753:030crwdne2936753:0 20

crwdns2942667:0crwdne2942667:0 46