crwdns2915892:0crwdne2915892:0
This guide shows how to apply display assembly adhesive to an opened iPad.
crwdns2942213:0crwdne2942213:0
-
crwdns2935267:0crwdne2935267:0Tweezers$4.99
-
Before installing new adhesive, thoroughly clean the display assembly and the frame of all residue.
-
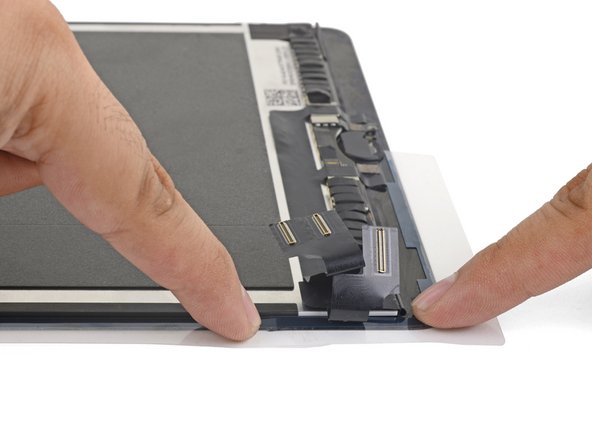
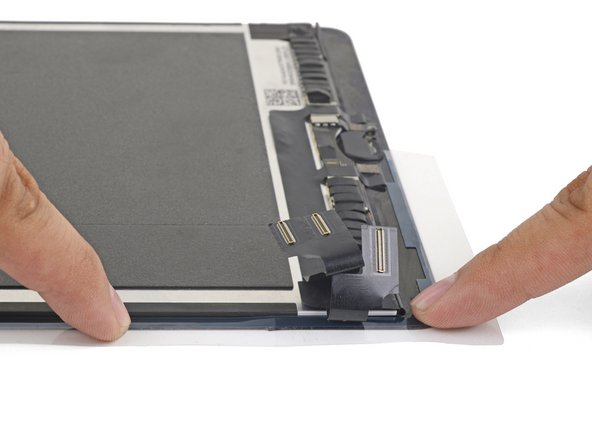
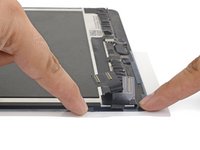
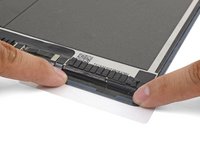
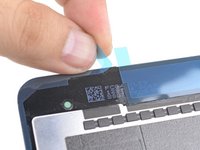
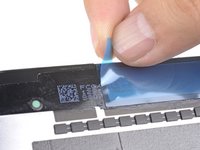
Use tweezers to pull up sections of tape residue.
-
Use an opening tool or a spudger to scrape residue off. You can use high concentration (over 90%) isopropyl alcohol to soften the adhesive.
-
Remove the residue by wiping in one direction to prevent smearing.
-
-
-
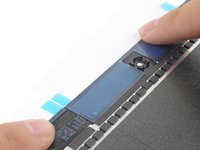
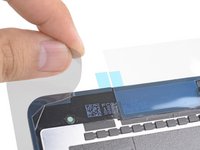
Lay out the replacement adhesive strips around the display assembly so that they correspond to the correct sides.
-
-
-
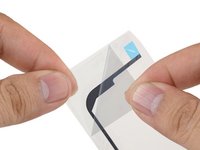
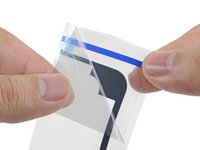
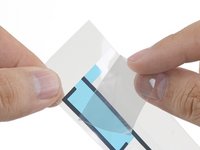
Peel and remove the topmost plastic cling layer from the left adhesive strip.
-
Peel and remove the bottom plastic liner from the strip.
-
-
-
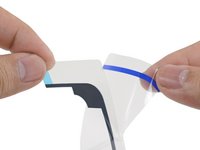
If there are extra bits of adhesive on the strip that are not required for your particular model of iPad, remove them now.
-
-
-
-
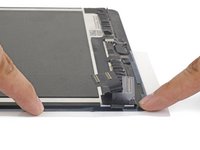
Align the left adhesive strip to the left edge of the display assembly.
-
Beginning from one corner, lay the adhesive strip onto the display assembly and press the strip into place.
-
-
-
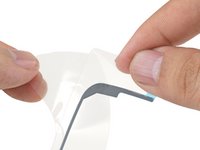
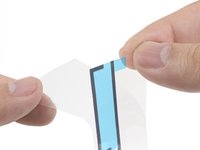
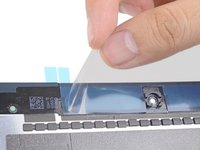
Peel and remove the topmost cling layer from the strip.
-
Peel and remove the bottom liner layer from the strip.
-
Align the adhesive strip to the right edge of the display assembly.
-
Starting from one corner, lay the adhesive strip onto the display assembly and press in place.
-
-
-
Peel and remove the topmost cling layer from the strip.
-
Peel and remove the bottom liner from the strip.
-
Align the strip to the top of the display assembly such that the straight adhesive line bridges the gap between the left and right strips.
-
Press the strip in place.
-
-
-
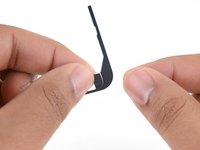
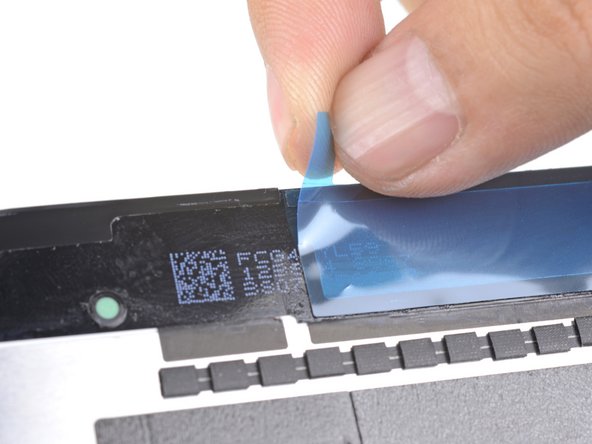
Peel and remove the clear plastic stiffening layer from all three adhesive strip sections.
-
-
-
Continue with the reassembly process until you are ready to seal the device.
-
-
-
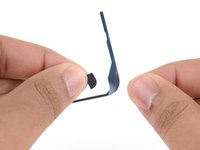
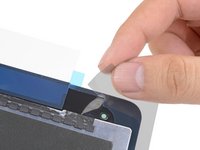
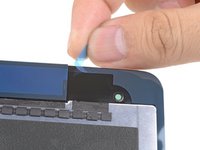
Peel and remove the three colored plastic liners to expose the adhesive.
-
Close the device and stack some heavy books on top of it for thirty minutes to help the new adhesive bond.
-


Repair didn’t go as planned? Check out our Answers Community for troubleshooting help.
crwdns2935221:0crwdne2935221:0
crwdns2935229:062crwdne2935229:0


crwdns2947412:011crwdne2947412:0
Thanks, I was able to fix my wife’s shattered digitizer screen on the iPad 6th gen with this guide!
I managed to get it done, but this was a personal nightmare for me and more difficult than replacing the battery in my ipad. There are too many instruction that say “remove plastic” and I have no idea which layer; there was nothing on the packaging to indicate which side was up or which side was the front and I ended up guessing the wrong direction because it “looked” right, but wasn’t. A simple sticker on the packaging indicating a direction would have removed all of the frustration. I only managed to figure it out by removing all of the plastic so that the sticky side of the adhesive was exposed and then I could finally see how it was supposed to fit and how I was supposed to press down with the other side of the plastic to push the adhesive side into the frame.
Fixed a cracked iPad 4 mini screen; I agree with twizzlercraze72. Some kind of labeling would have saved so much peeling and re-sticking. I ended up with a gap next to my home button. An expensive lesson to learn.
For me, actually replacing the battery wasn’t too bad, but I ended up using too much isopropyl to clean off the old glue, and it seeped under the display and ruined it. Wish Apple didn’t use so much glue. It massively impedes repairability, which is not very environmentally sound. My iPad was perfect apart from the battery - it’s now got a perfect battery but the iPad is ruined :-(
Same here :(. $50 repair just turned into $250!