crwdns2915892:0crwdne2915892:0
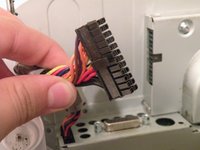
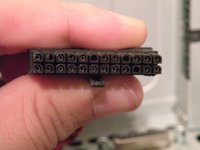
The iMac uses an incredibly hard to get to power supply. It has 24-Pins. This will require taking the iMac fully apart.
crwdns2942213:0crwdne2942213:0
-
-
The iMac G3. This was a great computer for the time, and had plenty of features.
-
-
-
Start by flipping the iMac upside-down. It may help to lay it on a towel, so you don't damage the screen, or scratch the face.
-
-
-
Remove this Phillips screw.
-
Using a flathead screwdriver, work your way around the bottom cover, until it comes off.
-
Then, lift the bottom cover up and out, and set it aside.
-
-
-
Now, remove the DB-15 Video connector from the logic board.
-
It may be helpful to use a Phillips screwdriver to remove the thumbscrews.
-
-
-
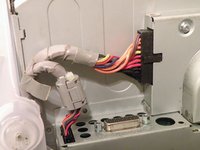
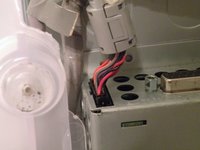
Remove the power cable from the logic board assembly.
-
-
-
-
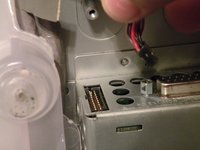
Remove the front panel connector. (You may also need to remove an additional screw that connects the front panel connector to the logic board assembly).
-
-
-
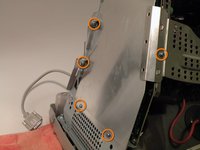
Now, remove these Phillips screws.
-
Now, grab the logic board assembly by the piece of plastic, and lift it out.
I also recommend users pay attention to how the cables are threaded around the logic board assembly so they can re-thread them the same way when re-inserting the board assembly.
-
-
-
The logic board assembly. This is the heart of the computer, it contains the motherboard, CPU, RAM, V-RAM, PRAM battery, the hard drive, and the optical drive.
-
-
-
Now, remove these screws.
-
Now, lift the bottom cover off.
-
-
-
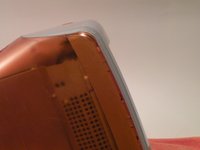
Removing the front bezel:
-
There isn't a great position to put the iMac in to remove the front bezel. I recommend flipping it so it it like it would normally be positioned.
-
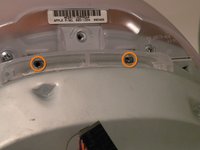
Remove these two Phillips screws.
-
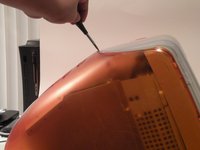
Now, work your way around the bezel with a flathead screwdriver, and then, pivot it up towards the top, and remove it.
-
-
-
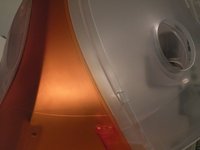
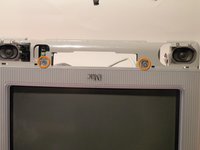
Removing the translucent plastic:
-
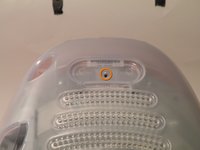
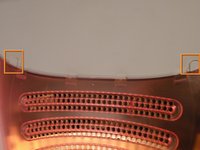
Removal of the front bezel will reveal two screw covers on the top, pop them off with a Phillips screwdriver.
-
Now, use a Phillips screwdriver to remove the screws.
-
You can now remove the plastic.
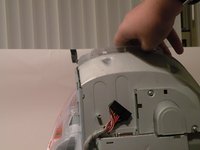
After taking out the screws, you remove the translucent plastic by pulling the translucent plastic up (if computer orientation is bottom side down), and to the sides, the latches look like hooks and are not pressure latches.
Do this for each side at a time
-
-
-
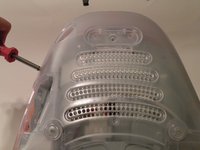
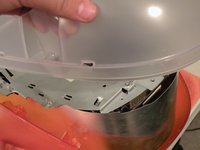
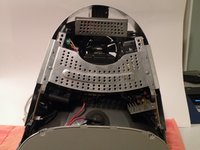
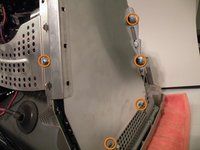
Removing the EMI Shield:
-
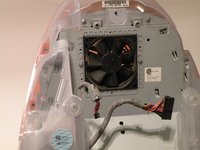
Remove all 10 of these screws, and lift the EMI Shield off.
-
-
-
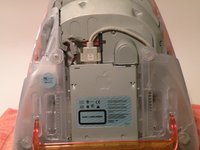
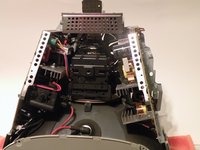
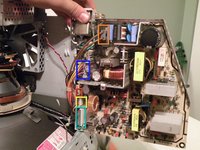
Power Supply:
-
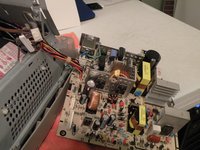
Removal of the EMI shield will reveal two major circuit boards.
-
The Display Driver:
-
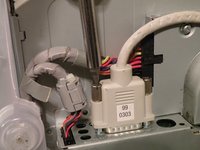
The Power Supply:
-
-
-
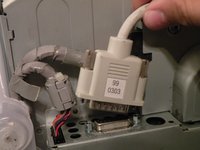
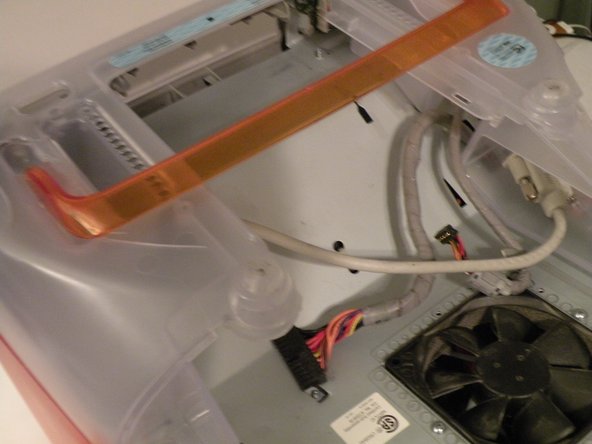
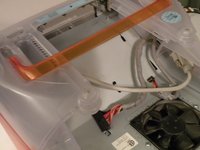
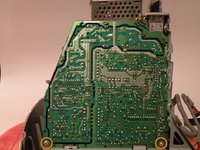
Now, swing the board out, and remove the following connectors:
-
AC Power
-
To System Fan
-
Don't remove this. It comes free with the logic board power.
-
To Display Driver
-
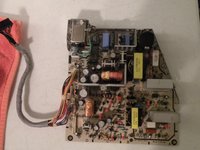
The connector that is attatched to the logic board; to remove it, simply thread it through the hole in the metal:
-
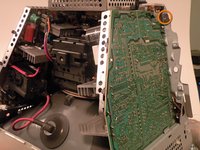
Now, you should be able to remove the power supply.
-


To reassemble your device, follow these instructions in reverse order.
To reassemble your device, follow these instructions in reverse order.
crwdns2935221:0crwdne2935221:0
crwdns2935229:06crwdne2935229:0

crwdns2915084:0crwdne2915084:0

Master Techs crwdns2935289:0Master Techscrwdne2935289:0
Community
crwdns2931471:0326crwdne2931471:0
crwdns2935297:01,399crwdne2935297:0
crwdns2947410:01crwdne2947410:0
i have exactly this problem with my vintage imac g3 took it to repair shop they said could not find it do you know where i can get this power supply and pay to have it installed