crwdns2915892:0crwdne2915892:0
This guide will show you how to replace a microphone from an Xbox Wireless Headset. This repair requires the use of a soldering iron. Be very careful when soldering as the iron gets very hot and will burn you. Also, be sure to work in a well-ventilated area.
crwdns2942213:0crwdne2942213:0
-
-
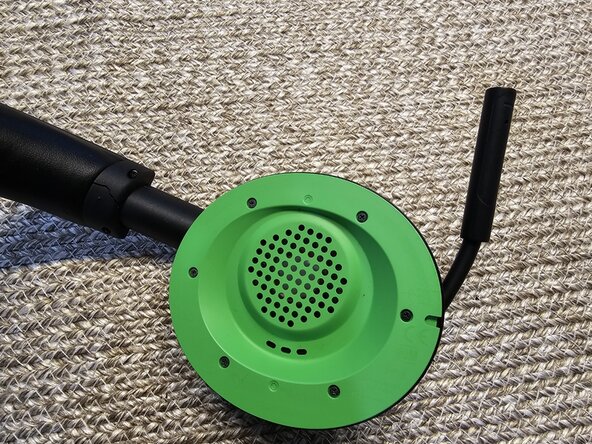
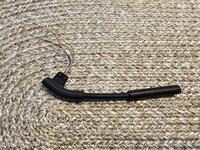
Remove the left ear pad from the headset.
-
-
-
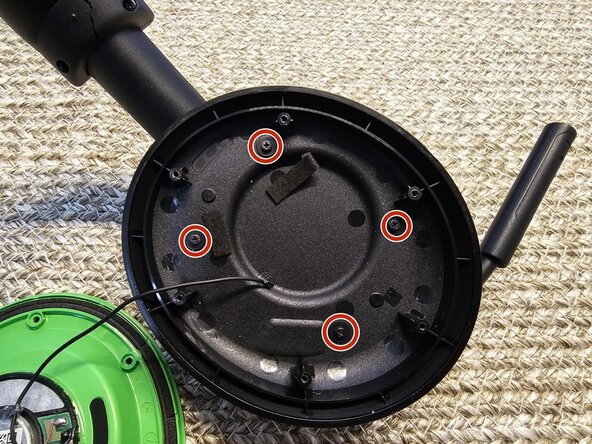
Remove all screws with your ph0 and ph00). (Approximately 16 screws)
-
-
-
-
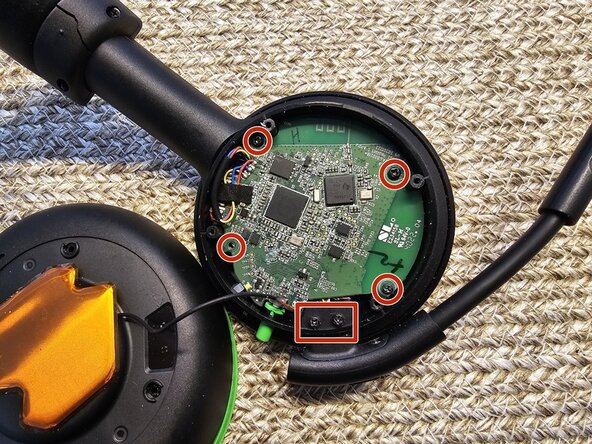
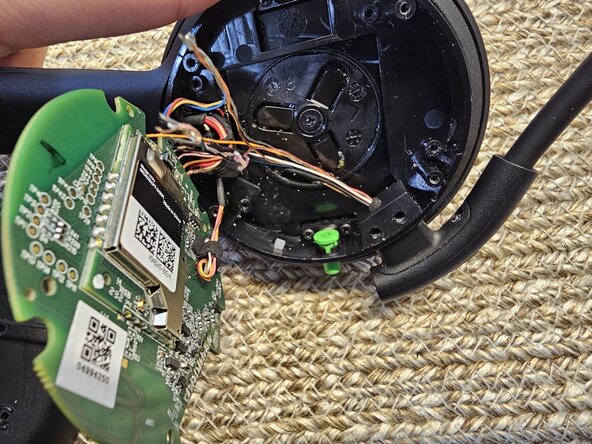
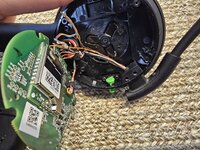
Remove the circuit board and microphone carefully
-
-
-
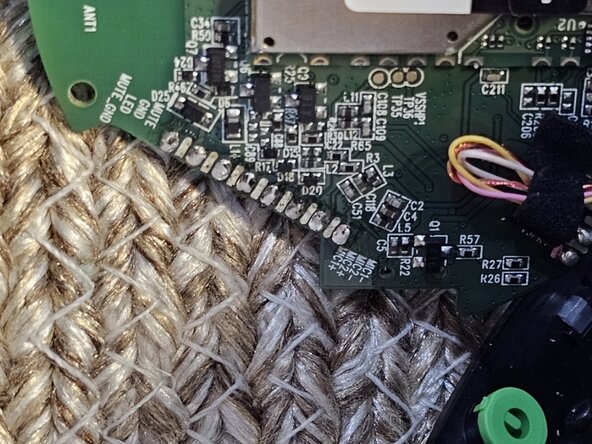
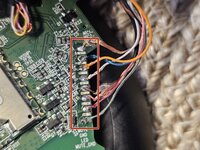
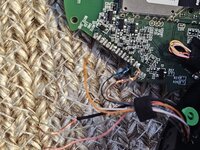
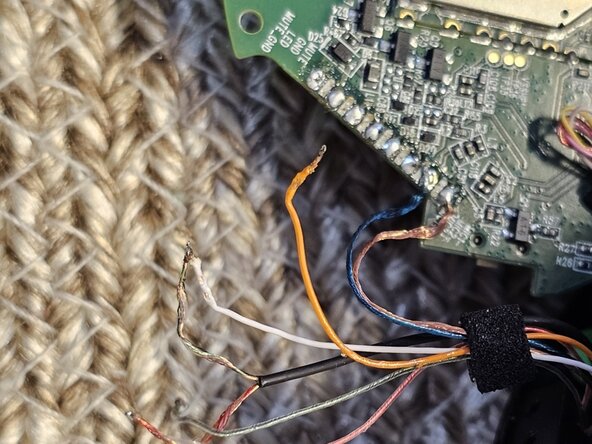
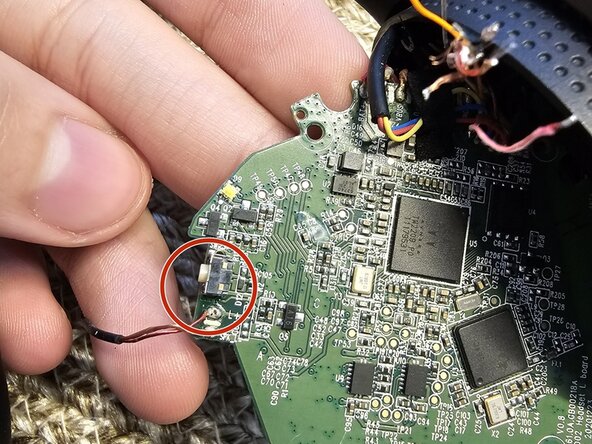
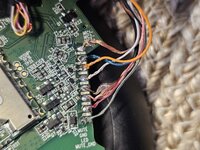
Use a soldering iron to desolder each wire of the microphone (it is recommended to take a picture of the wire of the circuit board).
-
-
-
Grab your new microphone and connect each wire to the circuit board using your Soldering kit (Use the picture you took to connect the wires).
-
-
-
Once the wires are connected, turn on the headset to check if the microphone works, if so, carefully place all pieces back to how they were.
-
If the microphone doesn't work, check if the wires are connected in the correct order.
-


To reassemble your device, follow these instructions in reverse order. Take your e-waste to an R2 or e-Stewards certified recycler.
To reassemble your device, follow these instructions in reverse order. Take your e-waste to an R2 or e-Stewards certified recycler.

crwdns2915084:0crwdne2915084:0

Duquesne University, Team 4-5, Luchini Spring 2025 crwdns2935289:0Duquesne University, Team 4-5, Luchini Spring 2025crwdne2935289:0
DUQ-LUCHINI-S25S4G5
crwdns2934841:01crwdne2934841:0
crwdns2935297:02crwdne2935297:0
crwdns2947412:03crwdne2947412:0
Where can I buy a replacement microphone for the Xbox headset?
Same question here, I couldn't find one on eBay
I am also looking for a replacement microphone for our XBox headphones. Mine looks the same as pictured in this article but only has a 2 wire set up.