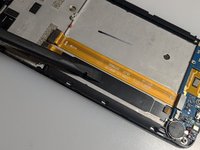
crwdns2933423:0crwdne2933423:0
crwdns2947577:0crwdnd2947577:0crwdne2947577:0

Wiko View Screen Replacement

crwdns2942213:0crwdne2942213:0

      • Allow your battery to drain below 25% before starting this repair. A charged battery may catch fire if damaged.

      • Fully power off your phone and unplug any cables.

      • Ground yourself the best you can to avoid damaging any little component.

      • If you have one, you can use the iFixit Anti-Static Wrist Strap.

      crwdns2952109:0crwdne2952109:0

      crwdns2917038:0crwdne2917038:0

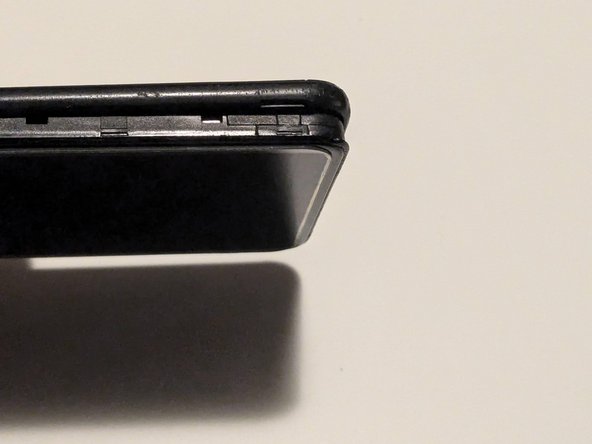
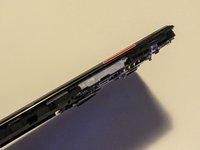
    1. Wiko View Screen Replacement, Remove the back cover: crwdns2935265:02crwdnd2935265:01crwdnd2935265:02crwdne2935265:0 Wiko View Screen Replacement, Remove the back cover: crwdns2935265:02crwdnd2935265:02crwdnd2935265:02crwdne2935265:0
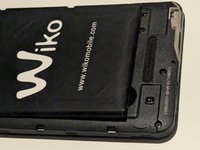
      • Locate the small gap in the bottom-right corner to separate the back cover from the phone's frame.

      • Pull slowly until you can lift the corner enough to grab the back cover with your fingers. You can use an opening pick for help.

      • Pull the back cover along all the sides to completely separate from the rest of the phone.

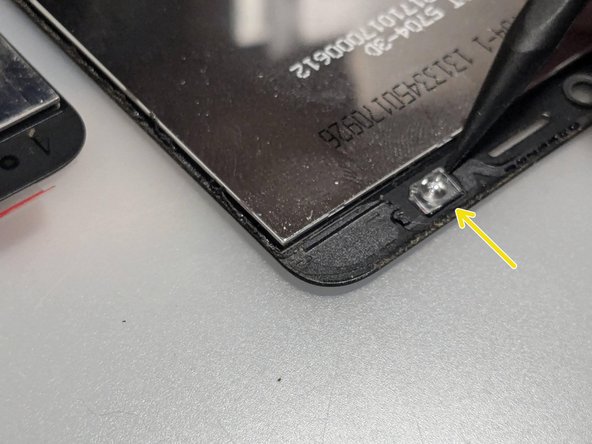
      • The back cover can tolerate a little bending but don't bend too much otherwise it will crack.

      crwdns2952109:0crwdne2952109:0

      crwdns2917038:0crwdne2917038:0

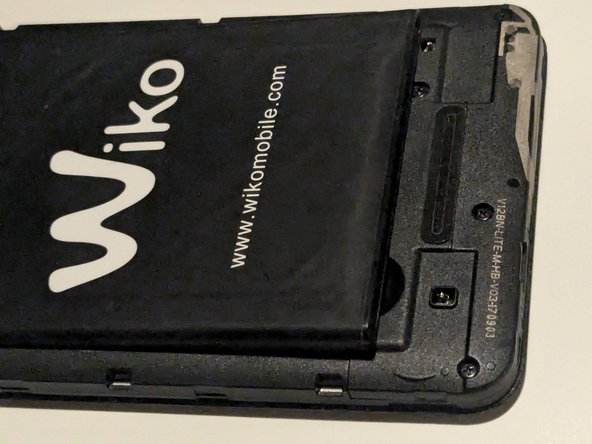
    2. Wiko View Screen Replacement, Remove the battery: crwdns2935265:03crwdnd2935265:01crwdnd2935265:03crwdne2935265:0 Wiko View Screen Replacement, Remove the battery: crwdns2935265:03crwdnd2935265:02crwdnd2935265:03crwdne2935265:0 Wiko View Screen Replacement, Remove the battery: crwdns2935265:03crwdnd2935265:03crwdnd2935265:03crwdne2935265:0
      • Once the back cover is completely removed, you can remove the battery by lifting it from the bottom-left corner.

      • There is another small gap for help.

      • You won't need the help of any tool for this.

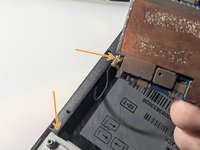
      • From now on, be very careful not to damage the tiny metal springs. The next steps will remove any protection for them; they are thin and very easy to break.

      • If you break one of them, you need to do precision soldering (or just tape it back in place with electrical tape for a quicker but very cheap solution).

      crwdns2952109:0crwdne2952109:0

      crwdns2917038:0crwdne2917038:0

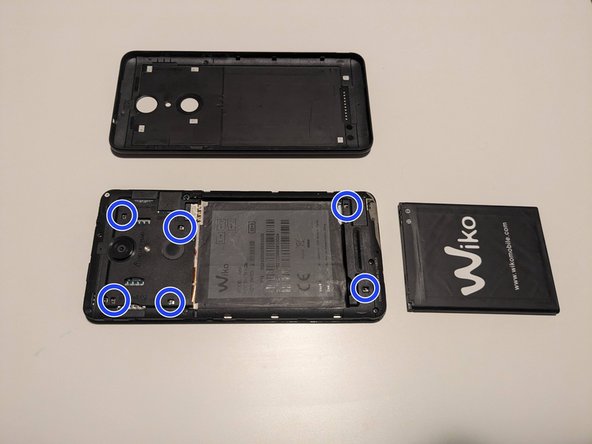
    3. Wiko View Screen Replacement, Remove the top plastic cover: crwdns2935265:04crwdnd2935265:01crwdnd2935265:03crwdne2935265:0 Wiko View Screen Replacement, Remove the top plastic cover: crwdns2935265:04crwdnd2935265:02crwdnd2935265:03crwdne2935265:0 Wiko View Screen Replacement, Remove the top plastic cover: crwdns2935265:04crwdnd2935265:03crwdnd2935265:03crwdne2935265:0
      • Remove every SIM or SD card from the slots.

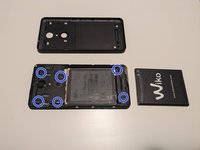
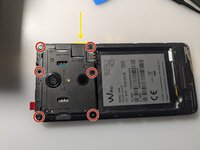
      • Unscrew all the six screws from the top plastic cover.

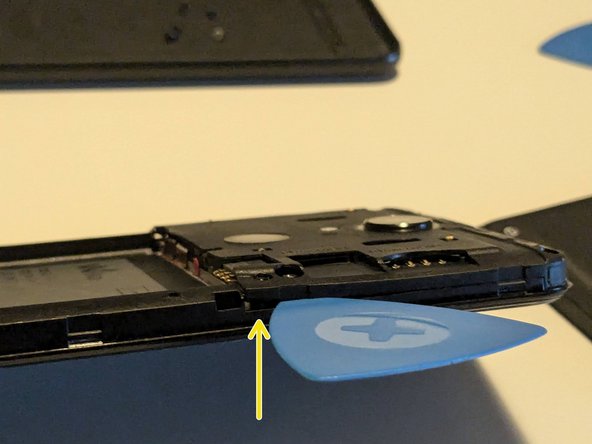
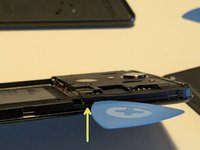
      • Start to lift gently the cover using opening picks from its bottom-right corner.

      • Only insert the pick up to 3.5 mm to avoid damaging the internals.

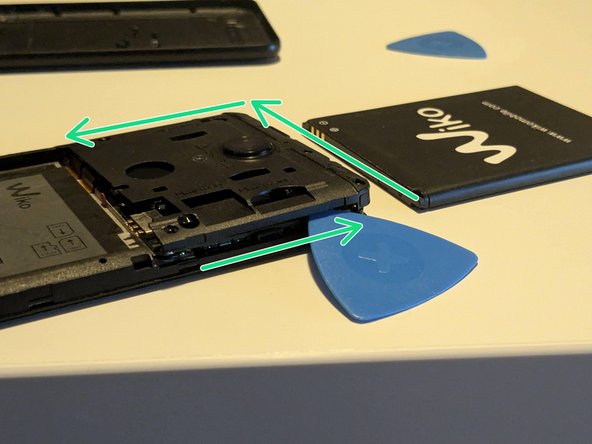
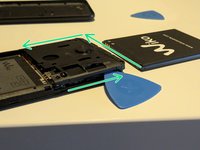
      • Keep pushing the opening pick along all the external sides of the plastic cover.

      • You need to open all the plastic clips hidden under the cover itself. You can notice a soft "pop" when opening successfully one of them.

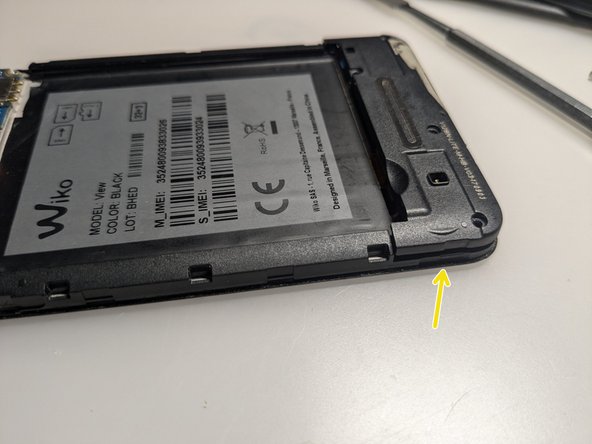
      • When all the clips are opened, you can lift the cover completely with caution.

      crwdns2952109:0crwdne2952109:0

      crwdns2917038:0crwdne2917038:0

    4. Wiko View Screen Replacement, Unplug power buttons: crwdns2935265:05crwdnd2935265:01crwdnd2935265:01crwdne2935265:0
      crwdns2952109:0crwdne2952109:0

      crwdns2917038:0crwdne2917038:0

    5. Wiko View Screen Replacement, Unplug display and bottom circuit: crwdns2935265:06crwdnd2935265:01crwdnd2935265:01crwdne2935265:0
      • Unplug the display-touch digitizer and bottom circuit connectors with the help of a spudger.

      • They are both press connectors.

      crwdns2952109:0crwdne2952109:0

      crwdns2917038:0crwdne2917038:0

    6. Wiko View Screen Replacement, Remove the bottom plastic cover: crwdns2935265:07crwdnd2935265:01crwdnd2935265:03crwdne2935265:0 Wiko View Screen Replacement, Remove the bottom plastic cover: crwdns2935265:07crwdnd2935265:02crwdnd2935265:03crwdne2935265:0 Wiko View Screen Replacement, Remove the bottom plastic cover: crwdns2935265:07crwdnd2935265:03crwdnd2935265:03crwdne2935265:0
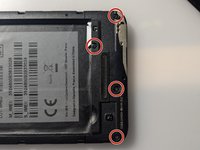
      • Unscrew all four screws.

      • Like in the Step 4, use an opening pick to lift and remove carefully the cover from the bottom-left corner.

      • We are not going to remove the bottom motherboard in this guide.

      crwdns2952109:0crwdne2952109:0

      crwdns2917038:0crwdne2917038:0

    7. Wiko View Screen Replacement, Remove the motherboard: crwdns2935265:08crwdnd2935265:01crwdnd2935265:03crwdne2935265:0 Wiko View Screen Replacement, Remove the motherboard: crwdns2935265:08crwdnd2935265:02crwdnd2935265:03crwdne2935265:0 Wiko View Screen Replacement, Remove the motherboard: crwdns2935265:08crwdnd2935265:03crwdnd2935265:03crwdne2935265:0
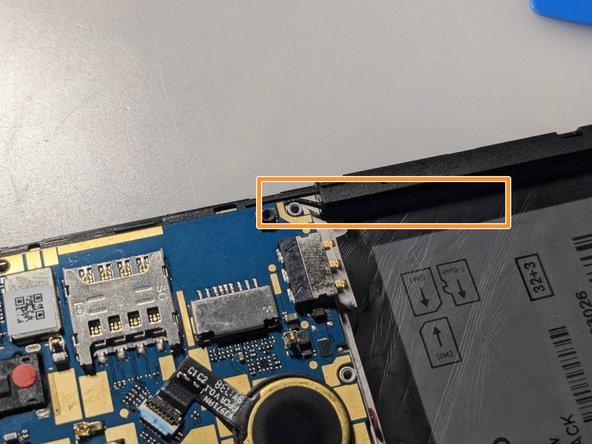
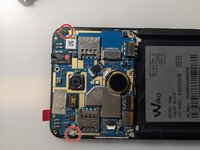
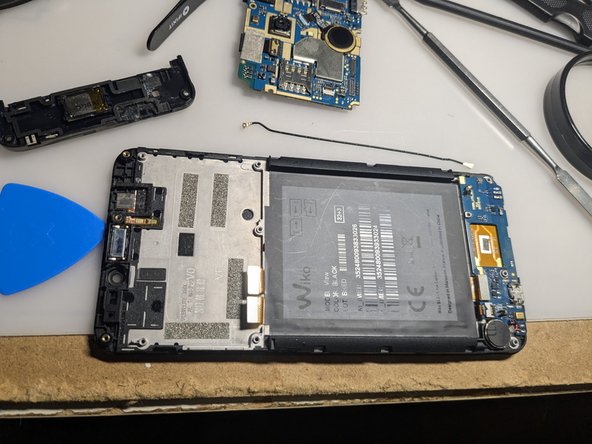
      • Unscrew the two screws that hold the motherboard.

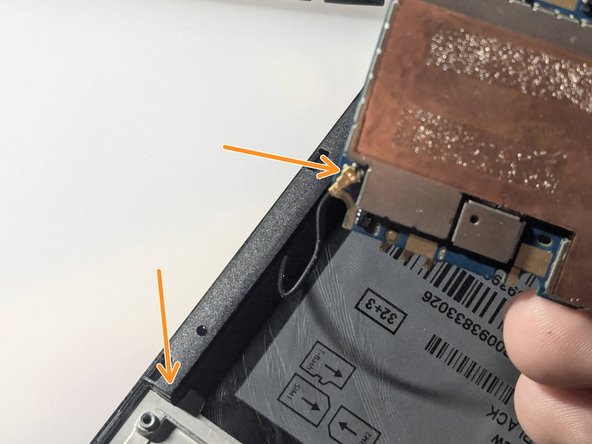
      • Do not apply force to remove the motherboard, otherwise you will cut the antenna cable.

      • Gently lift the motherboard passing the cable under the plastic frame and go to the next step.

      crwdns2952109:0crwdne2952109:0

      crwdns2917038:0crwdne2917038:0

    8. Wiko View Screen Replacement, Remove the antenna cable: crwdns2935265:09crwdnd2935265:01crwdnd2935265:02crwdne2935265:0 Wiko View Screen Replacement, Remove the antenna cable: crwdns2935265:09crwdnd2935265:02crwdnd2935265:02crwdne2935265:0
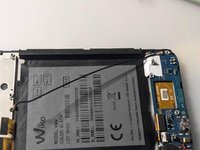
      • Unplug the antenna cable from both ends.

      • It has a coaxial connector.

      • Remember to reconnect the antenna cable before remounting the motherboard.

      crwdns2952109:0crwdne2952109:0

      crwdns2917038:0crwdne2917038:0

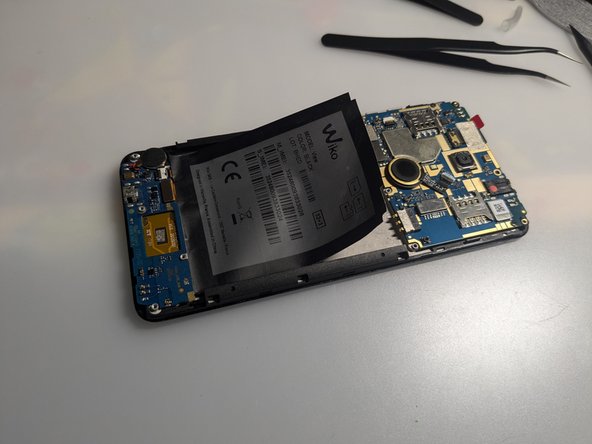
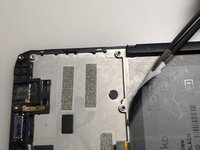
    9. Wiko View Screen Replacement, Remove the sticker: crwdns2935265:010crwdnd2935265:01crwdnd2935265:02crwdne2935265:0 Wiko View Screen Replacement, Remove the sticker: crwdns2935265:010crwdnd2935265:02crwdnd2935265:02crwdne2935265:0
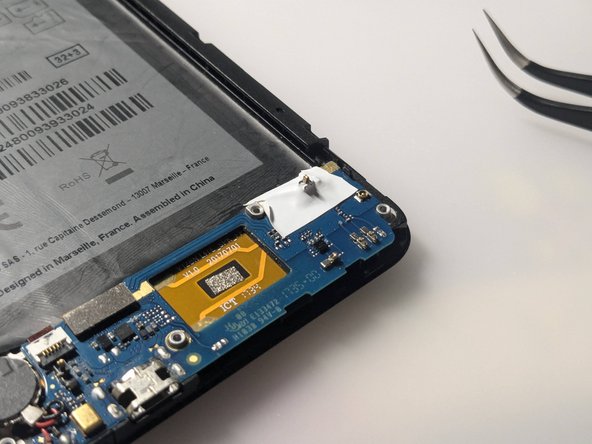
      • With the help of a tweezer, remove slowly the back sticker.

      • Take note of the codes written in case it breaks.

      • After the substitution, you can put it back where was.

      crwdns2952109:0crwdne2952109:0

      crwdns2917038:0crwdne2917038:0

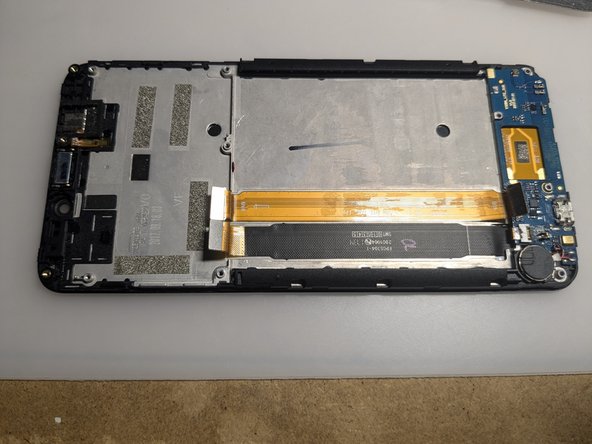
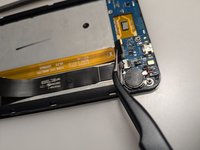
    10. Wiko View Screen Replacement, Unplug the motherboard's link cable: crwdns2935265:011crwdnd2935265:01crwdnd2935265:02crwdne2935265:0 Wiko View Screen Replacement, Unplug the motherboard's link cable: crwdns2935265:011crwdnd2935265:02crwdnd2935265:02crwdne2935265:0
      • Unplug the cable that links the two motherboards.

      • Do not completely remove the cable from the metal case.

      crwdns2952109:0crwdne2952109:0

      crwdns2917038:0crwdne2917038:0

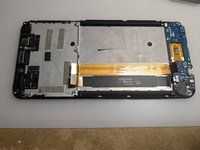
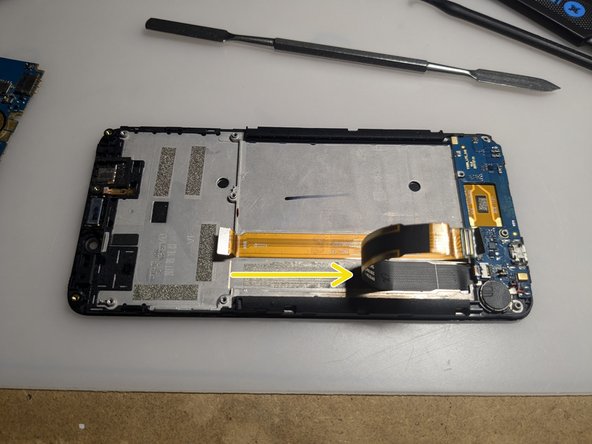
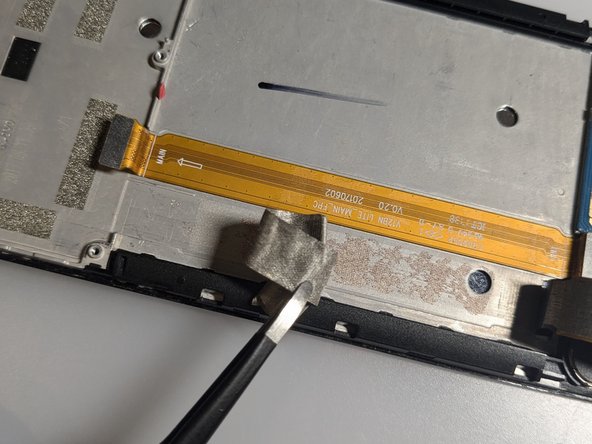
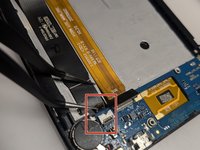
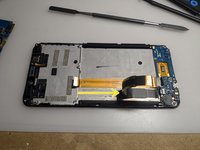
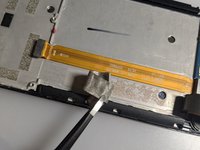
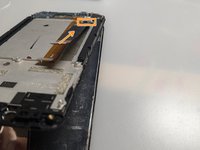
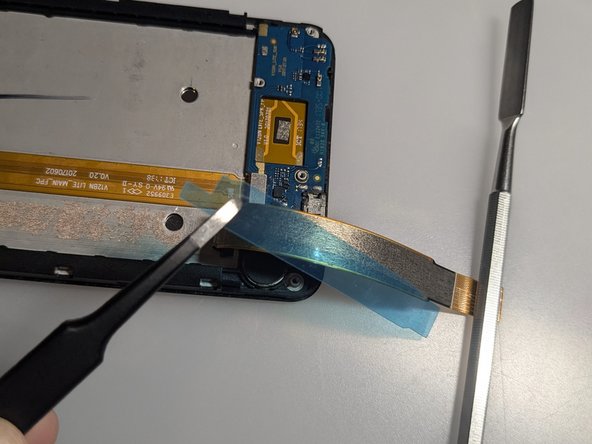
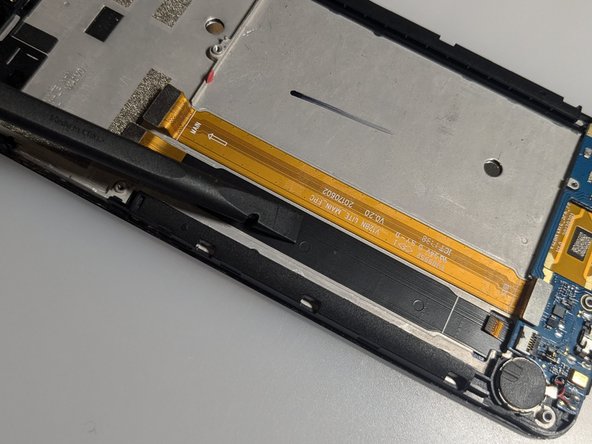
    11. Wiko View Screen Replacement, Remove the display cable: crwdns2935265:012crwdnd2935265:01crwdnd2935265:03crwdne2935265:0 Wiko View Screen Replacement, Remove the display cable: crwdns2935265:012crwdnd2935265:02crwdnd2935265:03crwdne2935265:0 Wiko View Screen Replacement, Remove the display cable: crwdns2935265:012crwdnd2935265:03crwdnd2935265:03crwdne2935265:0
      • First, unplug the cable from the bottom motherboard.

      • It's a "no-fuss" ribble cable connector.

      • Then slowly pull the bigger cable.

      • The cable is glued to the metal case.

      • Be sure to lift the cable for all its length, so the adhesive won't keep it in place and break it in the following steps.

      • Do not completely remove the cable - it is linked to the display under the metal case.
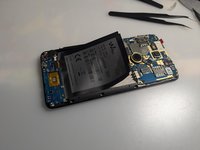
      • Remove the grey adhesive.

      crwdns2952109:0crwdne2952109:0

      crwdns2917038:0crwdne2917038:0

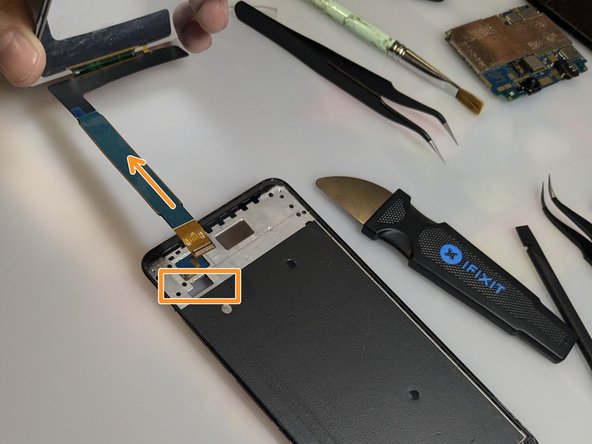
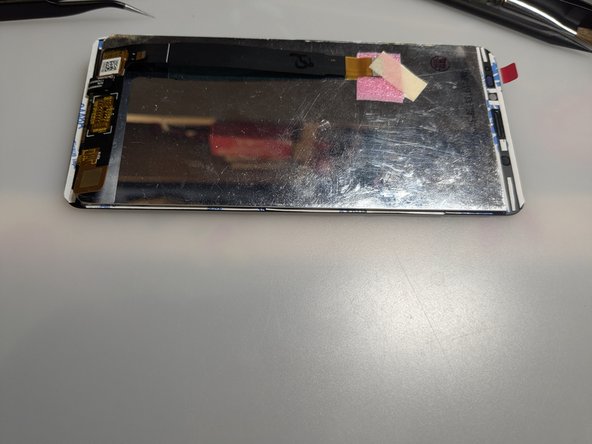
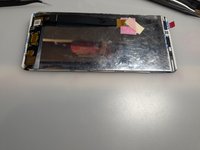
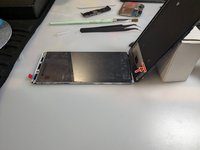
    12. Wiko View Screen Replacement, Remove the display: crwdns2935265:013crwdnd2935265:01crwdnd2935265:03crwdne2935265:0 Wiko View Screen Replacement, Remove the display: crwdns2935265:013crwdnd2935265:02crwdnd2935265:03crwdne2935265:0 Wiko View Screen Replacement, Remove the display: crwdns2935265:013crwdnd2935265:03crwdnd2935265:03crwdne2935265:0
      • Heat an iOpener and apply it to the right edge of the screen for two minutes.

      • A hair dryer, heat gun, or hot plate may also be used, but be careful not to overheat the phone - the display is susceptible to heat damage.

      • Apply a suction cup to the screen, as close to the center of the right edge as possible, and pull up with strong, steady force to create a gap between the bezel and the frame.

      • Insert an opening pick into the gap.

      • Depending on the age of your phone, this may be difficult. If you're having trouble, apply more heat to the edge and try again. You can also use a Jimmy instead (being very careful not to scratch the metal frame). If your display is badly cracked, covering it with a layer of clear packing tape may allow the suction cup to adhere.

      • Release all the clips and unglue the screen.

      • Pull the cable through the frame's opening.

      crwdns2952109:0crwdne2952109:0

      crwdns2917038:0crwdne2917038:0

    13. Wiko View Screen Replacement, Remove adhesives: crwdns2935265:014crwdnd2935265:01crwdnd2935265:01crwdne2935265:0
      • Remove the adhesive backings from the new part

      • Remove the protective adhesive in front of the screen only when the reparation is complete.

      crwdns2952109:0crwdne2952109:0

      crwdns2917038:0crwdne2917038:0

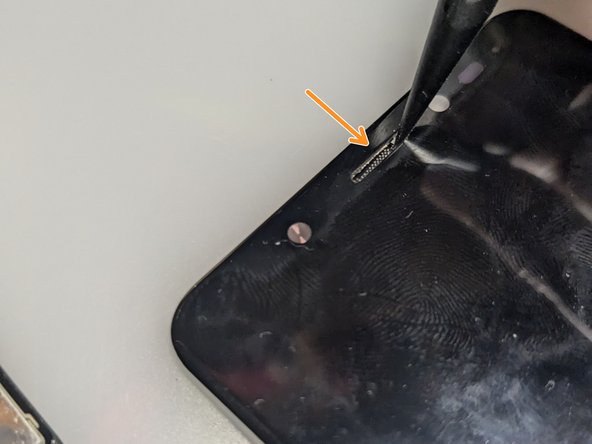
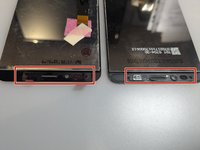
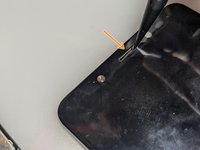
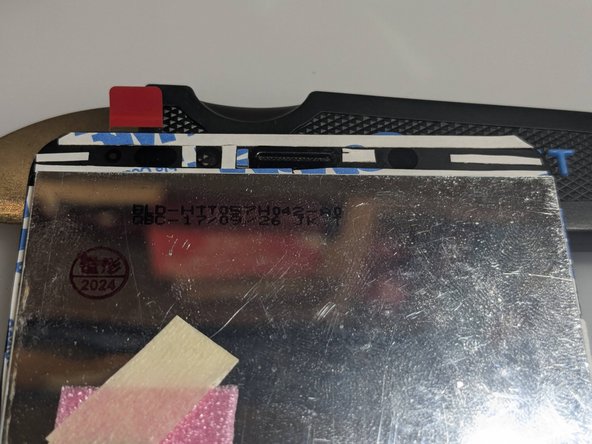
    14. Wiko View Screen Replacement, Transfer the remaining components: crwdns2935265:015crwdnd2935265:01crwdnd2935265:03crwdne2935265:0 Wiko View Screen Replacement, Transfer the remaining components: crwdns2935265:015crwdnd2935265:02crwdnd2935265:03crwdne2935265:0 Wiko View Screen Replacement, Transfer the remaining components: crwdns2935265:015crwdnd2935265:03crwdnd2935265:03crwdne2935265:0
      • Compare your new replacement part to the original part - you may need to transfer the remaining components.

      • For example:

      • The ear capsule grid.

      • The lens of the internal flash.

      crwdns2952109:0crwdne2952109:0

      crwdns2917038:0crwdne2917038:0

    15. Wiko View Screen Replacement, Add the new adhesive: crwdns2935265:016crwdnd2935265:01crwdnd2935265:03crwdne2935265:0 Wiko View Screen Replacement, Add the new adhesive: crwdns2935265:016crwdnd2935265:02crwdnd2935265:03crwdne2935265:0 Wiko View Screen Replacement, Add the new adhesive: crwdns2935265:016crwdnd2935265:03crwdnd2935265:03crwdne2935265:0
      • Fill all the screen's borders with the double-sided adhesive.

      • You can use the precision tweezer and spudger to help you position and compress the tape in place.

      crwdns2952109:0crwdne2952109:0

      crwdns2917038:0crwdne2917038:0

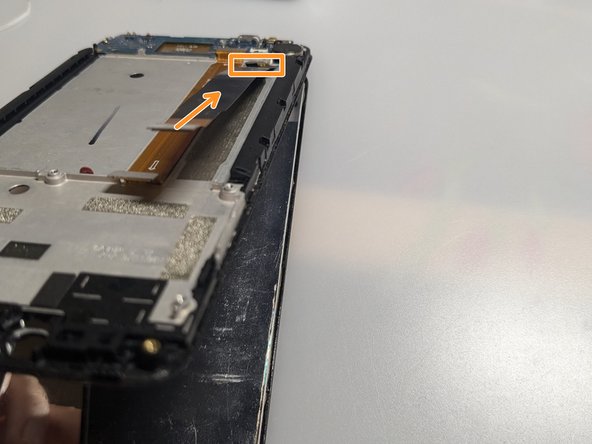
    16. Wiko View Screen Replacement, Place the new display cable: crwdns2935265:017crwdnd2935265:01crwdnd2935265:02crwdne2935265:0 Wiko View Screen Replacement, Place the new display cable: crwdns2935265:017crwdnd2935265:02crwdnd2935265:02crwdne2935265:0
      • Insert the new display cable in the metal case opening.

      crwdns2952109:0crwdne2952109:0

      crwdns2917038:0crwdne2917038:0

    17. Wiko View Screen Replacement, Install the new display: crwdns2935265:018crwdnd2935265:01crwdnd2935265:01crwdne2935265:0
      • Remove all the protective layers from the placed tape.

      • Push the display into the frame.

      • Let the glue dry.

      crwdns2952109:0crwdne2952109:0

      crwdns2917038:0crwdne2917038:0

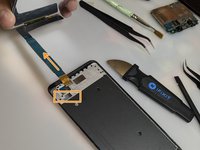
    18. Wiko View Screen Replacement, Place the new display cable: crwdns2935265:019crwdnd2935265:01crwdnd2935265:03crwdne2935265:0 Wiko View Screen Replacement, Place the new display cable: crwdns2935265:019crwdnd2935265:02crwdnd2935265:03crwdne2935265:0 Wiko View Screen Replacement, Place the new display cable: crwdns2935265:019crwdnd2935265:03crwdnd2935265:03crwdne2935265:0
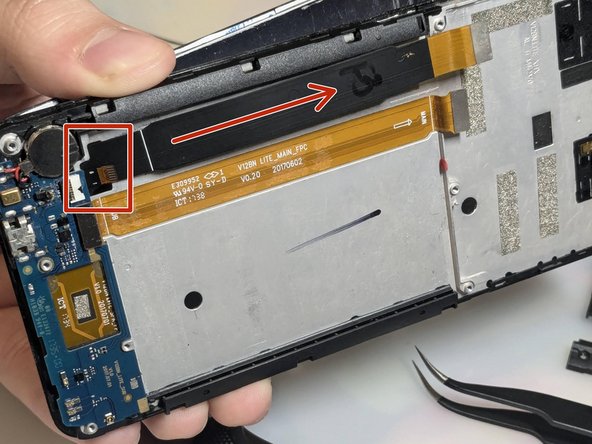
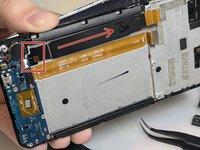
      • Remove the protective layer from the main cable's adhesive.

      • Place the main cable parallel to the orange one.

      crwdns2952109:0crwdne2952109:0

      crwdns2917038:0crwdne2917038:0

crwdns2915888:0crwdne2915888:0

You can take the opportunity to clean in-depth your device.

To reassemble your device, follow these instructions in reverse order.

Before completely closing your device, make some tests for the display and touch.

Leave your device under a book or some soft weight for a couple of hours to let the screen adhesive stick well.

crwdns2935221:0crwdne2935221:0

crwdns2935229:02crwdne2935229:0

Emanuele Artusi

crwdns2935283:010/23/24crwdne2935283:0

1,124 crwdns2915208:0crwdne2915208:0

crwdns2935297:05crwdne2935297:0

crwdns2947412:00crwdne2947412:0

crwdns2917038:0crwdne2917038:0

crwdns2936625:0crwdne2936625:0:

crwdns2936751:024crwdne2936751:0 3

crwdns2936753:07crwdne2936753:0 20

crwdns2936753:030crwdne2936753:0 74

crwdns2942667:0crwdne2942667:0 544