crwdns2915892:0crwdne2915892:0
In this simple and straightforward guide we will show you how to disassemble and replace the joystick and buttons of a Wii Nunchuk controller. You may need to replace the buttons and joystick if they stop working or you may just want to give the area a good careful clean with isopropyl alcohol.
crwdns2942213:0crwdne2942213:0
-
-
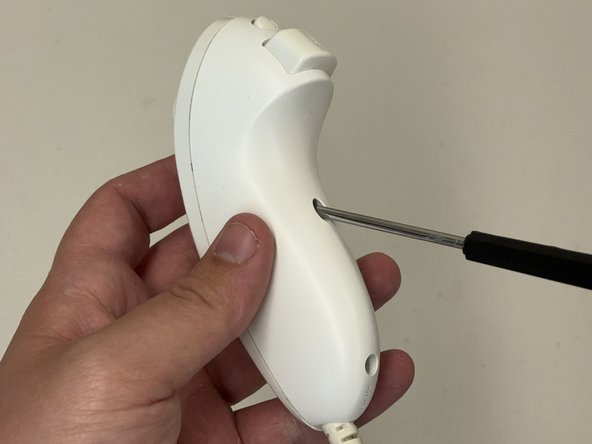
Use a Tri-point Y0 screwdriver to remove the two 9.2 mm screws from the back of the controller.
-
-
-
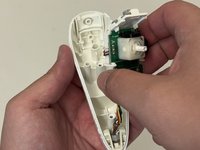
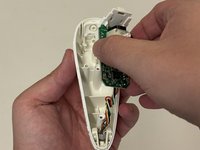
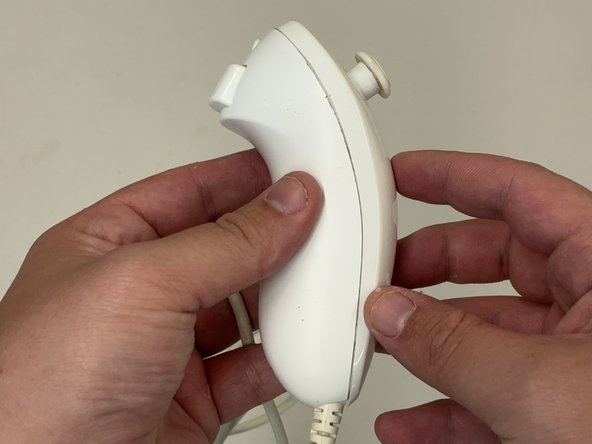
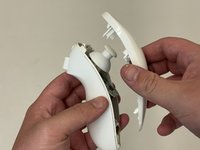
Use a spudger or your hands to separate the top case of the Wii Nunchuk.
-
-
-
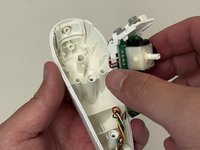
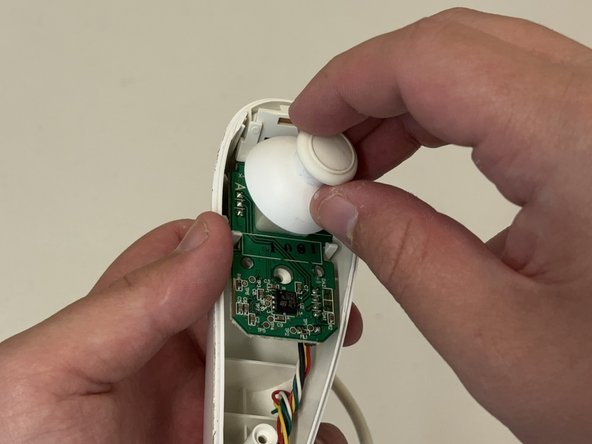
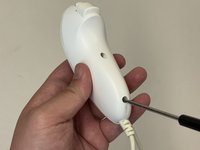
Pull the joystick off the attachment on the motherboard.
-
-
-
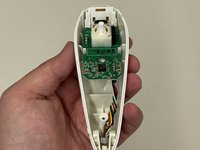
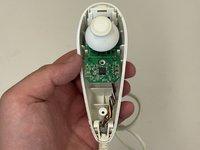
Take the motherboard by the edges, and gently lift it out of the shell, exposing the buttons.
-
-
-
-
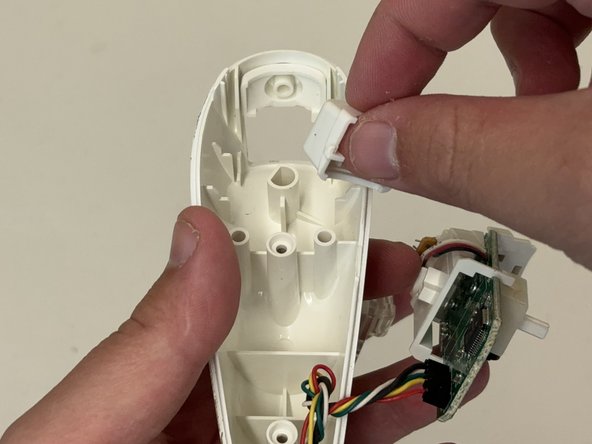
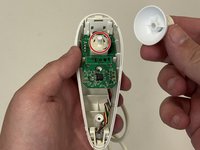
Set the motherboard to the side so that it is out of the way.
-
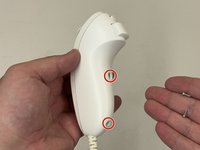
Push the buttons in from the outside of the device to pop them out.
-
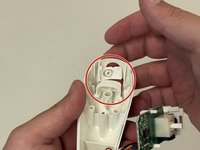
Set the new buttons into the cutouts of the controller shell, ensuring they sit flush inside the controller.
-
-
-
Set the motherboard back inside the center of the shell.
-
-
-
Push the new joystick onto the white attachment on the motherboard.
-
-
-
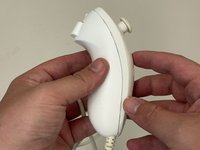
Place the top case of the controller on the bottom shell, making sure to align the halves properly.
-
Push them together until you hear a small click, ensuring the controller is assembled securely.
-
-
-
Use a Tri-point Y0 screwdriver to replace the two 9.2 mm screws that secure the back case.
-


Take your e-waste to an R2 or e-Stewards certified recycler.
Take your e-waste to an R2 or e-Stewards certified recycler.

crwdns2915084:0crwdne2915084:0

CSU Los Angeles, Team 8-9, Grodsky Spring 2024 crwdns2935289:0CSU Los Angeles, Team 8-9, Grodsky Spring 2024crwdne2935289:0
CSULA-GRODSKY-S24S8G9
crwdns2931471:02crwdne2931471:0
crwdns2935297:02crwdne2935297:0