crwdns2933423:0crwdne2933423:0

Whirlpool Refrigerator Freezer Thermistor Replacement

crwdns2942213:0crwdne2942213:0

  1. Whirlpool Refrigerator Freezer Thermistor Replacement, Safety precautions: crwdns2935265:01crwdnd2935265:01crwdnd2935265:01crwdne2935265:0
    • Before you begin your repair, perform the following:

    • Turn off your main water supply

    • Unplug your device

  2. Whirlpool Refrigerator Freezer Thermistor Replacement, Open the doors: crwdns2935265:02crwdnd2935265:01crwdnd2935265:03crwdne2935265:0 Whirlpool Refrigerator Freezer Thermistor Replacement, Open the doors: crwdns2935265:02crwdnd2935265:02crwdnd2935265:03crwdne2935265:0 Whirlpool Refrigerator Freezer Thermistor Replacement, Open the doors: crwdns2935265:02crwdnd2935265:03crwdnd2935265:03crwdne2935265:0
    • Depending on your repair, open one or both doors.

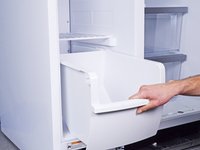
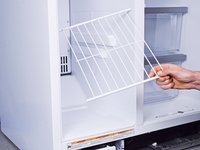
  3. Whirlpool Refrigerator Freezer Thermistor Replacement, Remove the drawers: crwdns2935265:03crwdnd2935265:01crwdnd2935265:02crwdne2935265:0 Whirlpool Refrigerator Freezer Thermistor Replacement, Remove the drawers: crwdns2935265:03crwdnd2935265:02crwdnd2935265:02crwdne2935265:0
    • Remove the drawers and shelves from the freezer section.

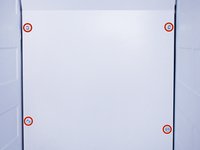
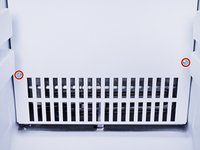
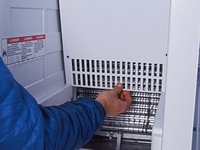
  4. Whirlpool Refrigerator Freezer Thermistor Replacement: crwdns2935265:04crwdnd2935265:01crwdnd2935265:02crwdne2935265:0 Whirlpool Refrigerator Freezer Thermistor Replacement: crwdns2935265:04crwdnd2935265:02crwdnd2935265:02crwdne2935265:0
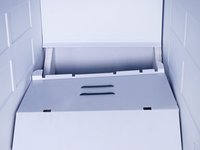
    • Remove the screw(s) securing the evaporator cover.

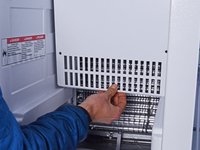
  5. Whirlpool Refrigerator Freezer Thermistor Replacement, Unclip the evaporator cover: crwdns2935265:05crwdnd2935265:01crwdnd2935265:03crwdne2935265:0 Whirlpool Refrigerator Freezer Thermistor Replacement, Unclip the evaporator cover: crwdns2935265:05crwdnd2935265:02crwdnd2935265:03crwdne2935265:0 Whirlpool Refrigerator Freezer Thermistor Replacement, Unclip the evaporator cover: crwdns2935265:05crwdnd2935265:03crwdnd2935265:03crwdne2935265:0
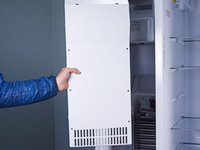
    • Lift the bottom of the evaporator cover up and over its lip in the chassis.

    • Pull the cover toward yourself to release its top clips.

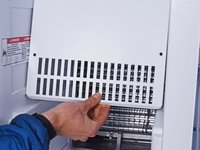
  6. Whirlpool Refrigerator Freezer Thermistor Replacement, Remove the evaporator cover: crwdns2935265:06crwdnd2935265:01crwdnd2935265:03crwdne2935265:0 Whirlpool Refrigerator Freezer Thermistor Replacement, Remove the evaporator cover: crwdns2935265:06crwdnd2935265:02crwdnd2935265:03crwdne2935265:0 Whirlpool Refrigerator Freezer Thermistor Replacement, Remove the evaporator cover: crwdns2935265:06crwdnd2935265:03crwdnd2935265:03crwdne2935265:0
    • Continue pulling the evaporator cover towards yourself to unclip its metal prongs from the chassis.

    • Remove the evaporator cover.

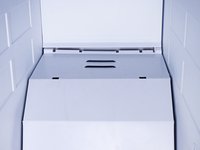
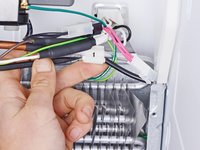
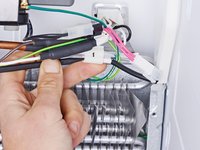
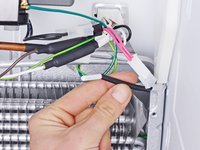
  7. Whirlpool Refrigerator Freezer Thermistor Replacement, Unclip the thermistor: crwdns2935265:07crwdnd2935265:01crwdnd2935265:03crwdne2935265:0 Whirlpool Refrigerator Freezer Thermistor Replacement, Unclip the thermistor: crwdns2935265:07crwdnd2935265:02crwdnd2935265:03crwdne2935265:0 Whirlpool Refrigerator Freezer Thermistor Replacement, Unclip the thermistor: crwdns2935265:07crwdnd2935265:03crwdnd2935265:03crwdne2935265:0
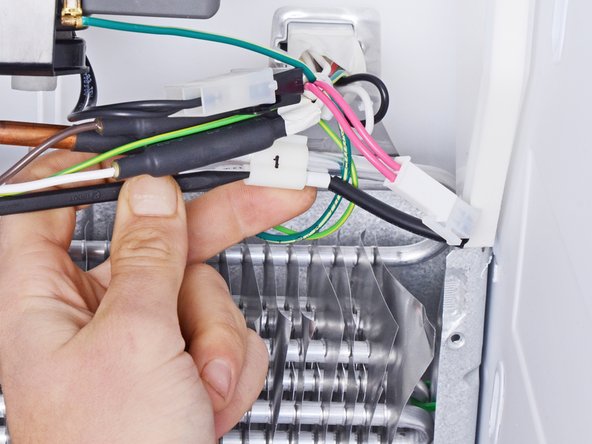
    • Use a spudger to push the tip of the thermistor through its slot in the wire harness.

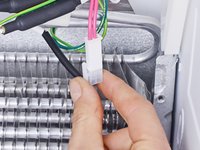
  8. Whirlpool Refrigerator Freezer Thermistor Replacement, Disconnect the thermistor: crwdns2935265:08crwdnd2935265:01crwdnd2935265:02crwdne2935265:0 Whirlpool Refrigerator Freezer Thermistor Replacement, Disconnect the thermistor: crwdns2935265:08crwdnd2935265:02crwdnd2935265:02crwdne2935265:0
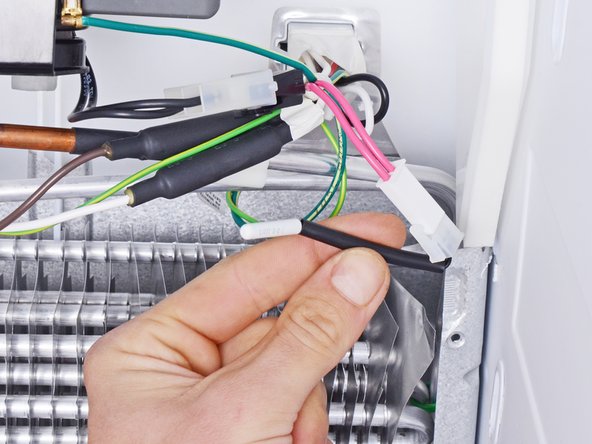
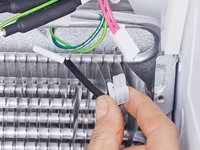
    • Disconnect any connectors attached to the thermistor.

  9. Whirlpool Refrigerator Freezer Thermistor Replacement, Remove the thermistor: crwdns2935265:09crwdnd2935265:01crwdnd2935265:01crwdne2935265:0
    • Remove the thermistor.

  10. Whirlpool Refrigerator Freezer Thermistor Replacement, Meter the thermistor: crwdns2935265:010crwdnd2935265:01crwdnd2935265:01crwdne2935265:0
    • If you own a multimeter, you can test your thermistor's resistance.
    • A range between 2-220KΩ is acceptable. Check the specifications for your specific thermistor since there is such a large variance, and make sure you test at the appropriate temperature.

crwdns2915888:0crwdne2915888:0

To reassemble your device, follow these instructions in reverse order.

Take your e-waste to an R2 or e-Stewards certified recycler.

Repair didn’t go as planned? Ask our Answers community for help.

nicO

crwdns2935283:004/14/15crwdne2935283:0

15 927 crwdns2915208:0crwdne2915208:0

crwdns2935297:088crwdne2935297:0

crwdns2915084:0crwdne2915084:0

Global Fixers crwdns2935289:0Global Fixerscrwdne2935289:0

Community

crwdns2931471:033crwdne2931471:0

crwdns2935297:0550crwdne2935297:0

crwdns2944067:00crwdne2944067:0

crwdns2917038:0crwdne2917038:0

crwdns2936625:0crwdne2936625:0:

crwdns2936751:024crwdne2936751:0 4

crwdns2936753:07crwdne2936753:0 26

crwdns2936753:030crwdne2936753:0 116

crwdns2942667:0crwdne2942667:0 1,560