crwdns2915892:0crwdne2915892:0
Use this guide to replace the battery in a Waterpik Cordless Advanced 2.0 WP-580.
This guide requires soldering. If you're unfamiliar with soldering, review the How to Solder and Desolder Connections guide and take appropriate precautions before beginning.
crwdns2942213:0crwdne2942213:0
-
-
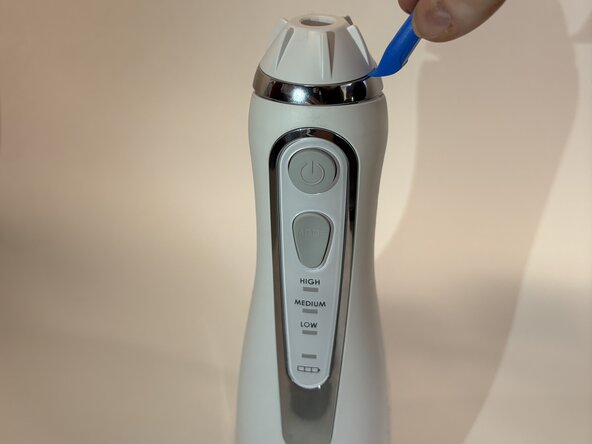
Depress the tip eject button and remove the tip.
-
Use an opening tool to pry off the tip rotator.
-
-
-
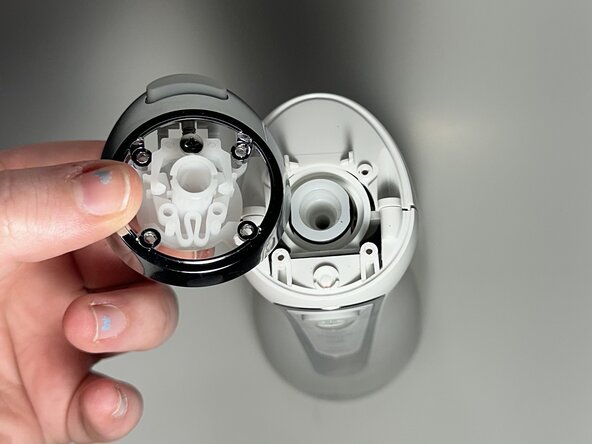
Remove the four Phillips screws beneath the tip rotator.
-
Remove the eject button assembly.
-
-
-
Use a Phillips #0 screwdriver to remove the two screws beneath the eject button assembly.
-
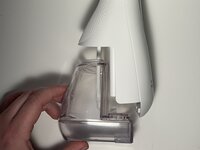
Remove the water reservoir.
-
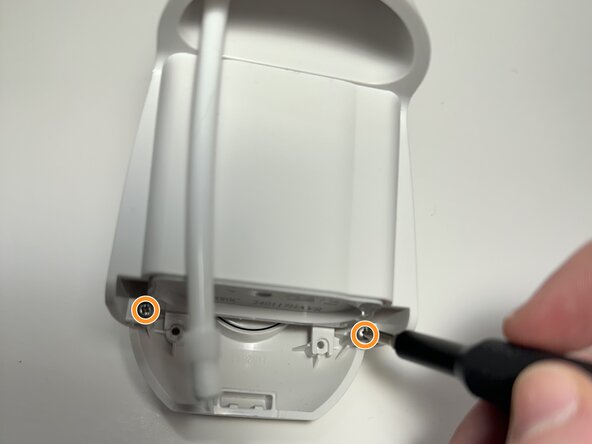
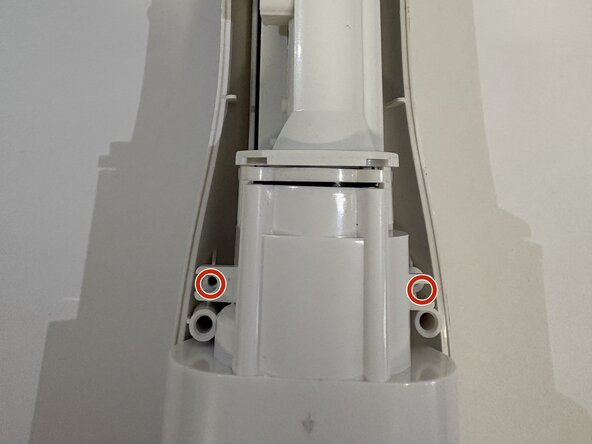
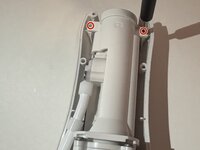
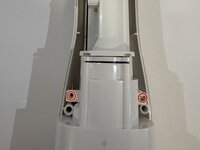
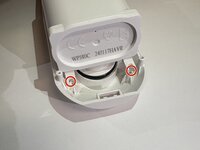
Remove the two Phillips #0 screws toward the bottom of the device.
-
-
-
-
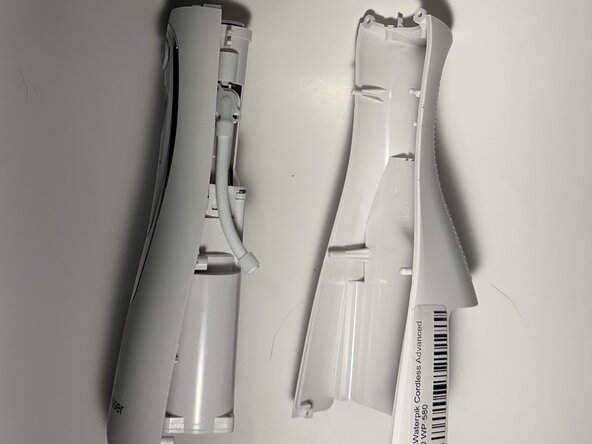
Insert the flat end of a spudger into the seam between the front and rear case and gently begin to pry the two halves apart.
-
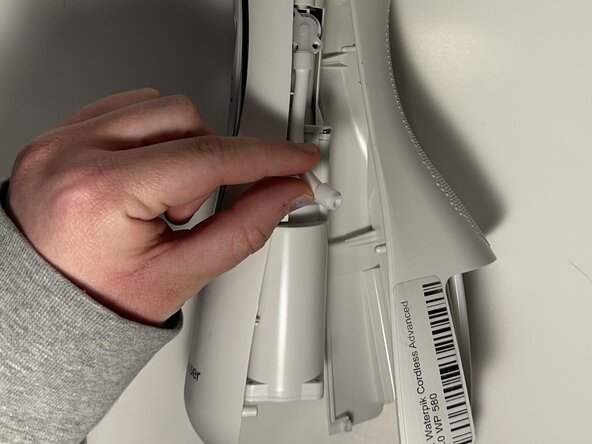
Disconnect the hose from the right side of the device and fully separate the two halves.
-
-
-
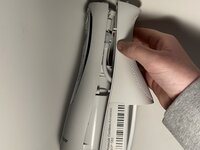
Remove the two screws at the top, two screws in the middle, and two screws at the bottom using a Phillips #0 screwdriver.
-
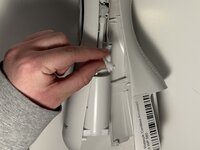
Gently separate the outer casing from the rest of the inside pieces - there are cords here holding them together.
-
-
-
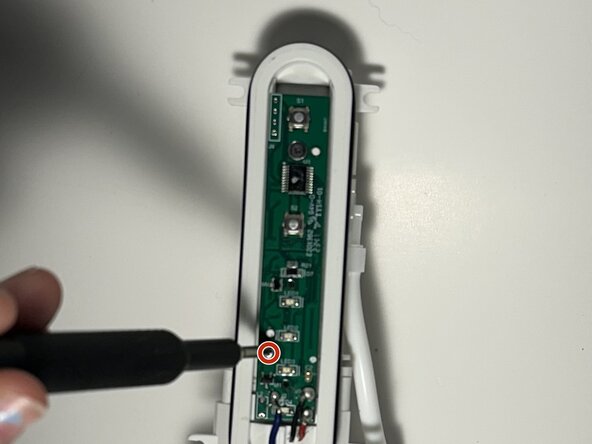
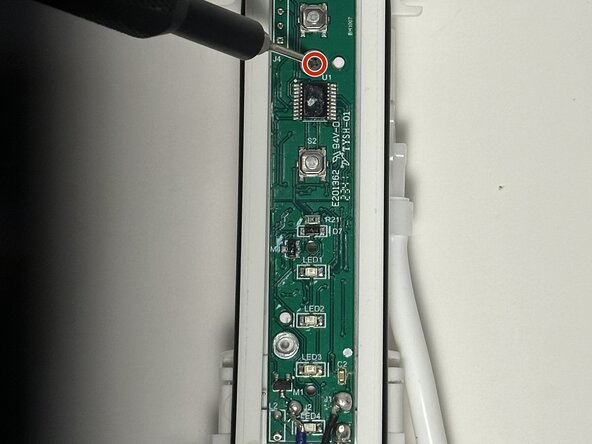
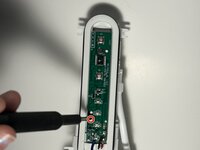
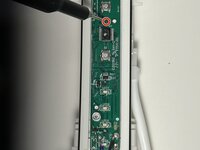
Use a Phillips screwdriver to remove the two screws that secure the motherboard.
-
-
-
Carefully desolder the black, red, and blue wires from the motherboard.
-
-
-
You now have access to where the battery is stored. Carefully remove the bottom cap and replace the battery.
-


To reassemble your device, follow the above steps in reverse order.
For optimal performance, after completing this guide, calibrate your newly installed battery.
Take your e-waste to an R2 or e-Stewards certified recycler.
Repair didn’t go as planned? Try some basic troubleshooting or ask our Answers community for help.
crwdns2935221:0crwdne2935221:0
crwdns2935227:0crwdne2935227:0
crwdns2935287:0crwdne2935287:0

Western Carolina University, Team 1-3, Virtue Spring 2025 crwdns2935289:0Western Carolina University, Team 1-3, Virtue Spring 2025crwdne2935289:0
WCU-VIRTUE-S25S1G3
crwdns2931471:04crwdne2931471:0
crwdns2935297:05crwdne2935297:0