crwdns2915892:0crwdne2915892:0
This detailed guide will cover the particulars on how to replace a defective battery in the Wand Company Star Trek Communicator.
crwdns2942213:0crwdne2942213:0
-
-
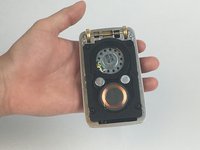
Power off the Star trek Bluetooth Communicator before disassembling.
-
-
-
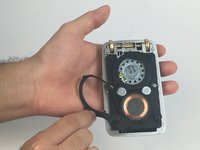
Remove the four T6 Torx screws (1.70mm) located on the back of the device.
-
Remove the black plastic cover by gently pulling it.
-
-
-
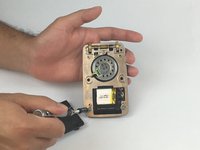
Remove the protective foam located around the speaker and charging magnets.
-
-
-
Remove the two Phillips PH0 (0.9mm) screws located to the side of each magnet.
-
-
-
-
Remove the protective foam attached to the battery.
-
-
-
Remove the five Phillips PH0 (0.9mm) screws located at the top and bottom of the silver plate.
-
-
-
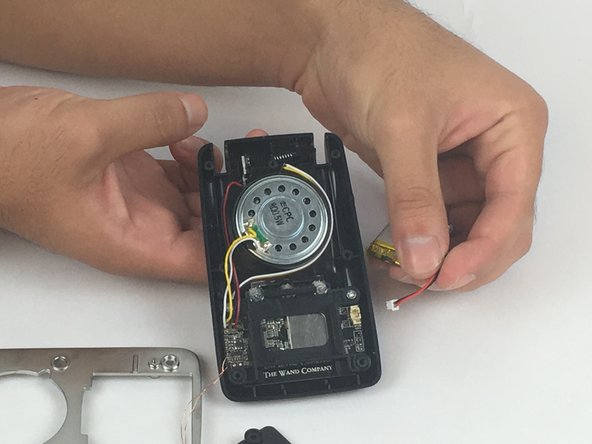
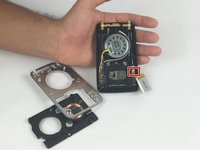
Use the spudger to lift the battery.
-
Be careful not to lose the sensors located on the hinges of the antenna grill. If removed from their location, put them gently back into place.
-
-
-
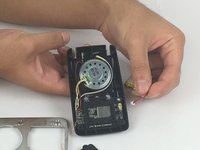
Grab the white connector tip of the battery wires and pull it. You might have to pull with moderate force in order to remove it.
-


To reassemble your device, follow these instructions in reverse order.
To reassemble your device, follow these instructions in reverse order.
crwdns2935221:0crwdne2935221:0
crwdns2935229:09crwdne2935229:0
crwdns2915084:0crwdne2915084:0

USF Tampa, Team 5-6, Passmore Spring 2017 crwdns2935289:0USF Tampa, Team 5-6, Passmore Spring 2017crwdne2935289:0
USFT-PASSMORE-S17S5G6
crwdns2931471:04crwdne2931471:0
crwdns2935297:03crwdne2935297:0
crwdns2947412:028crwdne2947412:0
Do you think the heat generated during charging is damaging the Lithium Ion cells? My communicator spends the majority of its time on the charger and I noticed recently that A) the battery may be decaying and B) it's quite warm! I've been wondering if one could make an effective heatsink using a thermal pad to radiate heat to the silver plate? I'm also thinking that adding a 1-2mm rubber bumper on the charger would be good for introducing a bit of an air gap. I find that the magnetic field is strong enough to still charge the device even if it is not quite in contact with the charging stand.
A little warmth is normal for Qi wireless charging. Wireless charging pads and the devices should be designed for this.
A. Don’t leave it on the charging stand non-stop, as the instructions say. If you don’t use it, give it a top-off charge a few times a year to keep the battery healthy.
B. Introducing a layer separating the device from the charging pad may do more harm than good. It can cause the charging circuit to “work harder.”
I didn’t have to remove the silver plate in step 7 and 8. Was able to remove the battery just fine without removing it. You may wan to edit your steps since that would eliminate the worry of losing the hinge sensors. Also, in step 5 you mention to not fully remove the black cover because the “speaker and microphone” wires are attached. FYI, that’s not the speaker, that’s the magnetic pickup coil used in the charging circuit. Doesn’t matter… you still shouldn’t disconnect the wires… just like accuracy.
One other note… it would be helpful if you posted the replacement battery information at the top so people could find a battery source prior to going through the steps. In case anyone wants to know, the batter info is: EUNICELL 382527 250mha 3.7V