crwdns2915892:0crwdne2915892:0
This detailed guide will cover the particulars on how to replace the Antenna Grille in the event it becomes damaged or does not open.
crwdns2942213:0crwdne2942213:0
-
-
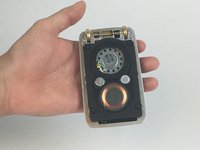
Power off the Star trek Bluetooth Communicator before disassembling by holding down the left button for five seconds. A "woosh-down" sound indicates the power is going off, and no lights will blink.
-
-
-
Remove the four T6 Torx screws (1.70mm) located on the back of the device.
-
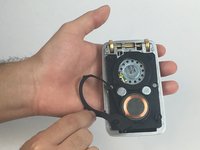
Remove the black plastic cover by gently pulling it.
-
-
-
Remove the protective foam located around the speaker and charging magnets.
-
-
-
-
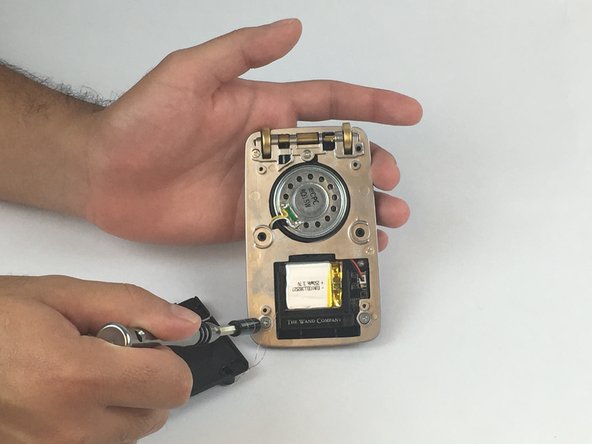
Remove the two Phillips PH0 (0.9mm) screws located to the side of each magnet.
-
-
-
Remove the protective foam attached to the battery.
-
-
-
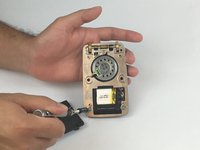
Remove the five Phillips PH0 (0.9mm) screws located at the top and bottom of the silver plate. The three upper screws are different lengths and gauge than the lower two.
-
-
-
Remove the silver plate.
-
Carefully pivot and/or flip the midplate so as not to put stress on the thin wires. You can gently seat the miplate onto the plastic cover to keep them together securely.
-
-
-
Remove the antenna grill.
I just want to note that re-installing the grille (or installing a replacement) can be very tricky. Especially that little spring. Like the original poster said, you can't let those little pins fall out of the ends, but you have to find a way to get that little spring in just the right position or it might fall out. The pin that holds the spring must be pushed as far to the right (from the back of the communicator) as it will go and the spring must be installed onto the pin with the little bent arm on the left. As you position the grille into place, the little bent arm on the left of the spring must be pushed past the small stopping point molded into the inside of the front half of the communicator case. I hope this helps.
Yeah and here's the other thing if you buy a replacement kit that cost me $72 for the antenna then you have to solder it and no one is telling me do I solder the perforated grill onto the frame before I put this back together or after so that's horrible information as well or should I say no information
Here's my conclusion on the instructions the first few steps are great what size torx is needed to remove the four backing screws or should I say bolts and that's also good knowledge not to try to separate the black plastic piece to let it dangle as to not rip out the wires so a plus to that tip but we're trying to replace with an after purchase kit it does not show you instructions once again on the soldering nor does it tell you where to start the Benz so I guess you figure that out afterwards but it doesn't make much sense especially soldering something after it's already placed on the unit which you could damage the unit so as far as the company that sold this to me "I don't wand "anything to do with this company anymore. They make a great item but when it breaks there's not much help and instructions to fix it.
-


To reassemble your device, follow these instructions in reverse order.
To reassemble your device, follow these instructions in reverse order.
crwdns2935221:0crwdne2935221:0
crwdns2935229:03crwdne2935229:0
crwdns2915084:0crwdne2915084:0

USF Tampa, Team 5-6, Passmore Spring 2017 crwdns2935289:0USF Tampa, Team 5-6, Passmore Spring 2017crwdne2935289:0
USFT-PASSMORE-S17S5G6
crwdns2931471:04crwdne2931471:0
crwdns2935297:03crwdne2935297:0
crwdns2947412:03crwdne2947412:0
Really?!
I tried this tonight and I now have a bag of useless components. You made no mention of the SPRING on the antenna grille which flew off on removal of the grille and then I had no idea which way it was located on re-assembly. I guessed the orientation then couldn’t get the metal plate to fit back on. That led to me snapping one of the hair thin wires! I now have £120 of junk components. Thanks a lot!
Where can we get a replacement grille?
I know this post is more than a year old, but I was able to contact the Wand Company and purchase a replacement grille from them.
gschyve -