crwdns2933423:0crwdne2933423:0
crwdns2947577:0crwdnd2947577:0crwdne2947577:0

Voluas VL001 USB Replacement

crwdns2869540:0crwdne2869540:0: 698

crwdns2959988:0crwdne2959988:0

crwdns2959990:0crwdne2959990:0
1
crwdns2959992:0crwdne2959992:0
13
crwdns2959994:0crwdne2959994:0
65
crwdns2959996:0crwdne2959996:0
698
crwdns2955950:0crwdne2955950:0: 0

crwdns2959998:0crwdne2959998:0

crwdns2960000:0crwdne2960000:0
crwdns2959984:0crwdne2959984:0: 0

crwdns2959956:0crwdne2959956:0

crwdns2959986:0crwdne2959986:0: 0

crwdns2959958:0crwdne2959958:0

crwdns2955944:0crwdne2955944:0: 7 - 20 crwdns2931279:0crwdne2931279:0
crwdns2955970:0crwdne2955970:0: crwdns2937803:0crwdne2937803:0
Voluas VL001 USB Replacement

crwdns2915892:0crwdne2915892:0

crwdns2959928:0crwdne2959928:0 ↓

If you are having trouble with your Voluas VL001 pet feeder powering on it, may be a problem with the USB port. This guide shows you how to replace the USB port.

This replacement requires special skills like wire stripping and soldering.

crwdns2959930:0crwdne2959930:0

crwdns2943215:0crwdne2943215:0

    1. Voluas VL001 USB Replacement, Storage Tank: crwdns2935265:01crwdnd2935265:01crwdnd2935265:03crwdne2935265:0 Voluas VL001 USB Replacement, Storage Tank: crwdns2935265:01crwdnd2935265:02crwdnd2935265:03crwdne2935265:0 Voluas VL001 USB Replacement, Storage Tank: crwdns2935265:01crwdnd2935265:03crwdnd2935265:03crwdne2935265:0
      • Remove the lid to the storage tank by using the latch and lifting off.

      • Grab the food storage tank on both sides. Depress the tabs that say "Push" on them and lift the tank off.

      crwdns2952109:0crwdne2952109:0

      crwdns2917038:0crwdne2917038:0

    1. Voluas VL001 USB Replacement, Battery: crwdns2935265:02crwdnd2935265:01crwdnd2935265:03crwdne2935265:0 Voluas VL001 USB Replacement, Battery: crwdns2935265:02crwdnd2935265:02crwdnd2935265:03crwdne2935265:0 Voluas VL001 USB Replacement, Battery: crwdns2935265:02crwdnd2935265:03crwdnd2935265:03crwdne2935265:0
      • Place your pet feeder upside down.

      • Squeeze the lock and remove the battery cover.

      • Remove the three 1.5V D alkaline batteries.

      crwdns2952109:0crwdne2952109:0

      crwdns2917038:0crwdne2917038:0

    1. Voluas VL001 USB Replacement, Housing: crwdns2935265:03crwdnd2935265:01crwdnd2935265:03crwdne2935265:0 Voluas VL001 USB Replacement, Housing: crwdns2935265:03crwdnd2935265:02crwdnd2935265:03crwdne2935265:0 Voluas VL001 USB Replacement, Housing: crwdns2935265:03crwdnd2935265:03crwdnd2935265:03crwdne2935265:0
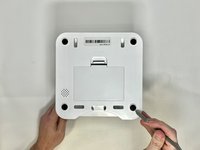
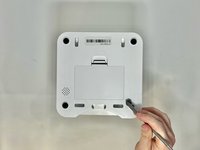
      • Insert a metal spudger under the adhesive part of each rubber foot.

      • Pry the foot off.

      crwdns2952109:0crwdne2952109:0

      crwdns2917038:0crwdne2917038:0

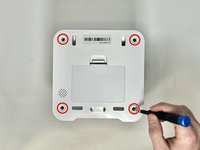
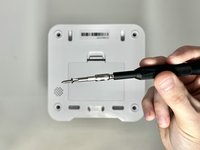
    2. Voluas VL001 USB Replacement: crwdns2935265:04crwdnd2935265:01crwdnd2935265:02crwdne2935265:0 Voluas VL001 USB Replacement: crwdns2935265:04crwdnd2935265:02crwdnd2935265:02crwdne2935265:0
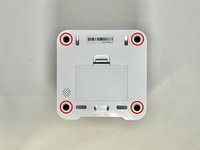
      • Remove four screws from the corners of the device using a Phillips #2 screwdriver.

      • These holes were previously covered by the rubber feet.

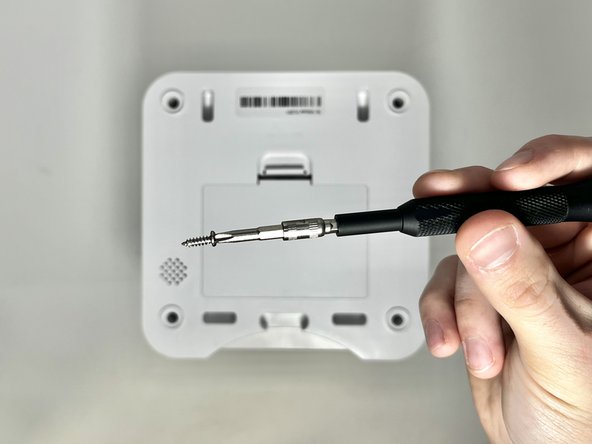
      • Using the magnetic tip of the screwdriver, carefully lift the screw out of the hole.

      crwdns2952109:0crwdne2952109:0

      crwdns2917038:0crwdne2917038:0

    3. Voluas VL001 USB Replacement: crwdns2935265:05crwdnd2935265:01crwdnd2935265:01crwdne2935265:0
      • Turn the device over so it is oriented right-side up.

      • Lift the top part of the feeder off, exposing the mechanisms that run the feeder.

      crwdns2952109:0crwdne2952109:0

      crwdns2917038:0crwdne2917038:0

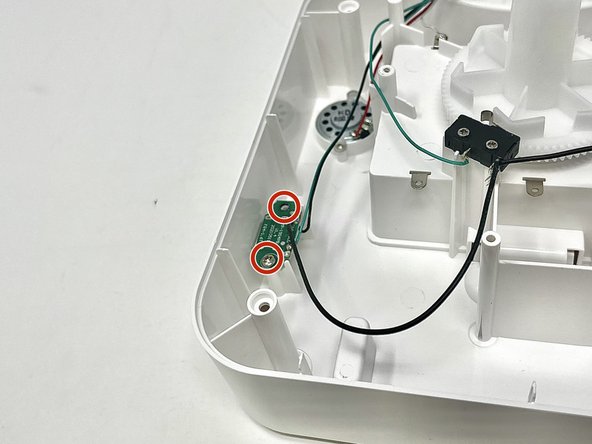
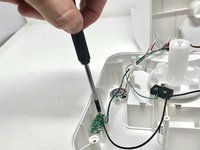
    1. Voluas VL001 USB Replacement, USB: crwdns2935265:06crwdnd2935265:01crwdnd2935265:02crwdne2935265:0 Voluas VL001 USB Replacement, USB: crwdns2935265:06crwdnd2935265:02crwdnd2935265:02crwdne2935265:0
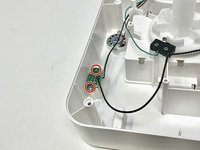
      • Using a Phillips #2 screwdriver, carefully remove the two 11.2 mm screws on either side of the USB port.

      crwdns2952109:0crwdne2952109:0

      crwdns2917038:0crwdne2917038:0

    2. Voluas VL001 USB Replacement: crwdns2935265:07crwdnd2935265:01crwdnd2935265:02crwdne2935265:0 Voluas VL001 USB Replacement: crwdns2935265:07crwdnd2935265:02crwdnd2935265:02crwdne2935265:0
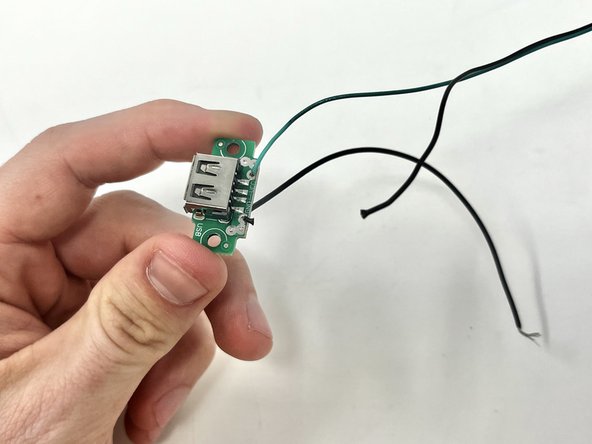
      • Using your wire strippers/pliers, cut the three wires that are connected to the USB port.

      crwdns2952109:0crwdne2952109:0

      crwdns2917038:0crwdne2917038:0

    3. Voluas VL001 USB Replacement: crwdns2935265:08crwdnd2935265:01crwdnd2935265:03crwdne2935265:0 Voluas VL001 USB Replacement: crwdns2935265:08crwdnd2935265:02crwdnd2935265:03crwdne2935265:0 Voluas VL001 USB Replacement: crwdns2935265:08crwdnd2935265:03crwdnd2935265:03crwdne2935265:0
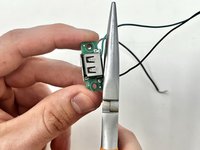
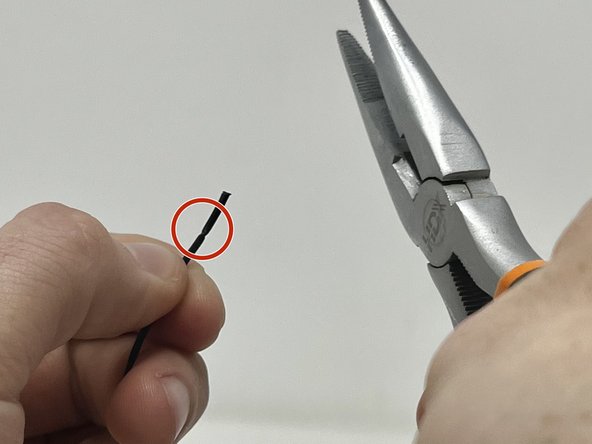
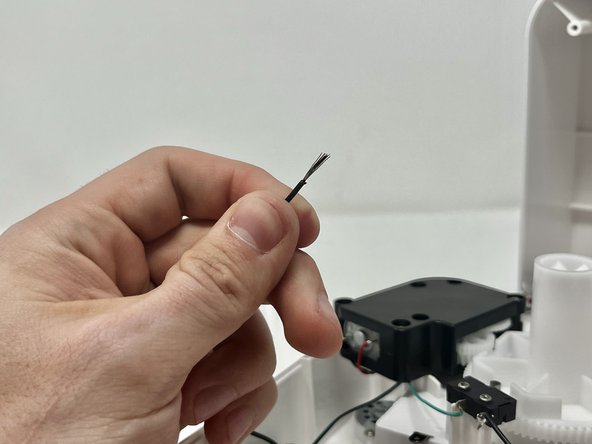
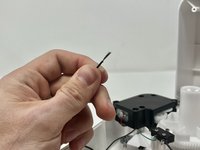
      • Using your wire strippers/pliers, gently crimp the plastic insulation on the wire. Do this several times around the wire to make sure that you can pull it off.

      • Because the wire is so thin, it can be easy to accidentally cut all the way through the wire on this step. Take care to only cut through the insulation.

      • You will want to see a score line in the insulation all around the wire like this.

      • Pull the end of the insulation off, exposing the wire.

      crwdns2952109:0crwdne2952109:0

      crwdns2917038:0crwdne2917038:0

    4. Voluas VL001 USB Replacement: crwdns2935265:09crwdnd2935265:01crwdnd2935265:02crwdne2935265:0 Voluas VL001 USB Replacement: crwdns2935265:09crwdnd2935265:02crwdnd2935265:02crwdne2935265:0
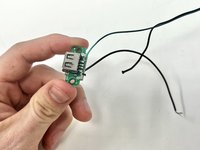
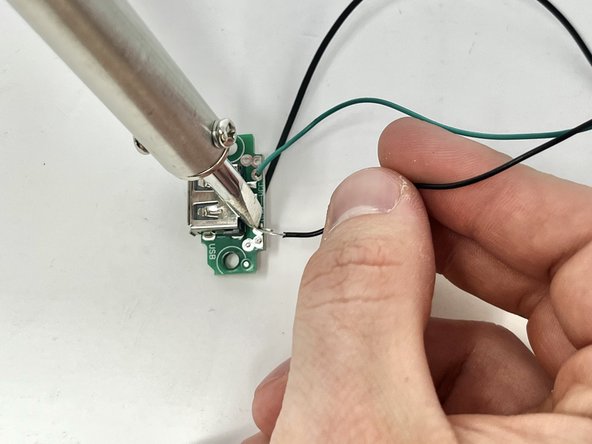
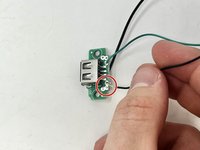
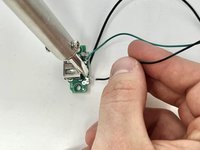
      • Put the exposed wire on the solder patch, making sure it has good contact with the metal.

      • Solder the wire on to the solder patch.

      • Repeat steps 8 and 9 for the other two wires.

      crwdns2952109:0crwdne2952109:0

      crwdns2917038:0crwdne2917038:0

crwdns2915888:0crwdne2915888:0

To reassemble your device, follow these instructions in reverse order.

crwdns2935221:0crwdne2935221:0

Merari Aniga

crwdns2935283:001/30/24crwdne2935283:0

459 crwdns2915208:0crwdne2915208:0

crwdns2935297:04crwdne2935297:0

crwdns2935287:0crwdne2935287:0

Utah Tech University, Team 1-3, McMurrin Spring 2024 crwdns2935289:0Utah Tech University, Team 1-3, McMurrin Spring 2024crwdne2935289:0

UTAHTECH-MCMURRIN-S24S1G3

crwdns2931471:02crwdne2931471:0

crwdns2935297:0120crwdne2935297:0

crwdns2947412:00crwdne2947412:0

crwdns2917038:0crwdne2917038:0

crwdns2936625:0crwdne2936625:0:

crwdns2936751:024crwdne2936751:0 1

crwdns2936753:07crwdne2936753:0 13

crwdns2936753:030crwdne2936753:0 65

crwdns2959996:0crwdne2959996:0 698