crwdns2915892:0crwdne2915892:0
This guide will walk you through the process of replacing or repairing the back panel latch on your Viotek W2711SE monitor. Due to the monitor’s design, the latches and a few screws at the bottom are the only components holding the back panel in place. Over time, this puts uneven stress on the latches, which can lead to wear or breakage.
Fortunately, this repair does not require advanced tools or technical skills, just a bit of patience and a steady hand.
In this guide, the epoxy was used to recreate the latch by forming new attachment points, allowing the back panel to be removed in the future if needed. However, this method can also be adapted into a permanent fix by using the epoxy purely as glue, this will seal the back in place and make future disassembly difficult without breaking the panel.
Before beginning, make sure the monitor is unplugged and that you are working on a clean, static-free surface. Epoxy can irritate your skin so it's a good idea to wear gloves when you get to Step 6. It's also important to work in a well-ventilated area so you don't breathe the epoxy fumes.
crwdns2942213:0crwdne2942213:0
-
-
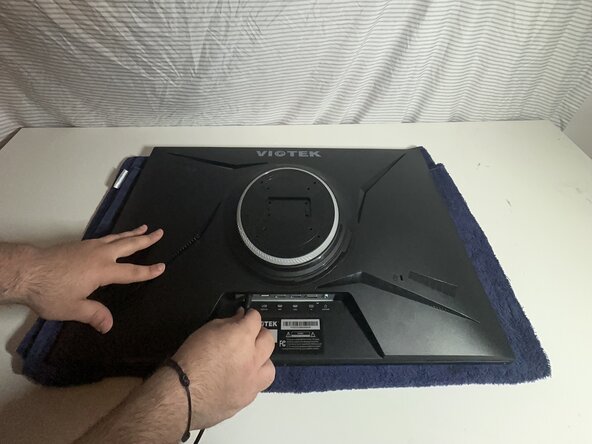
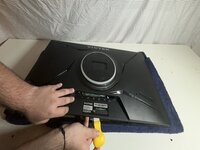
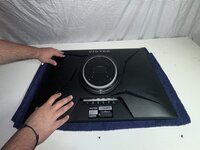
Clean your workspace and make sure you have enough room to lay the monitor down.
-
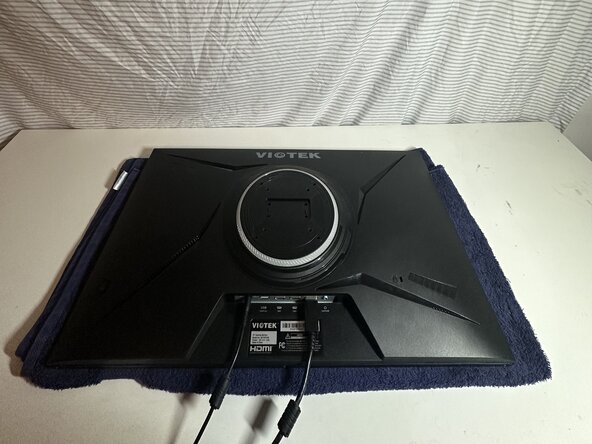
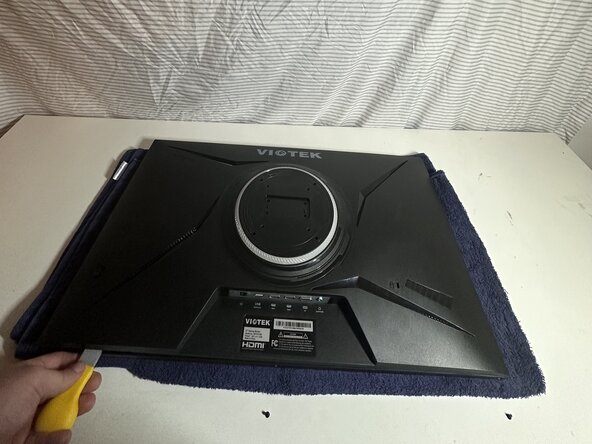
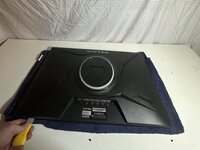
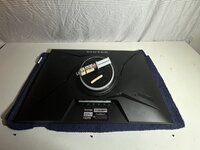
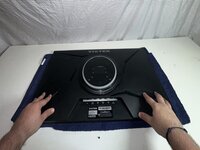
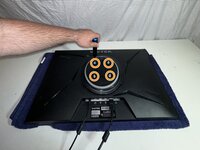
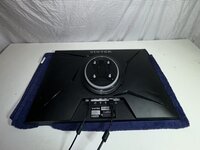
Place the monitor face down on a soft, static-free surface.
-
-
-
Use a Phillips screwdriver to remove four 24.5 mm screws from the center of the back panel.
-
-
-
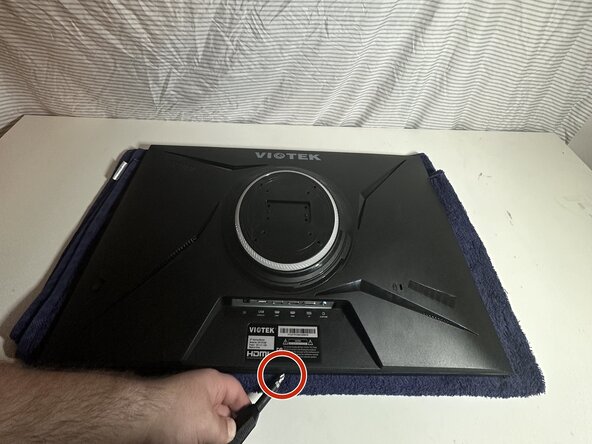
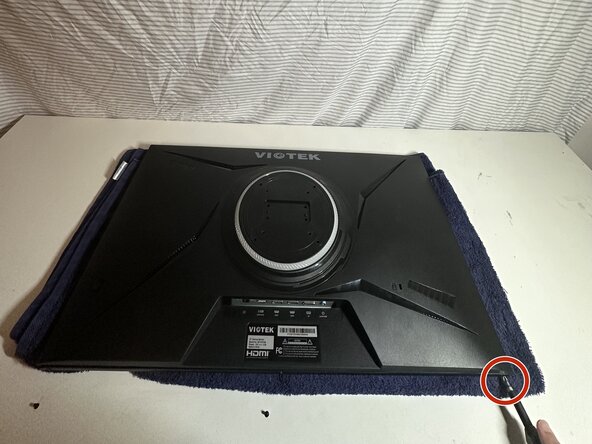
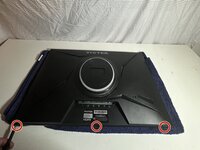
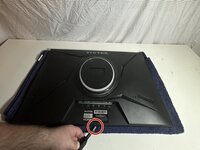
Use a Phillips #1 screwdriver to remove three 8.5 mm screws from the broken side of the panel.
-
-
-
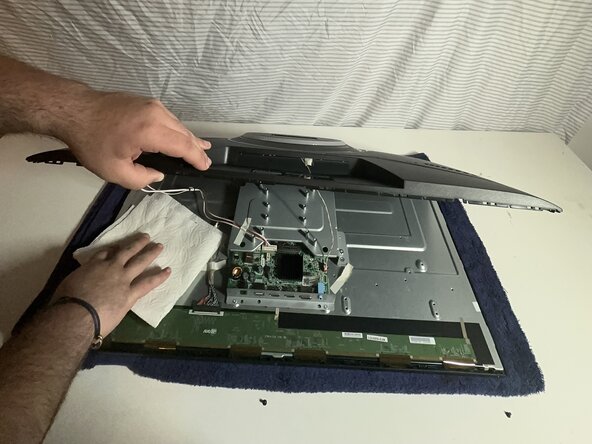
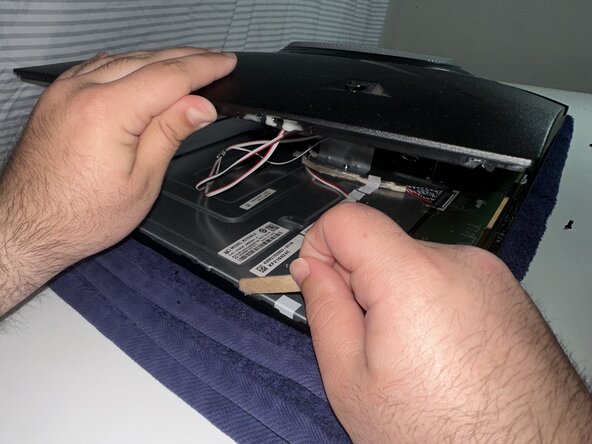
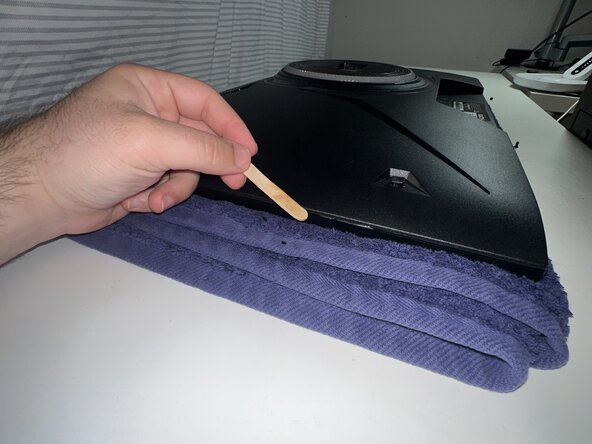
Use an opening tool to release the clips around the edge of the back panel, starting from the broken edge.
-
-
-
-
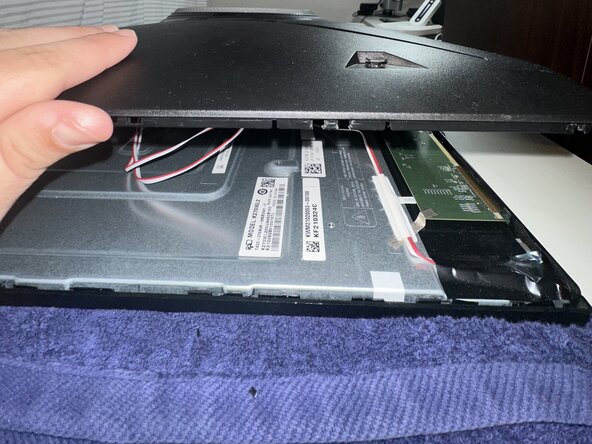
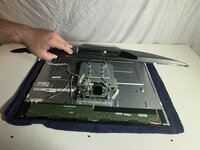
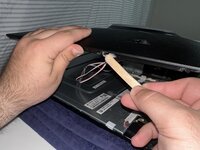
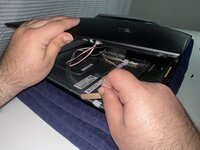
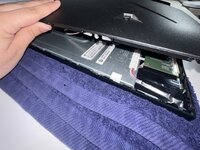
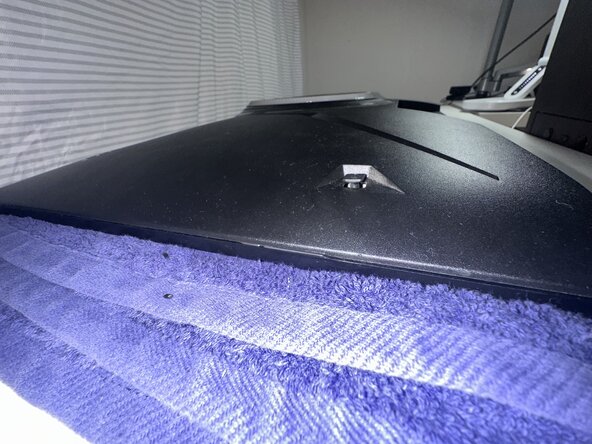
Lift the panel slowly and check for any short internal cables that could be pulled.
-
-
-
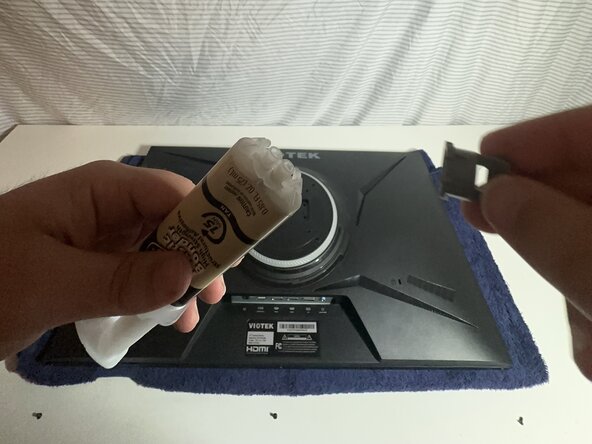
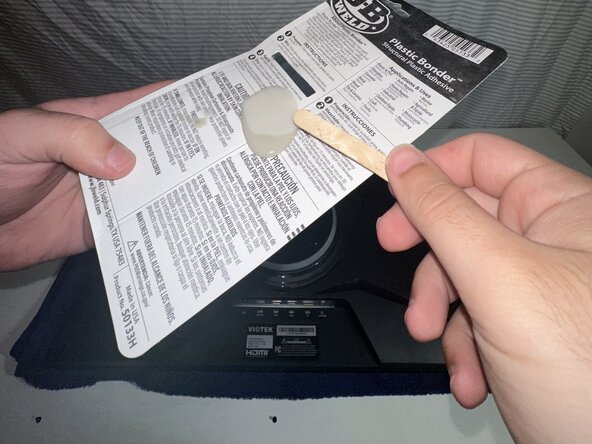
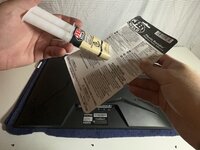
Follow the instructions on the package to prepare the epoxy.
-
-
-
Dispense a small amount onto a flat, disposable surface like the back of the packaging.
-
Mix with the provided stick or a disposable one.
-
-
-
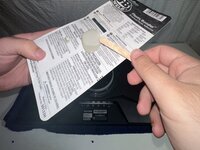
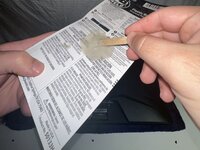
Carefully apply epoxy to the broken clip.
-
-
-
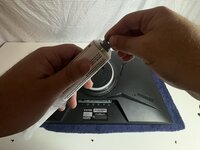
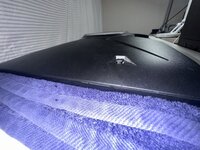
Press the panel down firmly.
-
Wipe off any excess epoxy to keep it tidy.
-
-
-
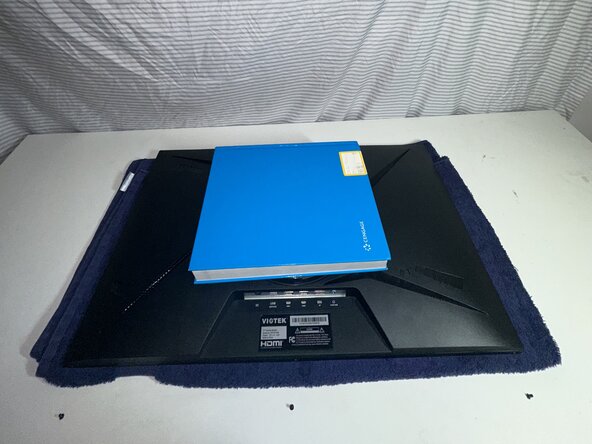
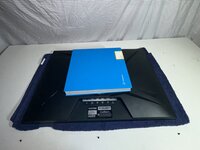
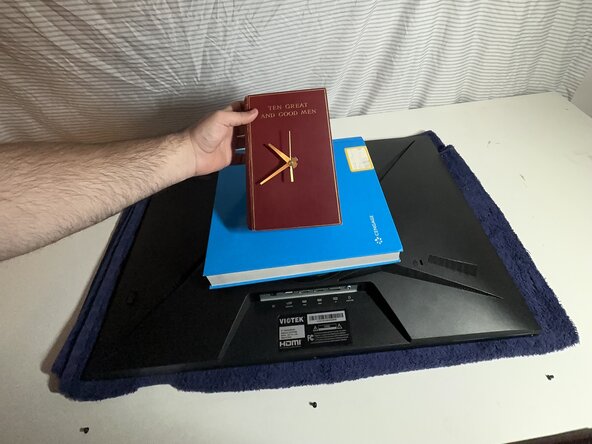
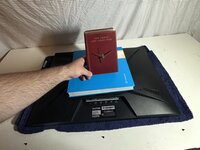
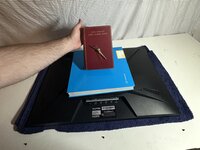
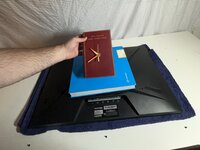
Once aligned, place a moderately heavy object on top of the monitor to keep pressure on the panel.
-
-
-
Set a timer for 15 minutes to let the epoxy cure. If you plan to sand it down, wait a full 30 minutes before doing so.
-
-
-
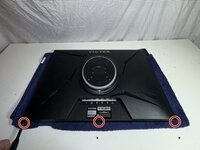
After the epoxy sets, use a Phillips #1 screwdriver to replace the 8.5 mm.
-
Replace the 24.5 mm Phillips #1 stand screws.
-
Plug the cords back into the bottom of the monitor.
-


To reassemble your device, follow these instructions in reverse order. Take your e-waste to an R2 or e-Stewards certified recycler.
To reassemble your device, follow these instructions in reverse order. Take your e-waste to an R2 or e-Stewards certified recycler.
crwdns2935221:0crwdne2935221:0
crwdns2935227:0crwdne2935227:0

crwdns2915084:0crwdne2915084:0

CSU Los Angeles, Team 5-29, Harris Spring 2025 crwdns2935289:0CSU Los Angeles, Team 5-29, Harris Spring 2025crwdne2935289:0
CSULA-HARRIS-S25S5G29
crwdns2934841:01crwdne2934841:0
crwdns2935303:01crwdne2935303:0