crwdns2933423:0crwdne2933423:0
crwdns2947577:0crwdnd2947577:0crwdne2947577:0

Upper Ice Maker Assembly Replacement

crwdns2942213:0crwdne2942213:0

  1. Upper Ice Maker Assembly Replacement, Unplug your refrigerator: crwdns2935265:01crwdnd2935265:01crwdnd2935265:01crwdne2935265:0
    • Unplug your refrigerator before you begin your repair.

    • If you are testing or repairing the following items, you may also need to shut off and disconnect the water supply:

    • Condenser Fan Motor

    • Compressor Motor and Thermal Overload Device

    • Water Supply Valve Assembly

    crwdns2952109:0crwdne2952109:0

    crwdns2917038:0crwdne2917038:0

  2. Upper Ice Maker Assembly Replacement, Open the doors: crwdns2935265:02crwdnd2935265:01crwdnd2935265:03crwdne2935265:0 Upper Ice Maker Assembly Replacement, Open the doors: crwdns2935265:02crwdnd2935265:02crwdnd2935265:03crwdne2935265:0 Upper Ice Maker Assembly Replacement, Open the doors: crwdns2935265:02crwdnd2935265:03crwdnd2935265:03crwdne2935265:0
    • Open both refrigerator doors fully.

    crwdns2952109:0crwdne2952109:0

    crwdns2917038:0crwdne2917038:0

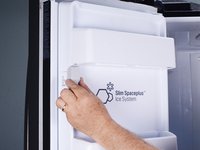
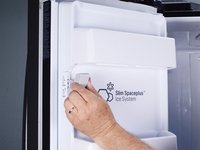
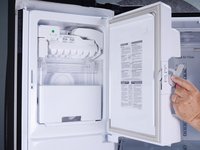
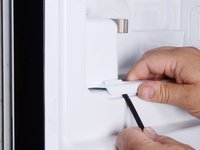
  3. Upper Ice Maker Assembly Replacement, Open the ice maker door: crwdns2935265:03crwdnd2935265:01crwdnd2935265:03crwdne2935265:0 Upper Ice Maker Assembly Replacement, Open the ice maker door: crwdns2935265:03crwdnd2935265:02crwdnd2935265:03crwdne2935265:0 Upper Ice Maker Assembly Replacement, Open the ice maker door: crwdns2935265:03crwdnd2935265:03crwdnd2935265:03crwdne2935265:0
    • Pull down the latch handle to release the ice maker door.

    • Swing open the ice maker door.

    crwdns2952109:0crwdne2952109:0

    crwdns2917038:0crwdne2917038:0

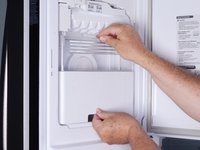
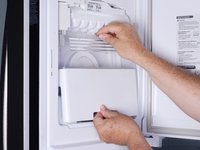
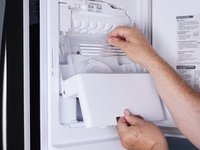
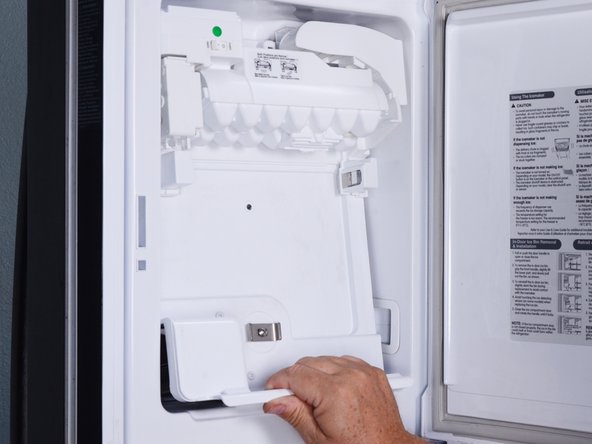
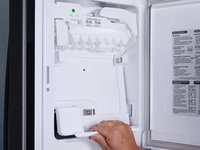
  4. Upper Ice Maker Assembly Replacement, Remove the ice bucket: crwdns2935265:04crwdnd2935265:01crwdnd2935265:03crwdne2935265:0 Upper Ice Maker Assembly Replacement, Remove the ice bucket: crwdns2935265:04crwdnd2935265:02crwdnd2935265:03crwdne2935265:0 Upper Ice Maker Assembly Replacement, Remove the ice bucket: crwdns2935265:04crwdnd2935265:03crwdnd2935265:03crwdne2935265:0
    • Using two hands, lift up the ice bucket slightly to release it.

    • Pull the bottom edge of the ice bucket toward you slightly and remove it.

    crwdns2952109:0crwdne2952109:0

    crwdns2917038:0crwdne2917038:0

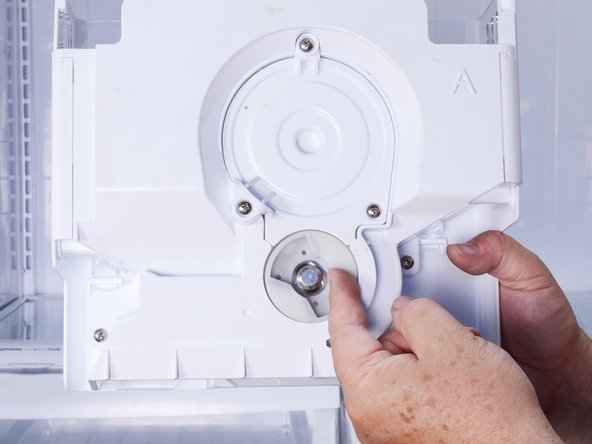
  5. Upper Ice Maker Assembly Replacement, Reassembly notes: crwdns2935265:05crwdnd2935265:01crwdnd2935265:03crwdne2935265:0 Upper Ice Maker Assembly Replacement, Reassembly notes: crwdns2935265:05crwdnd2935265:02crwdnd2935265:03crwdne2935265:0 Upper Ice Maker Assembly Replacement, Reassembly notes: crwdns2935265:05crwdnd2935265:03crwdnd2935265:03crwdne2935265:0
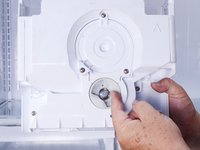
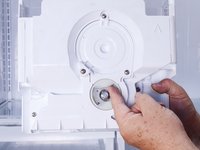
    • The drive hub notches and drive blade wings must line up before installing the ice bucket.

    • Rotate the ice bucket hub, located on the rear of the ice bucket, with your hand so that the notches will align with the auger motor drive blades.

    crwdns2952109:0crwdne2952109:0

    crwdns2917038:0crwdne2917038:0

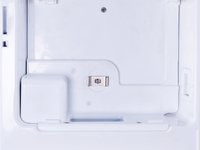
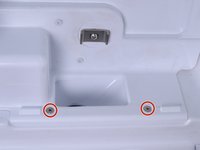
  6. Upper Ice Maker Assembly Replacement, Remove the ice maker assembly screws: crwdns2935265:06crwdnd2935265:01crwdnd2935265:02crwdne2935265:0 Upper Ice Maker Assembly Replacement, Remove the ice maker assembly screws: crwdns2935265:06crwdnd2935265:02crwdnd2935265:02crwdne2935265:0
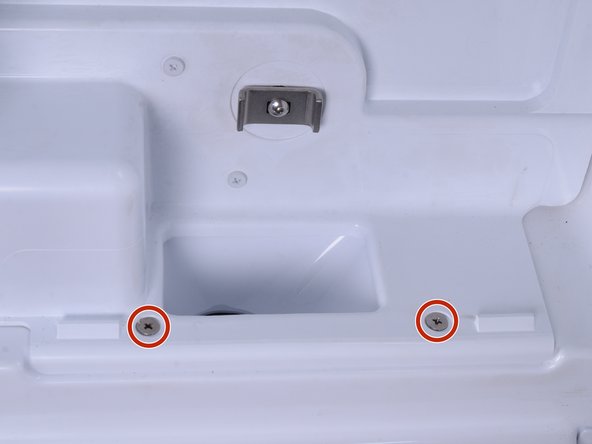
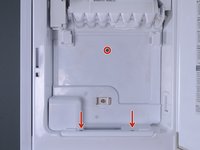
    • Use a #2 Philips driver to remove the three 15 mm‑long screws that secure the ice maker assembly to the refrigerator door.

    crwdns2952109:0crwdne2952109:0

    crwdns2917038:0crwdne2917038:0

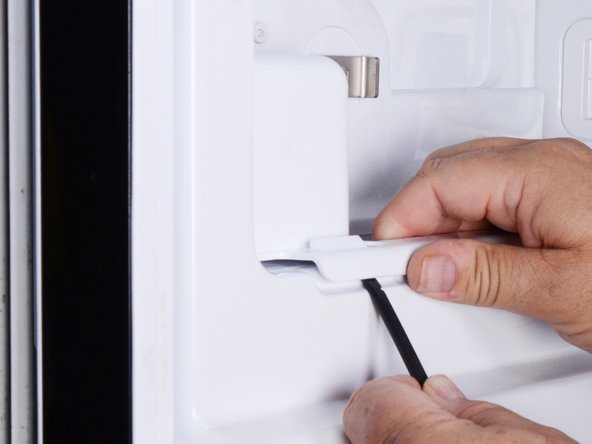
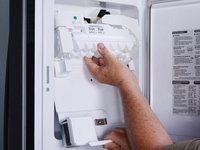
  7. Upper Ice Maker Assembly Replacement, Reposition the ice maker assembly: crwdns2935265:07crwdnd2935265:01crwdnd2935265:03crwdne2935265:0 Upper Ice Maker Assembly Replacement, Reposition the ice maker assembly: crwdns2935265:07crwdnd2935265:02crwdnd2935265:03crwdne2935265:0 Upper Ice Maker Assembly Replacement, Reposition the ice maker assembly: crwdns2935265:07crwdnd2935265:03crwdnd2935265:03crwdne2935265:0
    • Use a spudger to lift the bottom edge of the ice maker assembly. This action will release the assembly from the refrigerator door.

    • Pull the bottom edge of the ice maker assembly toward you to free it from the door.

    crwdns2952109:0crwdne2952109:0

    crwdns2917038:0crwdne2917038:0

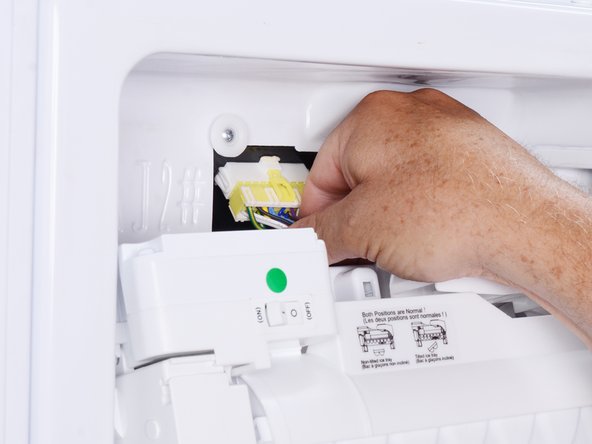
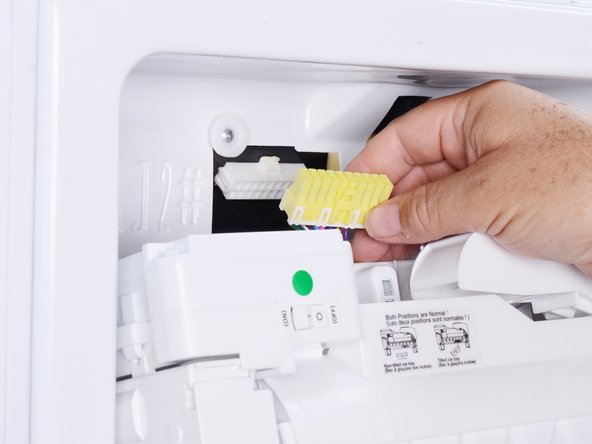
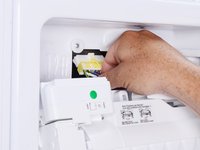
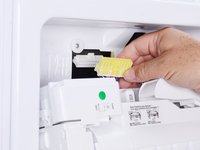
  8. Upper Ice Maker Assembly Replacement: crwdns2935265:08crwdnd2935265:01crwdnd2935265:03crwdne2935265:0 Upper Ice Maker Assembly Replacement: crwdns2935265:08crwdnd2935265:02crwdnd2935265:03crwdne2935265:0 Upper Ice Maker Assembly Replacement: crwdns2935265:08crwdnd2935265:03crwdnd2935265:03crwdne2935265:0
    • Lower the ice maker assembly until you can access the connector located at the top of the assembly.

    • Squeeze the connector at the top of the ice maker assembly to release it.

    • Pull the connector straight down to disconnect it.

    crwdns2952109:0crwdne2952109:0

    crwdns2917038:0crwdne2917038:0

  9. Upper Ice Maker Assembly Replacement, Remove the ice maker assembly: crwdns2935265:09crwdnd2935265:01crwdnd2935265:01crwdne2935265:0
    • Remove the ice maker assembly.

    crwdns2952109:0crwdne2952109:0

    crwdns2917038:0crwdne2917038:0

crwdns2915888:0crwdne2915888:0

To reassemble your device, follow these instructions in reverse order.

Take your e-waste to an R2 or e-Stewards certified recycler.

Repair didn’t go as planned? Try some basic troubleshooting, or ask our  Answers community for help.

crwdns2935221:0crwdne2935221:0

Bill Gilbert

crwdns2935283:006/30/22crwdne2935283:0

39,969 crwdns2915208:0crwdne2915208:0

crwdns2935297:0261crwdne2935297:0

crwdns2947412:00crwdne2947412:0

crwdns2917038:0crwdne2917038:0

crwdns2936625:0crwdne2936625:0:

crwdns2936751:024crwdne2936751:0 1

crwdns2936753:07crwdne2936753:0 8

crwdns2936753:030crwdne2936753:0 25

crwdns2942667:0crwdne2942667:0 320