crwdns2915892:0crwdne2915892:0
The motherboard is the central component of your headset that ensures that the device is functioning. Any problems with the motherboard may cause the headset to stop working in its entirety, therefore, in any case that your motherboard has suffered any damage, this guide will take you step by step on how to replace it and get your gaming headset working again.
crwdns2942213:0crwdne2942213:0
-
-
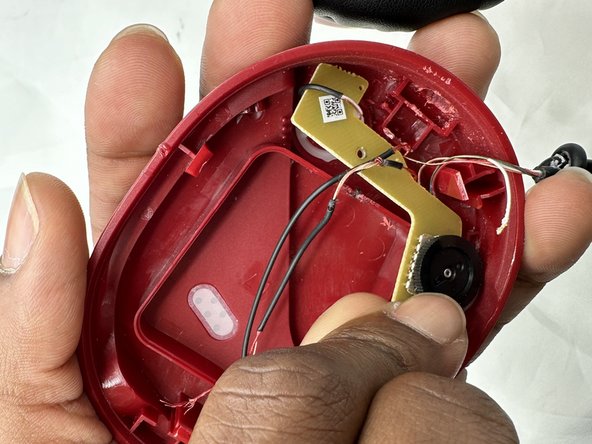
Use a spudger to pry up and remove the black plastic cover.
-
-
-
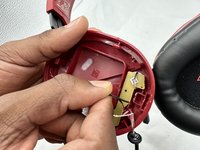
Use a Phillips screwdriver to remove the two 5 mm screws that secure the motherboard.
-
-
-
-
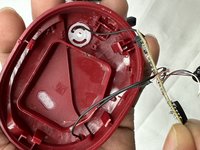
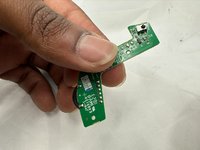
Remove the motherboard from the headset by up and away from the volume wheel.
-
-
-
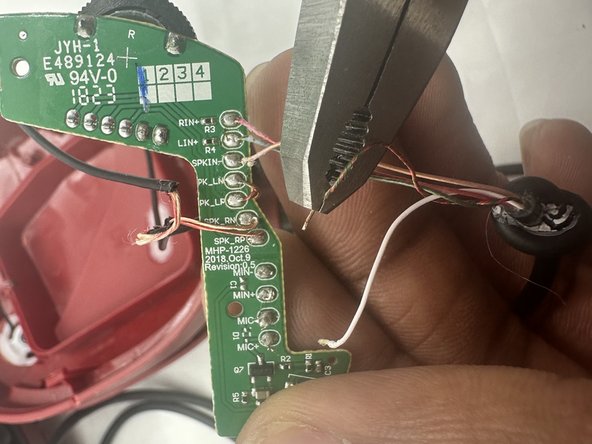
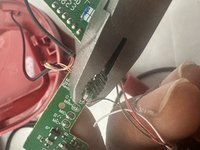
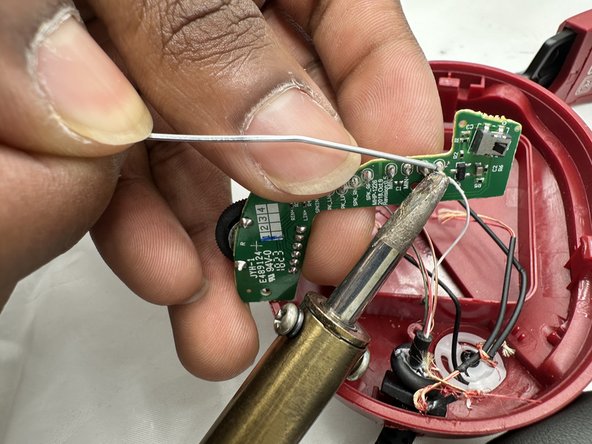
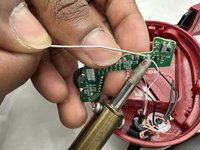
Before replacing the motherboard, use flush cutters to cut each wire connected to the motherboard.
-
Take note of how each component connects to the motherboard.
-
-
-
Solder each wire of the new motherboard in the same spots they were originally found.
-


To reassemble your device, follow these instructions in reverse order.
To reassemble your device, follow these instructions in reverse order.

crwdns2915084:0crwdne2915084:0

University of North Texas, Team 3-1, Kilpatrick Spring 2024 crwdns2935289:0University of North Texas, Team 3-1, Kilpatrick Spring 2024crwdne2935289:0
UNT-KILPATRICK-S24S3G1
crwdns2931471:04crwdne2931471:0
crwdns2935297:05crwdne2935297:0