crwdns2915892:0crwdne2915892:0
Tablet screens often get damaged, this guide will walk a user through the steps of replacing a damaged screen. It is important to be careful about damaging parts, as most pieces are fragile.
crwdns2942213:0crwdne2942213:0
-
-
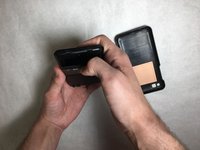
Locate the indentation at the bottom of the device.
-
-
-
Pull on the indentation and take off the casing of the device.
-
-
-
Remove the faulty battery and insert a replacement in its slot.
-
-
-
Remove the six 2.4 mm, Phillips #0 screws circled in the image.
-
-
-
-
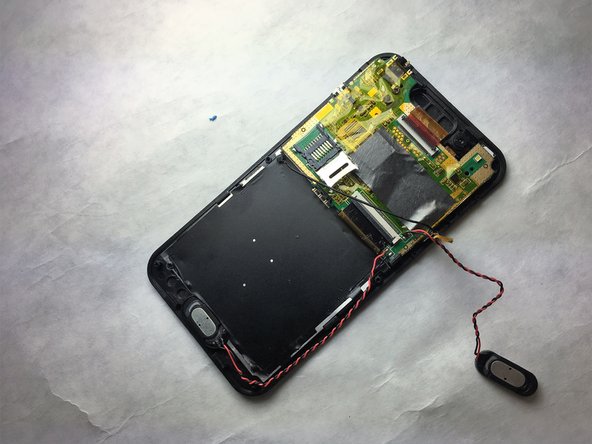
Remove inner casing exposing the motherboard.
-
-
-
Remove speakers by peeling back yelllow tape.
-
-
-
Remove ribbon cable on top of motherboard.
-
-
-
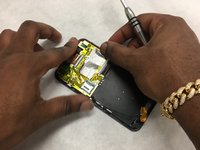
Peeling back yellow tape, remove the 2.5 mm Phillips #0 screws on top of motherboard.
-
-
-
Remove the three 2.5 mm Phillips #0 screws attaching screen to main assembly.
-
-
-
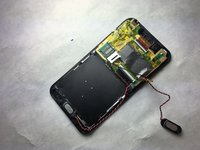
Verify that all screws are detached from screen.
-


To reassemble your device, follow these instructions in reverse order.
To reassemble your device, follow these instructions in reverse order.
crwdns2915084:0crwdne2915084:0

IUPUI, Team S1-G1, Harley Spring 2018 crwdns2935289:0IUPUI, Team S1-G1, Harley Spring 2018crwdne2935289:0
IUPUI-HARLEY-S18S1G1
crwdns2931471:07crwdne2931471:0
crwdns2935297:06crwdne2935297:0
crwdns2947410:01crwdne2947410:0
How can I do step 5? Do i need to push on the rectangle slots? It’s not very descriptive.