crwdns2915892:0crwdne2915892:0
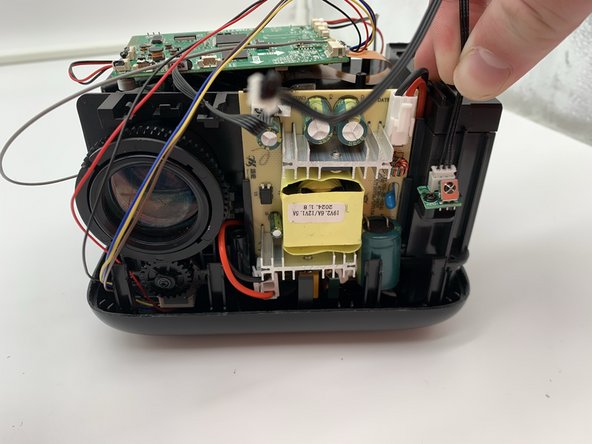
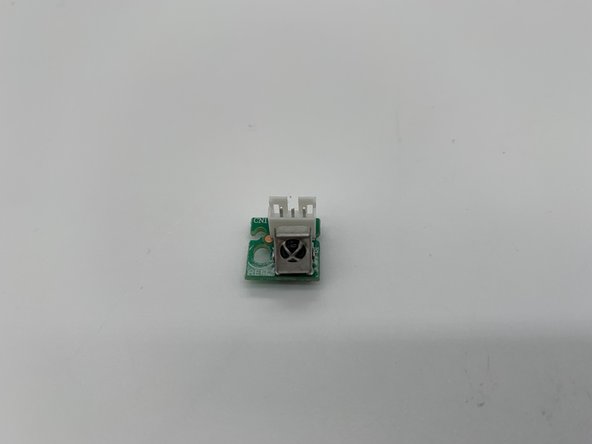
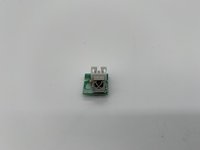
The case of the device is fairly simple to remove and requires very little force. Once the case is removed, the IR receiver is secured by one screw. Thus, the repair is straightforward. Just be sure to handle the parts gently to avoid damaging the case rivets and the other items the IR receiver is connected to.
crwdns2942213:0crwdne2942213:0
-
-
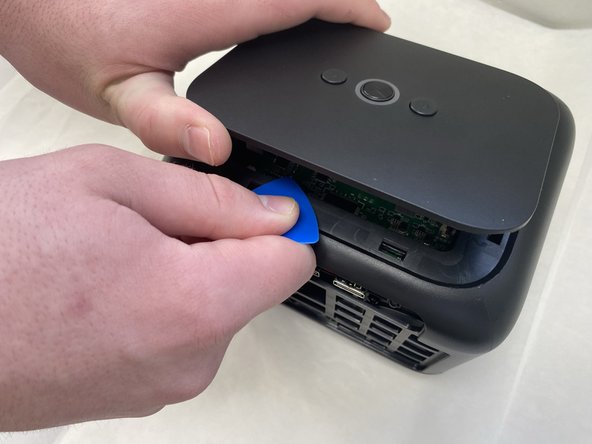
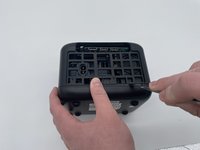
Insert an opening pick in the seam between the top panel and chassis.
-
Pry around the entire perimeter of the top panel until it fully releases.
-
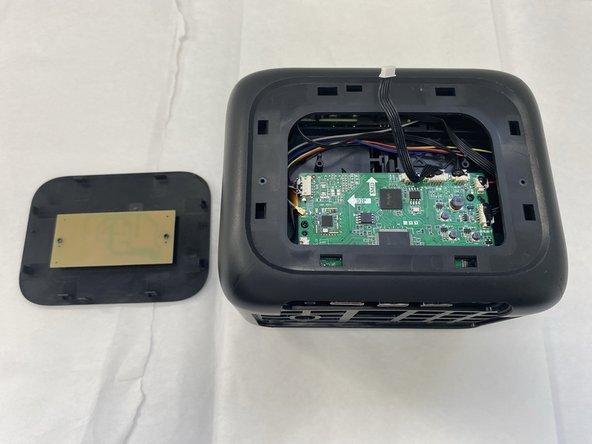
Remove the top panel.
-
-
-
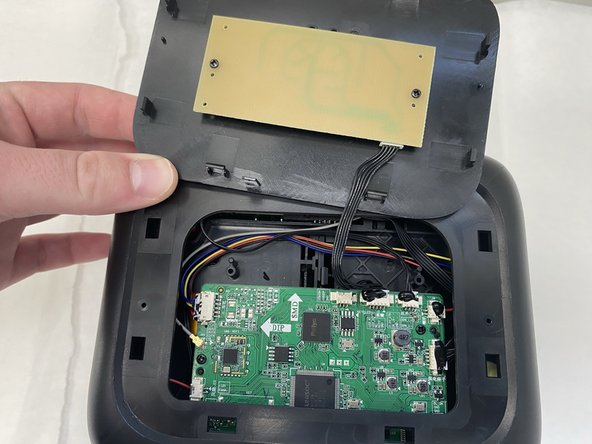
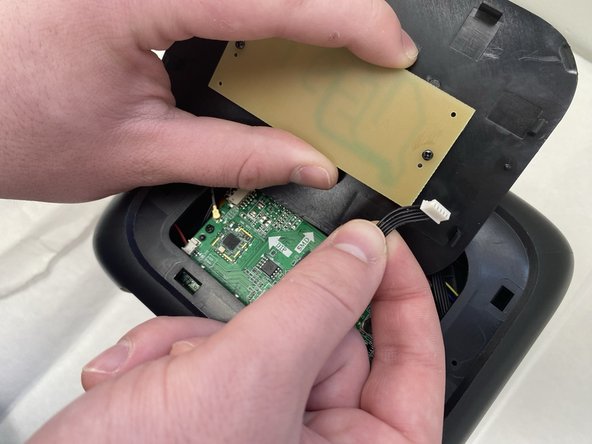
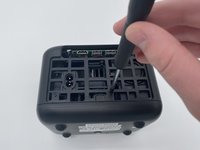
Unplug the cord connecting the top button panel to the projector,
-
-
-
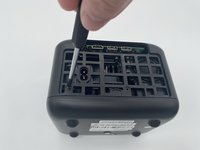
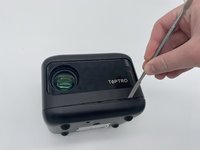
Insert a spudger into the semi-circle panel indent and pry up to remove it.
-
-
-
-
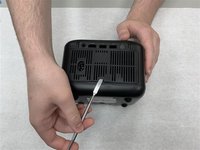
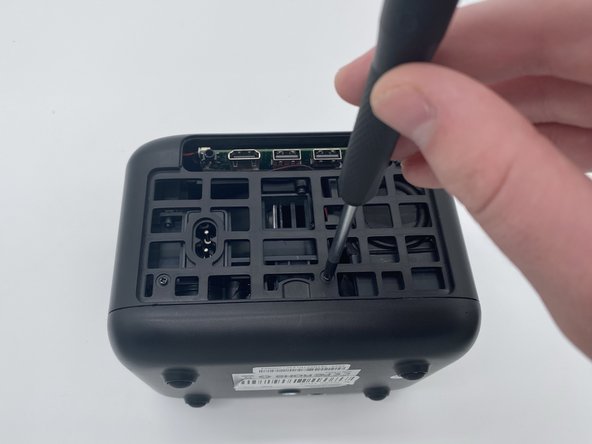
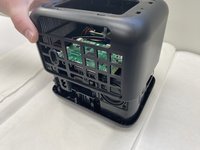
There are three Phillips screws securing the case on. Two are inside the opening left by the previous step, and the third is located on the underside of the projector. Remove all three.
-
-
-
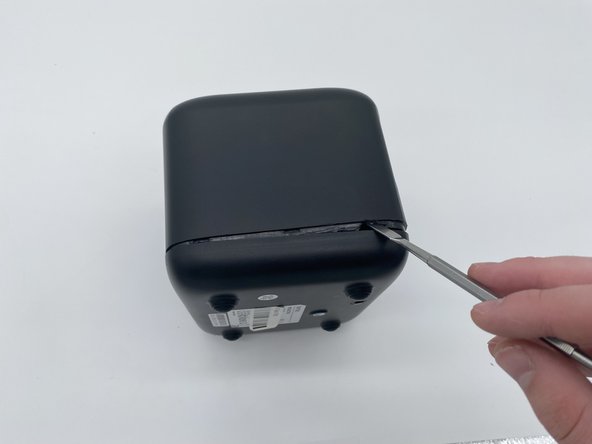
Insert a spudger into the seam between the lower panel and chassis.
-
Pry around the perimeter until the lower panel fully releases.
-
-
-
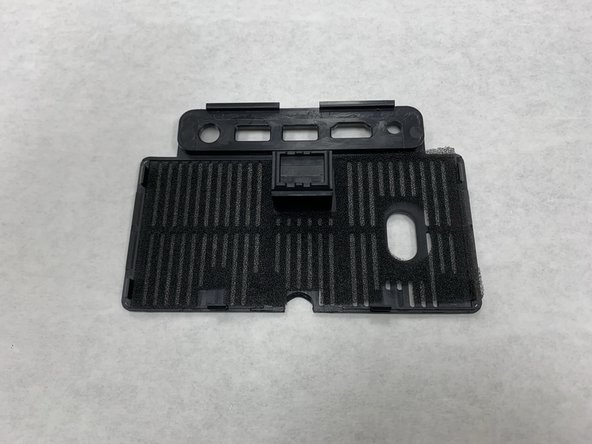
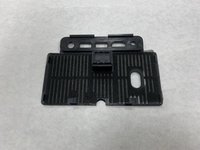
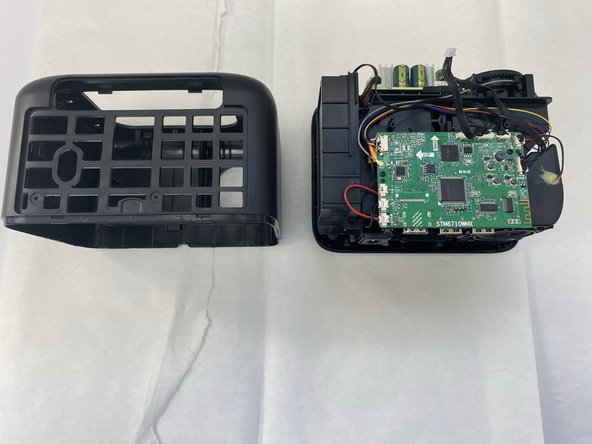
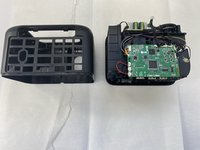
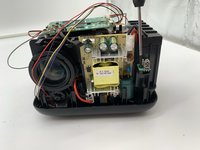
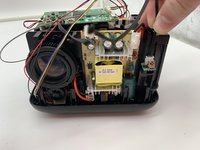
Remove the case from the projector and set it aside.
-
-
-
Use a Phillips screwdriver to remove the screws securing the IR receiver.
-
Remove the IR receiver.
-


To reassemble your device, follow the above steps in reverse order.
Take your e-waste to an R2 or e-Stewards certified recycler.
Repair didn’t go as planned? Try some basic troubleshooting or ask our Answers community for help.
To reassemble your device, follow the above steps in reverse order.
Take your e-waste to an R2 or e-Stewards certified recycler.
Repair didn’t go as planned? Try some basic troubleshooting or ask our Answers community for help.

crwdns2915084:0crwdne2915084:0

University of North Texas, Team 7-3, Kilpatrick Fall 2024 crwdns2935289:0University of North Texas, Team 7-3, Kilpatrick Fall 2024crwdne2935289:0
UNT-KILPATRICK-F24S7G3
crwdns2931471:04crwdne2931471:0
crwdns2935297:05crwdne2935297:0