crwdns2915892:0crwdne2915892:0
If the hard drive in your ThinkPad T420 has failed or you wish to install a larger or faster drive, this guide will show you how to replace the hard drive.
Guide notes
- This guide does not cover operating system installation.
- While I make no promise or guarantee that I can help, if I know what you were running on the machine before the drive replacement, I may know where to locate an image of your OS.
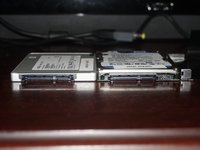
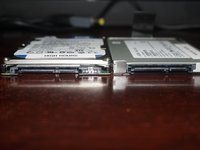
- If you install an SSD or a thin Advanced Format (AF) drive, a 7mm->9.5mm drive spacer may be required. These are readily available online from sites like eBay if needed.
- If you are installing a hard drive, cut the spacer based on the location of the breather hole. Heat WILL kill a traditional drive.
- ANY UNKNOWN HDP PASSWORDS MUST BE REMOVED BEFORE REPLACING THE DRIVE. IT WILL TRANSFER AS IT IS BACKED UP TO THE ATMEL CHIP ON THE BOARD!
- If possible, make a backup of your original drive and image it. This is optional, but it can help you recover if something goes wrong.
- Note: This is not recommended for used systems. Reinstall from scratch and make a clean image from a fresh install.
- Once you are done with the old drive, if you do not need it, securely erase it.
- Note: The procedure to wipe the old drive will vary by type. SSDs should be erased through a process known as "ATA Secure Erase" when possible to avoid putting wear on the SSD when it can be avoided. The drive will reset the encryption key, rendering the data unreadable.
- NOTE: For HDDs with SED support, a similar process where you can reset the key can also be used. However, it generally requires the manufacturer tool as it was patched into the firmware (whereas it is natively supported on SSDs).
- IMPORTANT: Legacy non-SED HDDs will still need to be wiped in a tool like DBAN, which takes hours or potentially days for larger drives, even with a 3-pass DoD wipe.
- Note: The procedure to wipe the old drive will vary by type. SSDs should be erased through a process known as "ATA Secure Erase" when possible to avoid putting wear on the SSD when it can be avoided. The drive will reset the encryption key, rendering the data unreadable.
crwdns2942213:0crwdne2942213:0
-
crwdns2935267:0crwdne2935267:0Essential Electronics Toolkit$29.95
-
-
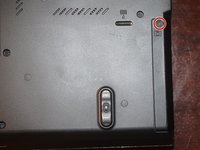
Unlock the latch locking the battery in the laptop.
-
NOTE: To remove the battery, the tab must be held in to avoid having the lock reinitiate inside the laptop.
-
-
-
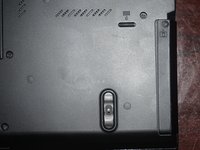
After unlocking the battery, remove the battery from the reverse way it is installed to remove it from the laptop.
-
-
-
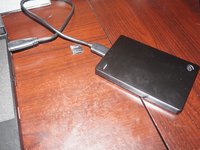
Before replacing the drive, backup your personal files. This can be done by hand, or automated.
-
-
-
-
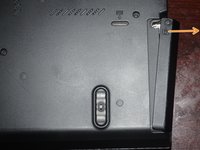
Remove the hard drive door from the system. Use a Phillips #1 bit.
-
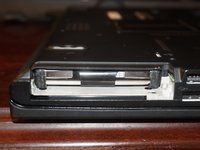
Once the screw is loose, remove the drive cover as shown.
-
-
-
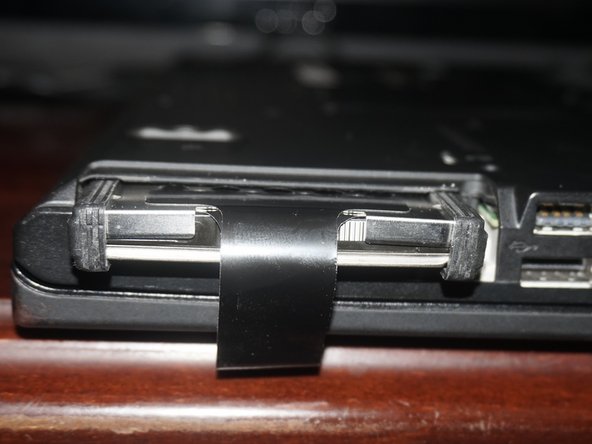
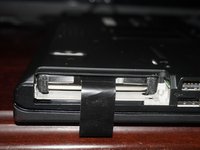
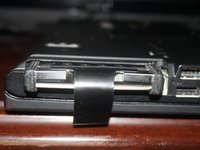
Pull the black tab on the drive caddy to remove the drive.
-
-
-
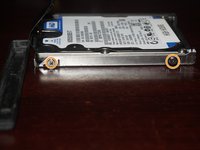
Remove the hard drive bumpers.
-
Remove the drive screws using a Phillips #1 screwdriver.
-
-
-
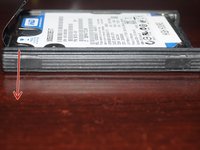
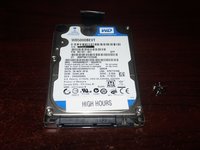
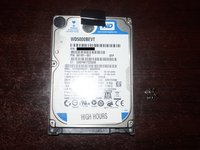
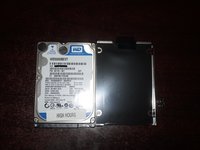
Remove the old hard drive from the laptop. If you intend to keep it, store it in a antistatic bag if possible.
-
-
-
Install your new drive using steps 6 through 3. Reinstall or reimage the operating system.
-
-
-
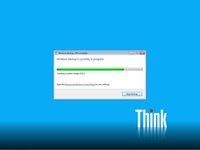
After reassembling the system and confirming the new drive is recognized, reinstall your operating system.
-


Once you install the new hard drive, reassemble your computer in reverse order. Once you do this, install an OS and restore your data.
crwdns2935221:0crwdne2935221:0
crwdns2935229:07crwdne2935229:0

crwdns2947412:03crwdne2947412:0
Thank you for the meta notes
Great instructions - you r doing a marvelous job - keep up the fine work !! God bless u !!!!
Also - love the cat, I also am a cat fan big time !!!