crwdns2915892:0crwdne2915892:0
Every electronic device powered by batteries will eventually need a replacement, as batteries degrade over time with use. After a long time of use, the battery can begin to deteriorate losing functionality much like a phone after years of use. Symptoms of a deteriorating battery include shorter charge time, difficulty recharging, or complete failure. These are common signs of declining battery health. In this guide, we’ll walk you through replacing the battery located beneath the left ear pad. Be prepared to carefully navigate around the daughterboard during the replacement. Following these steps will ensure your device regains its optimal performance with a fully functional battery.
Each of the screws for this project are the same 6.3mm Phillips head screws.
crwdns2942213:0crwdne2942213:0
-
-
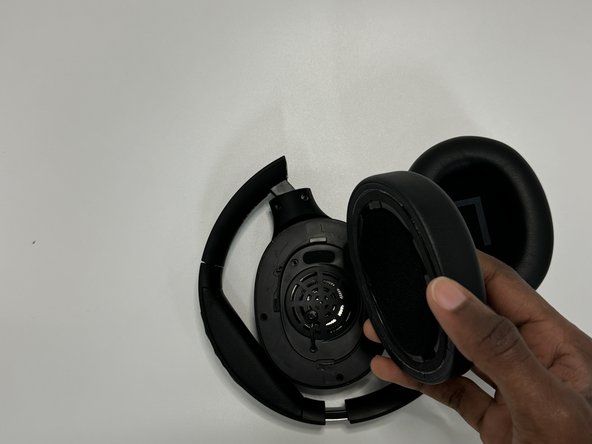
Firmly hold the headphone housing in one hand to hold the device steady and put the other hand on the ear pad you intend to replace.
-
-
-
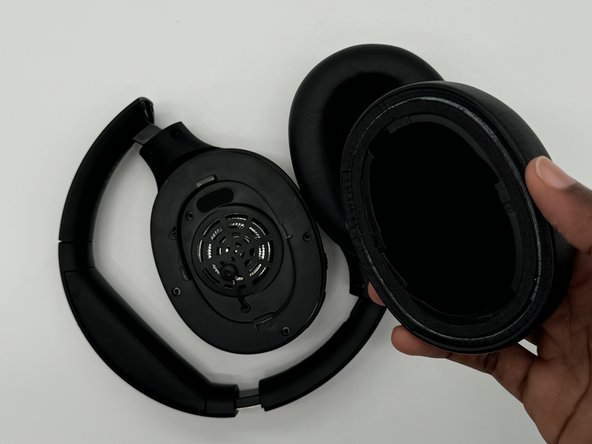
Twist the ear cover counterclockwise until it pops off.
-
-
-
-
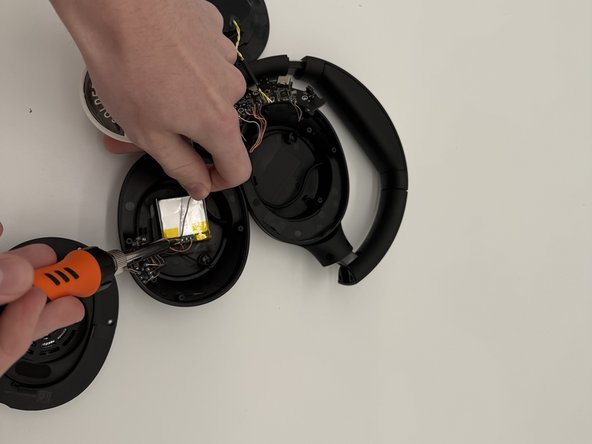
Remove the four Phillips screws securing the speaker housing.
-
-
-
Use a spudger to gently pry the battery out of its housing.
-
-
-
Take wire cutters and carefully snip the battery free, cutting as close to the battery as possible.
-
-
-
Solder the wires onto the new battery.
-


To reassemble your device, follow the above steps in reverse order.
For optimal performance, after completing this guide, calibrate your newly installed battery.
Take your e-waste to an R2 or e-Stewards certified recycler.
Repair didn’t go as planned? Try some basic troubleshooting or ask our Answers community for help.

crwdns2935287:0crwdne2935287:0

University of North Texas, Team 7-2, Kilpatrick Fall 2024 crwdns2935289:0University of North Texas, Team 7-2, Kilpatrick Fall 2024crwdne2935289:0
UNT-KILPATRICK-F24S7G2
crwdns2931471:04crwdne2931471:0
crwdns2935297:05crwdne2935297:0