crwdns2915892:0crwdne2915892:0
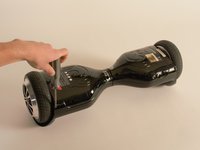
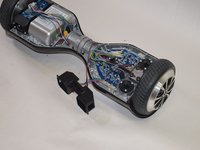
This guide will outline how to replace the wheel of the SwagTron T1 hoverboard. This may be necessary for any critical damage done to the hoverboard's wheel.
crwdns2942213:0crwdne2942213:0
-
-
Turn the SwagTron upside down to see the underside.
-
-
-
Unscrew the eighteen 10mm screws that secure the back panels using a Phillips #2 screwdriver.
-
Carefully lift the panels off
The panels don’t come off after removing the screws. Could they be also glued in place?
Same issue here with the T882. Resorted to trying to pry the shell off but haven’t been able to yet. The closer I get to the center, the harder it is.
FYI - there are stickers over two of the screws (one on each side). Once the stickers are removed, and the screws taken out, the shell came off easily.
THANK YOU! The screws were under the stickers near the center.
I removed all the screws from the panel, and I am pulling and tugging and I can only get one side loose but not the other. Anyone else experience this?
-
-
-
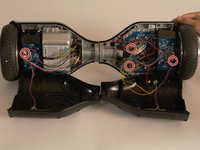
Follow the wires from the panels to the motherboard.
-
You may need to cut any zip ties that are holding the wires together.
-
There is one connection on the battery side and three on the other side that must be removed.
-
Your back panels are now completely removed.
Where can I buy the shell
Where can I buy the battery?
-
-
-
-
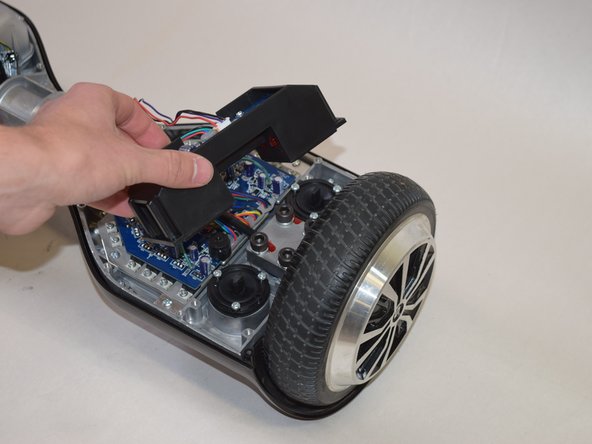
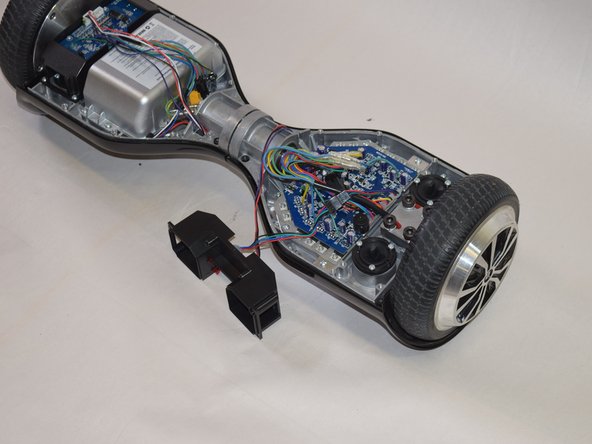
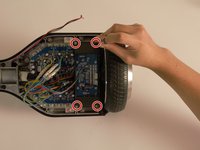
Using your Phillips #2 screwdriver, remove the four 1cm screws that attach the gyroscope and its black case to the hoverboard.
-
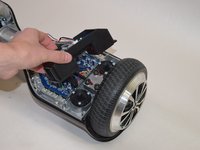
Carefully remove this component and set it off to the side.
-
-
-
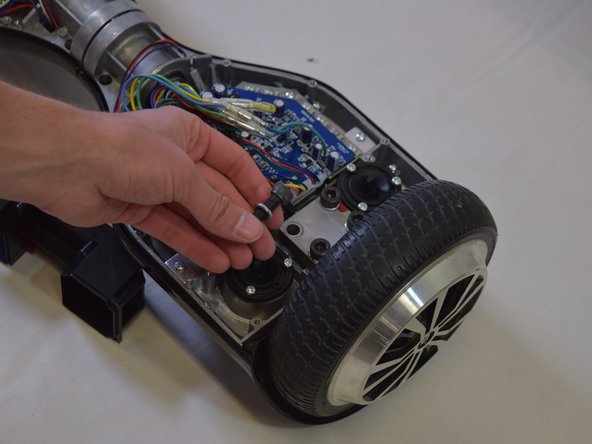
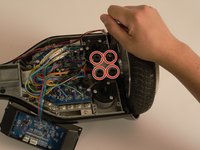
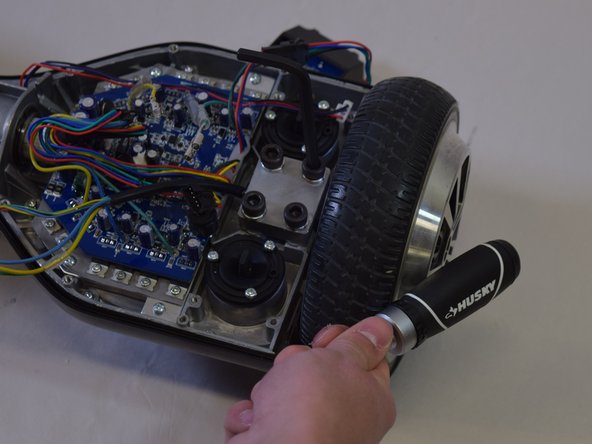
Using your H 6.0 allen wrench, remove the four 20mm black bolts shown in the picture.
-
Take off the iron plate holding the wheel in place.
-
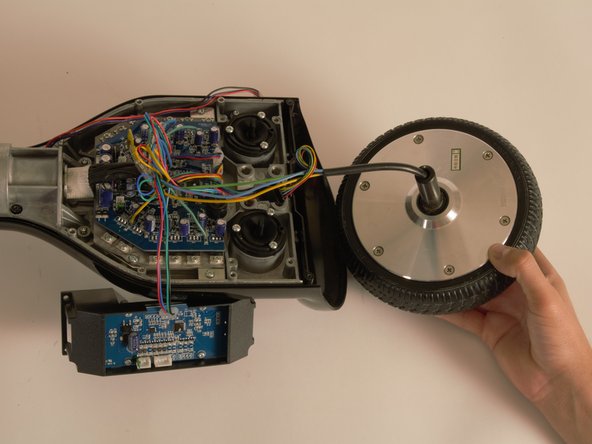
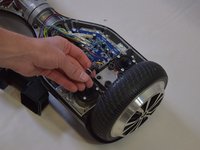
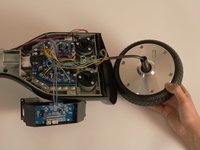
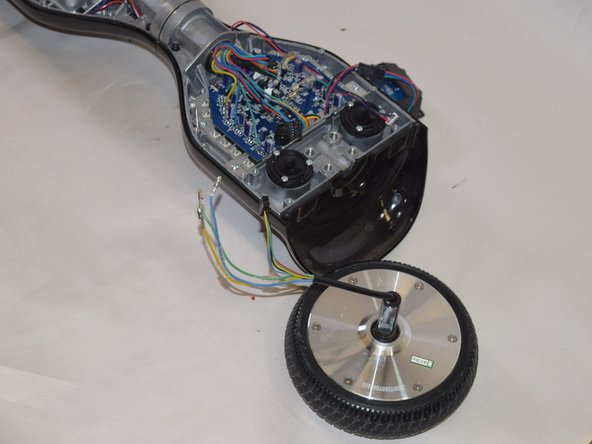
Remove the Motor/Wheel and set it aside close by to the hoverboard.
-
-
crwdns2935267:0crwdne2935267:0Tweezers$4.99
-
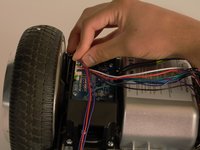
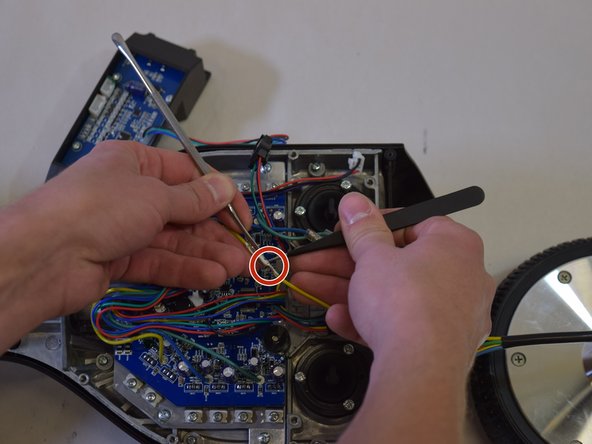
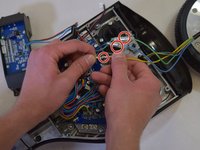
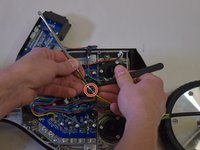
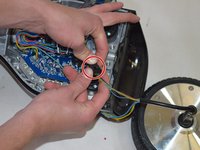
Slide the protective plastic off the connectors on the marked wires (green, blue, and yellow) using your hands or a set of tweezers.
-
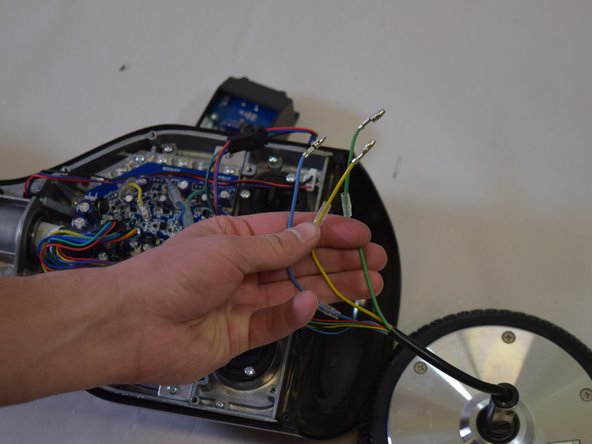
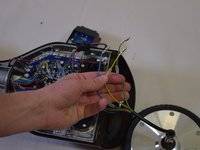
Separate the set of marked green, blue, and yellow wires from their connectors.
-
-
-
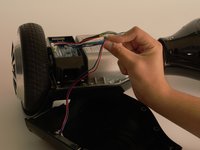
Finally separate the last connector shown on the left.
-
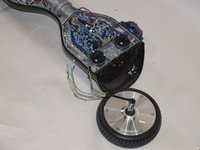
Your wheel is completely removed; slide in a new Motor/Wheel into the slot and follow the previous steps in reverse order.
-
To reassemble your device, follow these instructions in reverse order.
To reassemble your device, follow these instructions in reverse order.
crwdns2935221:0crwdne2935221:0
crwdns2935229:05crwdne2935229:0
crwdns2947412:03crwdne2947412:0
Where do you get replacement wheels?
Where can we find replacement wheels?
Mine won't stop beeping?? Fully charged.


