crwdns2933423:0crwdne2933423:0
crwdns2947577:0crwdnd2947577:0crwdne2947577:0
SwagTron T1 Gyroscope Replacement

SwagTron T1 Gyroscope Replacement

Teagan Allen

crwdns2944107:0crwdnd2944107:0Teagan Allencrwdnd2944107:0crwdnd2944107:0crwdnd2944107:03crwdnd2944107:0crwdne2944107:0

crwdns2944111:0Kho 7, 2017crwdne2944111:0

10 - 15 crwdns2931279:0crwdne2931279:0
crwdns2937799:0crwdne2937799:0

crwdns2915892:0crwdne2915892:0

crwdns2942287:0crwdne2942287:0

This guide will show you how to replace the gyroscope component of your SwagTron T1. This may be necessary if the self-balancing function of your hoverboard is not working correctly. Before attempting this replacement, recalibrate your SwagTron. If the problem persists, continue with this replacement. This replacement can be done for the gyroscope component on either side of your SwagTron T1.

crwdns2942213:0crwdne2942213:0

crwdns2943227:0crwdne2943227:0
  1. SwagTron T1 Gyroscope Replacement, Back Panels: crwdns2935265:01crwdnd2935265:01crwdnd2935265:01crwdne2935265:0
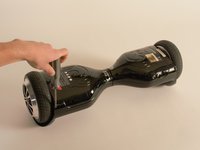
    • Ensure that the SwagTron is off.

    • Turn the SwagTron upside down to see the underside.

  2. SwagTron T1 Gyroscope Replacement: crwdns2935265:02crwdnd2935265:01crwdnd2935265:03crwdne2935265:0 SwagTron T1 Gyroscope Replacement: crwdns2935265:02crwdnd2935265:02crwdnd2935265:03crwdne2935265:0 SwagTron T1 Gyroscope Replacement: crwdns2935265:02crwdnd2935265:03crwdnd2935265:03crwdne2935265:0
    • Unscrew the eighteen 10mm screws that secure the back panels using a Phillips #2 screwdriver.

    • The screws are tightly in place. It will take effort to screw them out.

    • The panel is still attached to the SwagTron by wires that go to the motherboard.

    • Carefully lift the panels off

    The panels don’t come off after removing the screws. Could they be also glued in place?

    uygar_selman - crwdns2934203:0crwdne2934203:0

    Same issue here with the T882. Resorted to trying to pry the shell off but haven’t been able to yet. The closer I get to the center, the harder it is.

    Victoria Milhoan - crwdns2934203:0crwdne2934203:0

    FYI - there are stickers over two of the screws (one on each side). Once the stickers are removed, and the screws taken out, the shell came off easily.

    Victoria Milhoan - crwdns2934203:0crwdne2934203:0

    THANK YOU! The screws were under the stickers near the center.

    Liz Vance -

    I removed all the screws from the panel, and I am pulling and tugging and I can only get one side loose but not the other. Anyone else experience this?

    MS R - crwdns2934203:0crwdne2934203:0

  3. SwagTron T1 Gyroscope Replacement: crwdns2935265:03crwdnd2935265:01crwdnd2935265:03crwdne2935265:0 SwagTron T1 Gyroscope Replacement: crwdns2935265:03crwdnd2935265:02crwdnd2935265:03crwdne2935265:0 SwagTron T1 Gyroscope Replacement: crwdns2935265:03crwdnd2935265:03crwdnd2935265:03crwdne2935265:0
    • Follow the wires from the panels to the motherboard.

    • You may need to cut any zip ties that are holding the wires together.

    • There is one connection on the battery side and three on the other side that must be removed.

    • These connections may be difficult to remove. Try to securely press the connection and pull firmly.

    • Your back panels are now completely removed.

  4. SwagTron T1 Gyroscope Replacement, Gyroscope: crwdns2935265:04crwdnd2935265:01crwdnd2935265:02crwdne2935265:0 SwagTron T1 Gyroscope Replacement, Gyroscope: crwdns2935265:04crwdnd2935265:02crwdnd2935265:02crwdne2935265:0
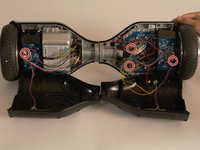
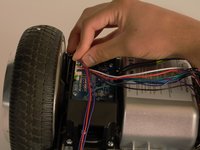
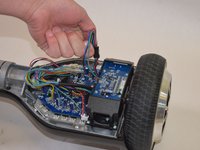
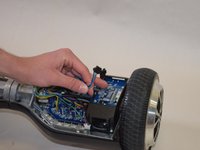
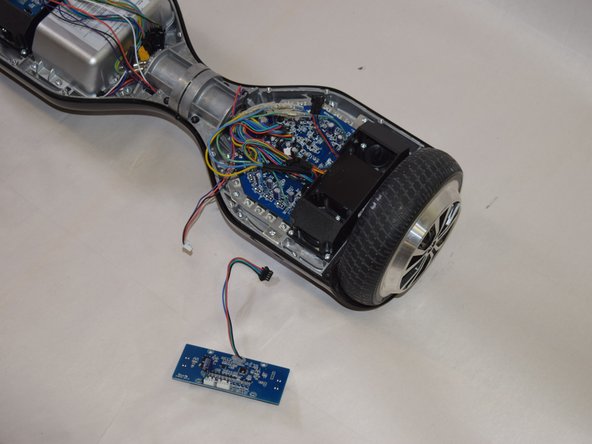
    • Disconnect the gyroscope by disconnecting the wires attached to it. These wires are black, green, blue and red.

  5. SwagTron T1 Gyroscope Replacement: crwdns2935265:05crwdnd2935265:01crwdnd2935265:01crwdne2935265:0
    • Using your Phillips #2 screwdriver, remove the four 8mm screws marked in red from the gyroscope.

  6. SwagTron T1 Gyroscope Replacement: crwdns2935265:06crwdnd2935265:01crwdnd2935265:03crwdne2935265:0 SwagTron T1 Gyroscope Replacement: crwdns2935265:06crwdnd2935265:02crwdnd2935265:03crwdne2935265:0 SwagTron T1 Gyroscope Replacement: crwdns2935265:06crwdnd2935265:03crwdnd2935265:03crwdne2935265:0
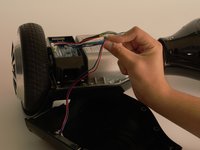
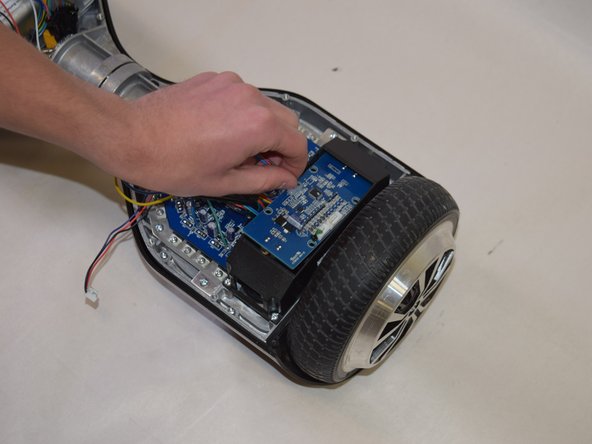
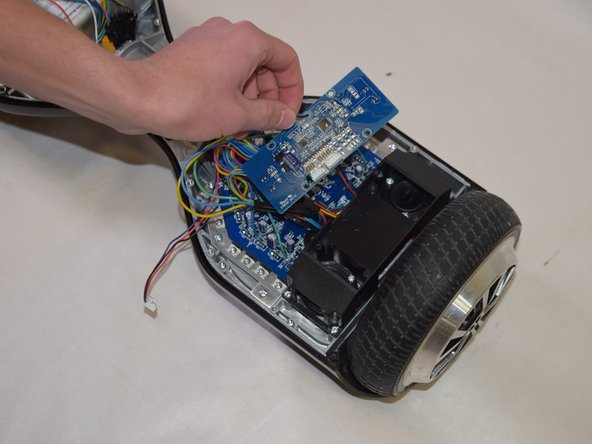
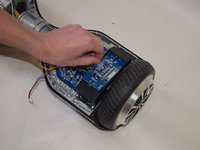
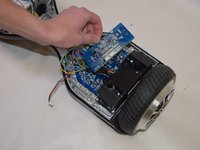
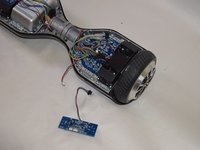
    • Carefully remove the gyroscope component from the SwagTron.

crwdns2915888:0crwdne2915888:0

To reassemble your device, follow these instructions in reverse order.

crwdns2935229:09crwdne2935229:0

Teagan Allen

crwdns2935283:004/18/17crwdne2935283:0

432 crwdns2915208:0crwdne2915208:0

crwdns2935297:02crwdne2935297:0

crwdns2915084:0crwdne2915084:0

Cal Poly, Team S17-G5, Banghart Spring 2017 crwdns2935289:0Cal Poly, Team S17-G5, Banghart Spring 2017crwdne2935289:0

CPSU-BANGHART-S17S17G5

crwdns2931471:04crwdne2931471:0

crwdns2935297:05crwdne2935297:0

crwdns2947412:05crwdne2947412:0

I cannot find a Swagtron T1 replacement gyroscope anywhere on the internet. Any help would be extremely appreciated!! Thank you!

Gavin Hosler - crwdns2934203:0crwdne2934203:0

Amazon.com Keyword: CertiCable

Jesse Griffis -

Where do you get the replacement?

Brittany Conner - crwdns2934203:0crwdne2934203:0

Can’t find gyroscope for a t5 hover board please help.

jbswearingen70739 - crwdns2934203:0crwdne2934203:0

I just got mine today and after the first hour I ran into a shoe and then I tried recalibrating it but it was no use. If someone knows what’s going on please tell me! Thank you :)

Elia Leon - crwdns2934203:0crwdne2934203:0

crwdns2917038:0crwdne2917038:0

crwdns2936625:0crwdne2936625:0:

crwdns2936751:024crwdne2936751:0 0

crwdns2936753:07crwdne2936753:0 4

crwdns2936753:030crwdne2936753:0 36

crwdns2942667:0crwdne2942667:0 7,607