crwdns2915892:0crwdne2915892:0
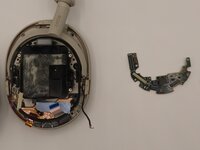
If you experience your Sony WH-1000XM5 headphones failing to turn on, a blinking charging port light with no power, or limited charging capacity of only 10%, use this guide to replace the power board.
The power board manages the battery, including charging, protecting against overcharging, and incorporating a temperature sensor.
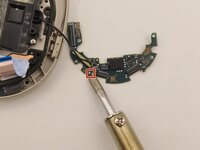
Step 6 requires you to desolder 2 wires connected to the power board. Please wear safety glasses and take caution when handling a hot soldering iron. If you are new to soldering, you can follow the How To Solder and Desolder Connections guide for more in-depth instructions.
Before beginning, make sure to power off your headphones and disconnect from any external power source.
crwdns2942213:0crwdne2942213:0
-
crwdns2935267:0crwdne2935267:0iFixit Opening Tool$1.99
-
Place the edge of an iFixit opening tool under the earpad cushion.
-
Slide it alongside the edge of the cushion until it detaches from the rest of the headphones.
-
-
crwdns2935267:0crwdne2935267:0Phillips #000 Screwdriver$5.49
-
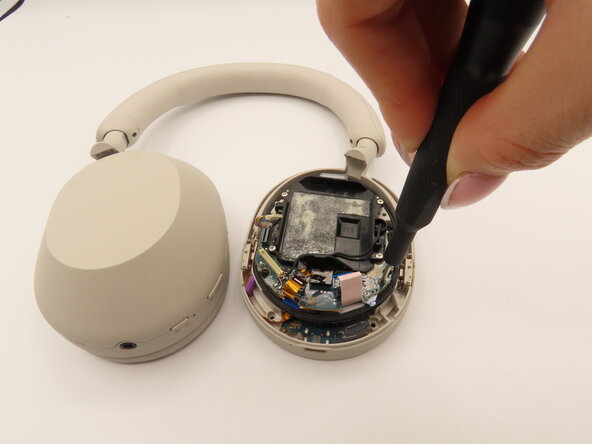
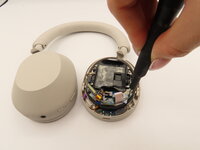
Use a Phillips #000 screwdriver to remove the eight screws along the outer inside edge.
-
Flip the headphones to the other side and slowly lift up the back plastic cover piece.
-
Gently disconnect the touch sensor ribbon cable by pulling it out evenly from the main board.
-
-
-
-
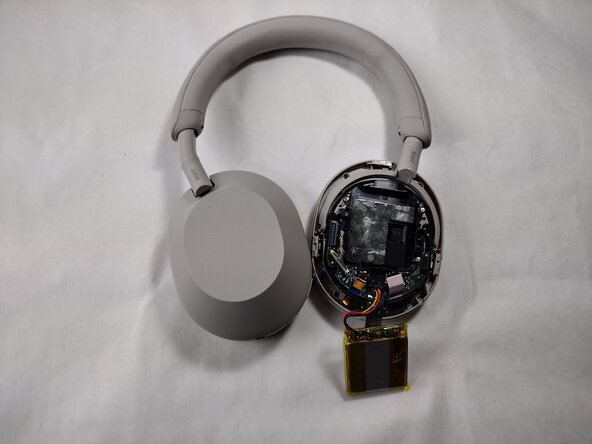
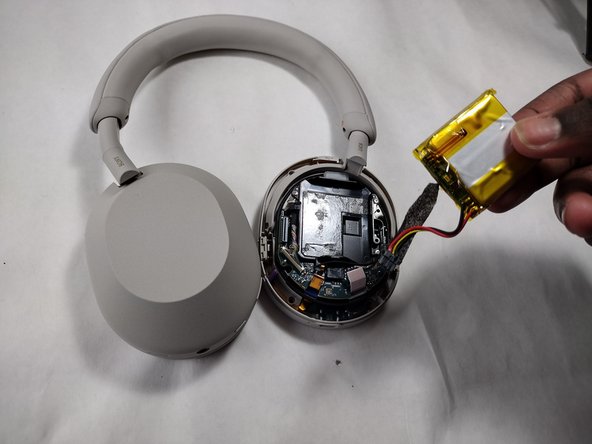
Peel off the tape covering the battery connector.
-
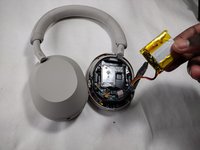
Pull out the battery and disconnect the battery cable from the motherboard.
-
-
-
Unplug the main wire and all ribbons from the power board.
-
-
-
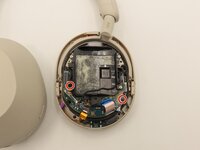
Use a Phillips #000 screwdriver to remove the two black 1.6mm Phillips screws holding the power board down.
-
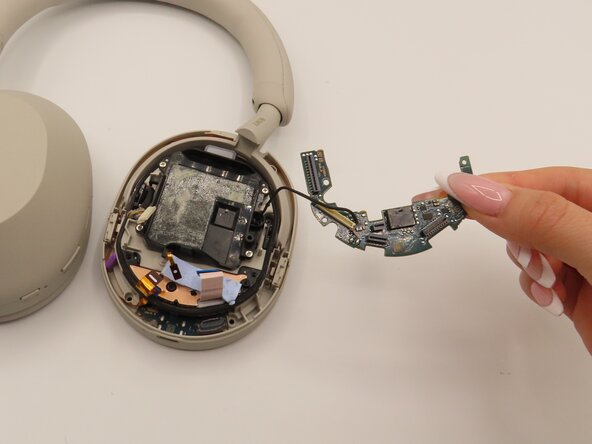
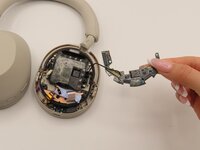
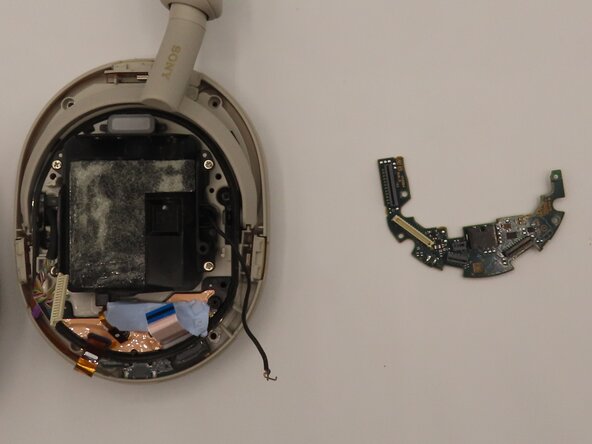
Carefully lift the power board from the unit.
-
-
-
Plug in the soldering iron and wait 1-3 minutes for it to heat up.
-
Place the flat side of the soldering iron on the 2 globs of metal for 2-3 seconds as shown.
-
While the globs are still hot, use your tweezers to carefully detach the black and red wires from the power board.
-
To reassemble your device, follow these instructions in reverse order.


