crwdns2915892:0crwdne2915892:0
This guide will teach you how to replace the battery for your Sony WH-1000MX5 headset. The headset uses lithium-ion batteries, which can swell.
In the event the battery looks swollen or hot to touch, stop and read this guide on how to handle a swollen battery
crwdns2942213:0crwdne2942213:0
-
crwdns2935267:0crwdne2935267:0iFixit Opening Tool$1.99
-
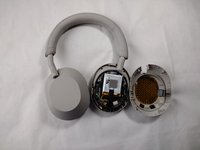
Place the edge of an iFixit opening tool under the earpad cushion.
-
Slide it alongside the edge of the cushion until it detaches from the rest of the headphones.
 crwdns2952109:0crwdne2952109:0
-
-
-
crwdns2935267:0crwdne2935267:0Phillips #000 Screwdriver$5.49
-
Use a Phillips #000 screwdriver to remove the eight screws along the outer inside edge.
-
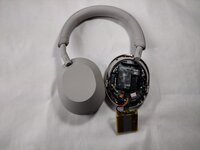
Flip the headphones to the other side and slowly lift up the back plastic cover piece.
-
Gently disconnect the touch sensor ribbon cable by pulling it out evenly from the main board.
-
-
-
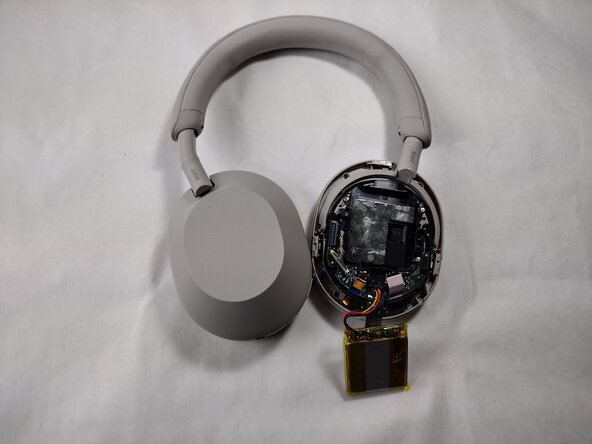
Peel off the tape covering the battery connector.
-
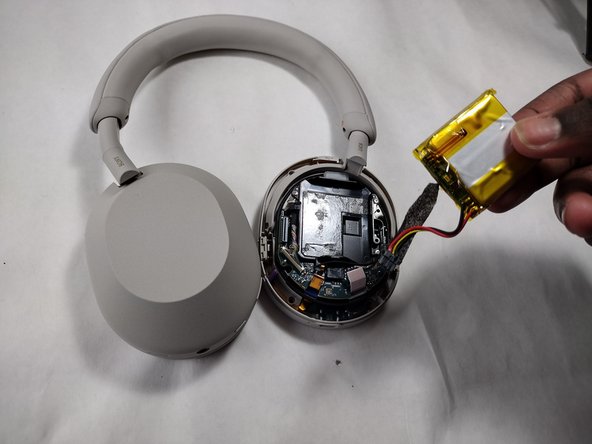
Pull out the battery and disconnect the battery cable from the motherboard.
-


To reassemble your device, follow the above steps in reverse order.
For optimal performance, after completing this guide, calibrate your newly installed battery.
Take your e-waste to an R2 or e-Stewards certified recycler.
Repair didn’t go as planned? Try some basic troubleshooting or ask our Answers community for help.
crwdns2935221:0crwdne2935221:0
crwdns2935229:03crwdne2935229:0

crwdns2935287:0crwdne2935287:0

UMass Dartmouth, Team 1-4, Santin Spring 2024 crwdns2935289:0UMass Dartmouth, Team 1-4, Santin Spring 2024crwdne2935289:0
UMASSD-SANTIN-S24S1G4
crwdns2931471:03crwdne2931471:0
crwdns2935297:08crwdne2935297:0
crwdns2947410:01crwdne2947410:0
Hey folks, thanks for taking the time to layout this procedure. These headphones are amazing, and this really helps me get my friends onboard.
placebomessiah - crwdns2934203:0crwdne2934203:0 crwdns2950251:0crwdne2950251:0