crwdns2933423:0crwdne2933423:0

Sony ULT WEAR Hinges Replacement

crwdns2942213:0crwdne2942213:0

  1. Sony ULT WEAR Hinges Replacement, Hinges: crwdns2935265:01crwdnd2935265:01crwdnd2935265:03crwdne2935265:0 Sony ULT WEAR Hinges Replacement, Hinges: crwdns2935265:01crwdnd2935265:02crwdnd2935265:03crwdne2935265:0 Sony ULT WEAR Hinges Replacement, Hinges: crwdns2935265:01crwdnd2935265:03crwdnd2935265:03crwdne2935265:0
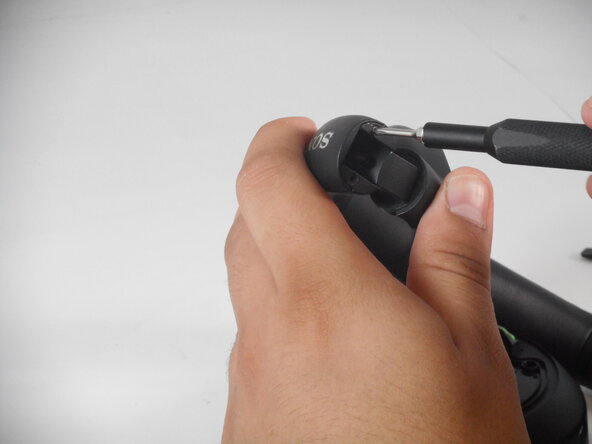
    • Fold the effected hinge's headphone cans inward to reveal four screws.

    • Remove the four screws using a Phillips #00 screwdriver.

    • There are two 4.3 mm screws on the bottom of the headband and two 3.5 mm screws on the sides of the hinge.

  2. Sony ULT WEAR Hinges Replacement: crwdns2935265:02crwdnd2935265:01crwdnd2935265:03crwdne2935265:0 Sony ULT WEAR Hinges Replacement: crwdns2935265:02crwdnd2935265:02crwdnd2935265:03crwdne2935265:0 Sony ULT WEAR Hinges Replacement: crwdns2935265:02crwdnd2935265:03crwdnd2935265:03crwdne2935265:0
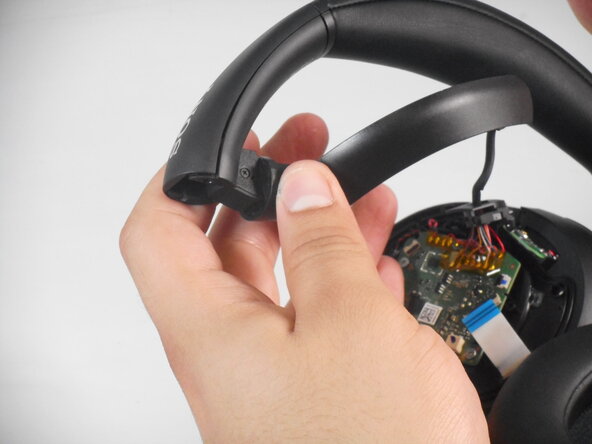
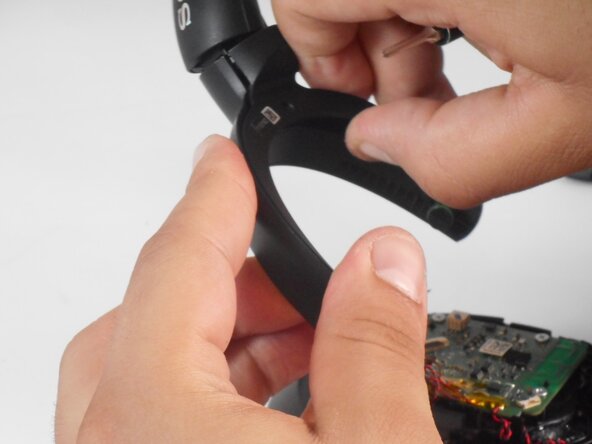
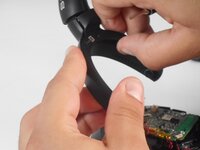
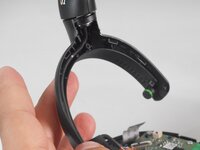
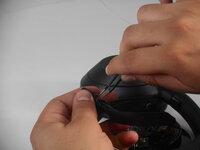
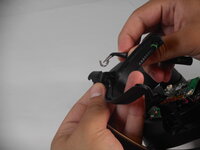
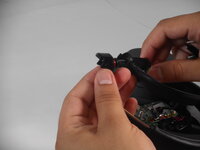
    • Remove plastic casing between the screws to reveal metallic hinge and top of wire.

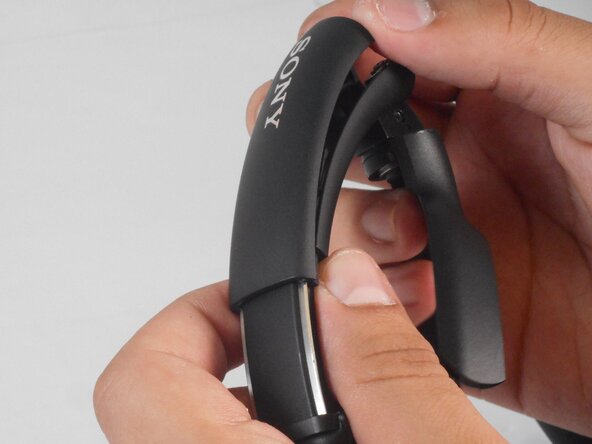
    • Lift and slide the top headband casing off.

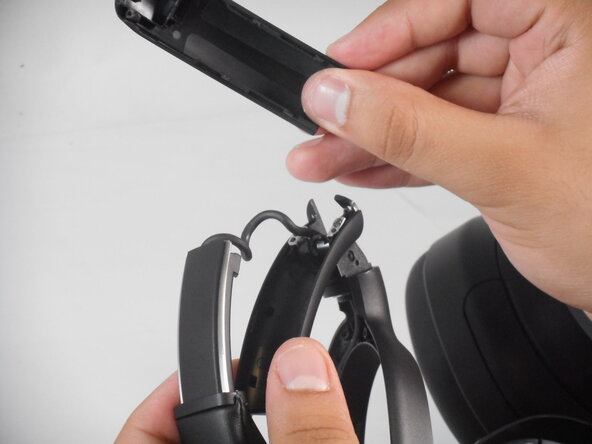
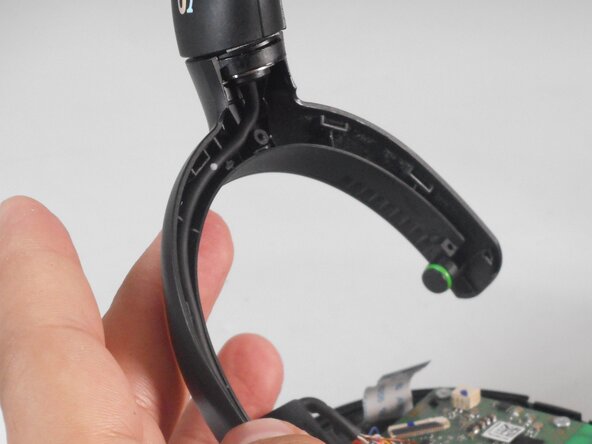
    • Lift and slide bottom headband casing to reveal the rest of the wire and hinge.

  3. Sony ULT WEAR Hinges Replacement: crwdns2935265:03crwdnd2935265:01crwdnd2935265:03crwdne2935265:0 Sony ULT WEAR Hinges Replacement: crwdns2935265:03crwdnd2935265:02crwdnd2935265:03crwdne2935265:0 Sony ULT WEAR Hinges Replacement: crwdns2935265:03crwdnd2935265:03crwdnd2935265:03crwdne2935265:0
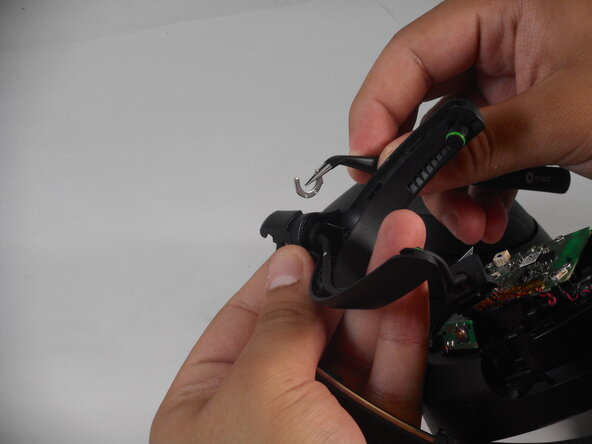
    • On the bottom plastic casing remove the two 3.5 mm Phillips screws attached at the metallic hinge.

    • Move the headphone wire out of the way.

    • Under the headphone wire there is a third screw on the metallic hinge. Remove this screw to remove the hinge.

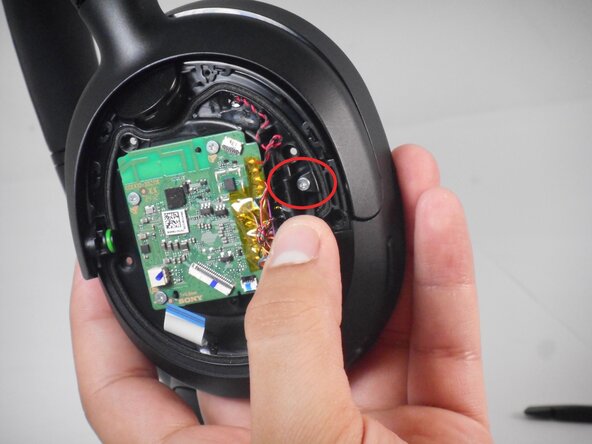
  4. Sony ULT WEAR Hinges Replacement: crwdns2935265:04crwdnd2935265:01crwdnd2935265:02crwdne2935265:0 Sony ULT WEAR Hinges Replacement: crwdns2935265:04crwdnd2935265:02crwdnd2935265:02crwdne2935265:0
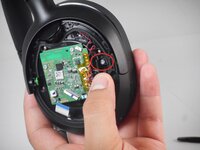
    • There are three 0.5 mm screws holding the hinge. Two of them are located on the exterior and one is underneath the speaker wire.

    • Remove the screw under the speaker wire to remove the can hinge.

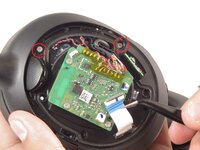
  5. Sony ULT WEAR Hinges Replacement: crwdns2935265:05crwdnd2935265:01crwdnd2935265:03crwdne2935265:0 Sony ULT WEAR Hinges Replacement: crwdns2935265:05crwdnd2935265:02crwdnd2935265:03crwdne2935265:0 Sony ULT WEAR Hinges Replacement: crwdns2935265:05crwdnd2935265:03crwdnd2935265:03crwdne2935265:0
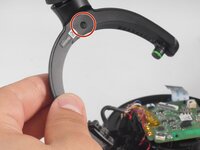
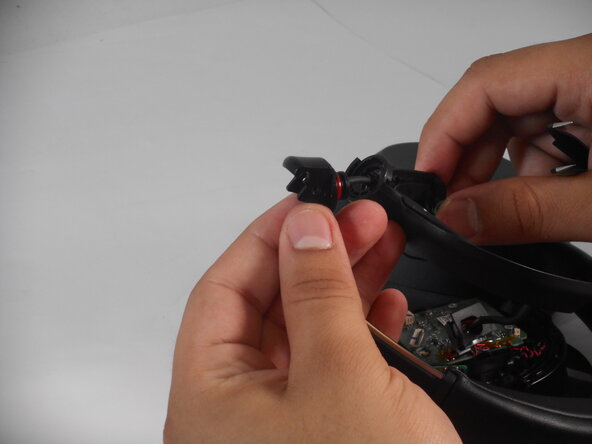
    • After removing the screws, there is another 3.5 mm screw on the actual hinge piece that must be removed.

    • Remove the plastic shell.

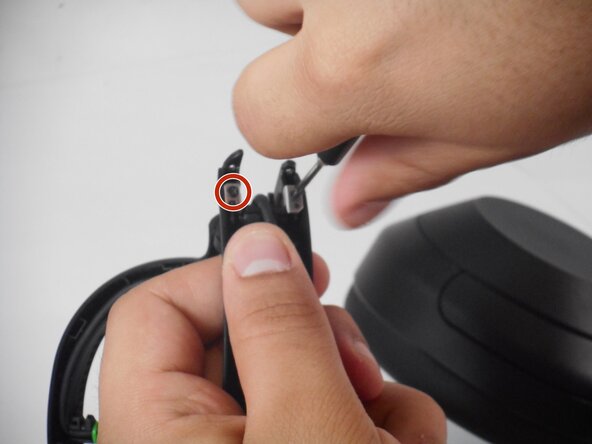
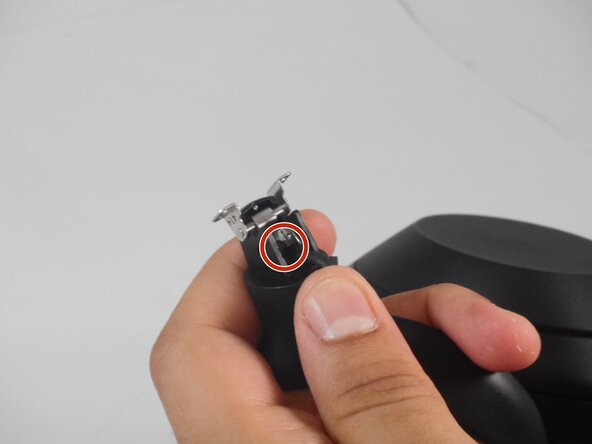
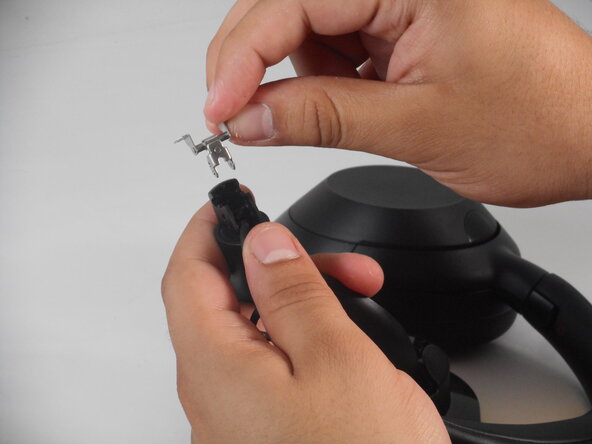
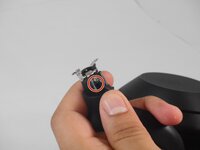
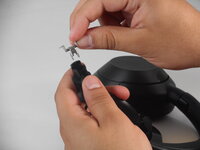
  6. Sony ULT WEAR Hinges Replacement: crwdns2935265:06crwdnd2935265:01crwdnd2935265:03crwdne2935265:0 Sony ULT WEAR Hinges Replacement: crwdns2935265:06crwdnd2935265:02crwdnd2935265:03crwdne2935265:0 Sony ULT WEAR Hinges Replacement: crwdns2935265:06crwdnd2935265:03crwdnd2935265:03crwdne2935265:0
    • Right under the inner part of the hinge, there is a small metal wedge holding the hinge in place. Remove this piece.

crwdns2915888:0crwdne2915888:0

To reassemble your device, follow the above steps in reverse order.
Take your e-waste to an R2 or e-Stewards certified recycler.
Repair didn’t go as planned? Try some basic troubleshooting or ask our Answers community for help.

Michelle Pride

crwdns2935283:002/19/25crwdne2935283:0

707 crwdns2915208:0crwdne2915208:0

crwdns2935297:06crwdne2935297:0

crwdns2915084:0crwdne2915084:0

University of Memphis, Team 2-3, Sneed Spring 2025 crwdns2935289:0University of Memphis, Team 2-3, Sneed Spring 2025crwdne2935289:0

UM-SNEED-S25S2G3

crwdns2931471:03crwdne2931471:0

crwdns2935297:07crwdne2935297:0

crwdns2947412:00crwdne2947412:0

crwdns2917038:0crwdne2917038:0

crwdns2936625:0crwdne2936625:0:

crwdns2936751:024crwdne2936751:0 13

crwdns2936753:07crwdne2936753:0 87

crwdns2936753:030crwdne2936753:0 127

crwdns2942667:0crwdne2942667:0 159