crwdns2933423:0crwdne2933423:0

Sony SRS-XG300 Fabric Cover Replacement

crwdns2942213:0crwdne2942213:0

  1. Sony SRS-XG300 Fabric Cover Replacement, Fabric Cover: crwdns2935265:01crwdnd2935265:01crwdnd2935265:03crwdne2935265:0 Sony SRS-XG300 Fabric Cover Replacement, Fabric Cover: crwdns2935265:01crwdnd2935265:02crwdnd2935265:03crwdne2935265:0 Sony SRS-XG300 Fabric Cover Replacement, Fabric Cover: crwdns2935265:01crwdnd2935265:03crwdnd2935265:03crwdne2935265:0
    • Before beginning, make sure to unplug and power off your speaker.

    • With the Sony label on the left, roll the speaker horizontally to the bottom of the speaker with the rubber stands.

    • Remove four 12 mm screws with a Phillips #1 screwdriver.

    • Remove the loose rubber feet.

  2. Sony SRS-XG300 Fabric Cover Replacement: crwdns2935265:02crwdnd2935265:01crwdnd2935265:02crwdne2935265:0 Sony SRS-XG300 Fabric Cover Replacement: crwdns2935265:02crwdnd2935265:02crwdnd2935265:02crwdne2935265:0
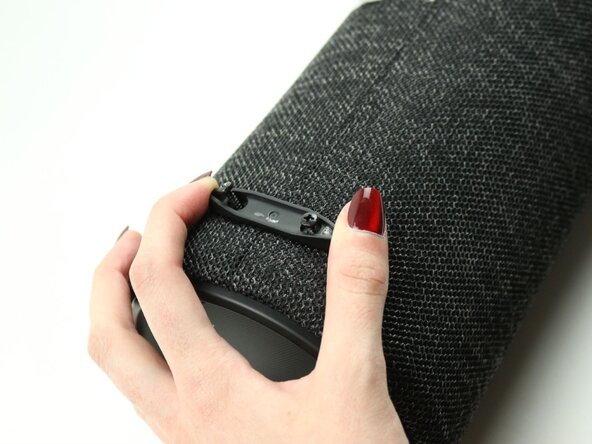
    • Insert the metal spudger tool at 90-degree angle into the right part of seam.

    • Pry off the top part of the fabric cover using the metal spudger.

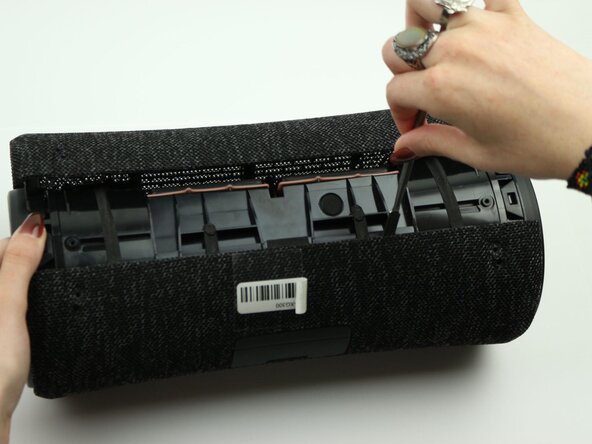
    • Follow the seam to completely detach the top part of the fabric cover.

    • Repeat to remove the bottom part of the fabric cover.

crwdns2915888:0crwdne2915888:0

To reassemble your device, follow these instructions in reverse order.

Kristen Gismondi

crwdns2935283:011/12/14crwdne2935283:0

94.930 crwdns2915208:0crwdne2915208:0

crwdns2935297:0253crwdne2935297:0

crwdns2947412:00crwdne2947412:0

crwdns2917038:0crwdne2917038:0

crwdns2936625:0crwdne2936625:0:

crwdns2936751:024crwdne2936751:0 2

crwdns2936753:07crwdne2936753:0 11

crwdns2936753:030crwdne2936753:0 12

crwdns2942667:0crwdne2942667:0 12