crwdns2915892:0crwdne2915892:0
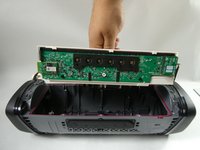
This Sony speaker is the model SRS-XB43. This guide is to replace a faulty or malfunctioning motherboard within the system. Please refer to the Troubleshooting Page before beginning the replacement guide steps. While you go through the guide to replace the motherboard, try not to touch the exposed circuitry or components as the natural oils on your hands can transfer onto the electronics, which can possibly produce negative effects. Before starting the repair, wash your hands thoroughly and keep your fingers at the sides/edges of the motherboard.
crwdns2942213:0crwdne2942213:0
-
-
Insert the metal spudger into the mesh's seam/opening located at the bottom of the speaker.
-
Begin applying pressure, prying along the run of the seam until the mesh cover begins to come loose.
-
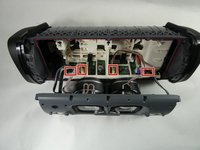
Fully open the hinged mesh cover and pry it off the unit.
-
-
-
Turn the speaker so the back is facing you.
-
Remove the factory tamper seal below the speaker volume toggle to reveal a single screw.
-
Remove the single screw using a T8 Torx.
-
-
-
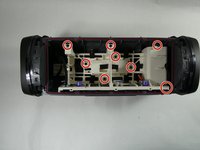
Remove all ten screws using a Phillips #1 screwdriver.
-
-
-
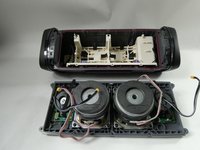
Slowly lift the speaker face off of the housing unit.
-
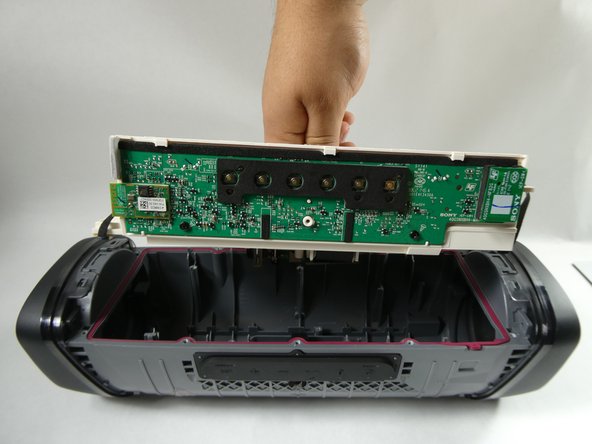
Unplug the six wires connecting the faceplate to the motherboard.
-
-
-
-
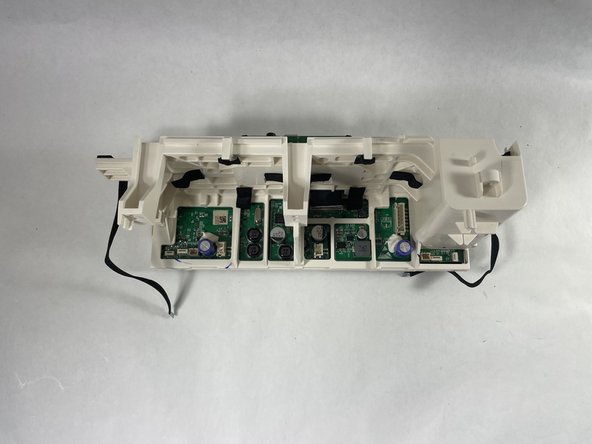
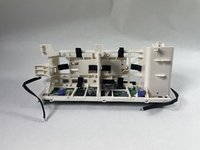
Orient the speaker's backplate so that the plastic chassis and internal electronics are facing upwards.
-
Remove the eight 10 mm screws securing the motherboard chassis to the backplate using a Phillips #1 screwdriver.
-
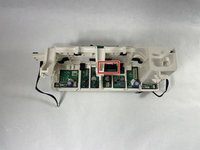
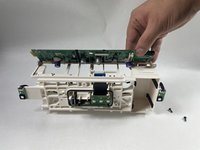
Grab the motherboard chassis and gently remove it from the backplate of the speaker.
-
-
-
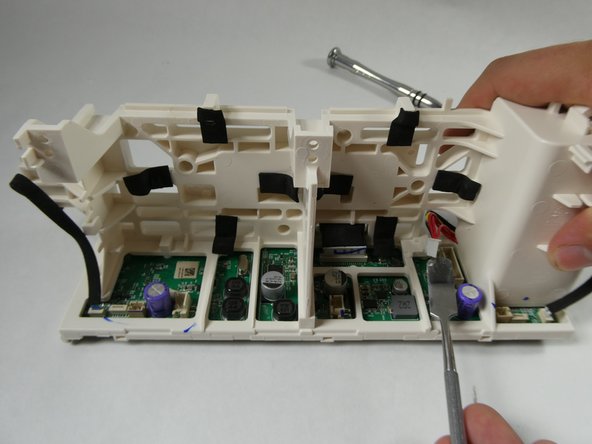
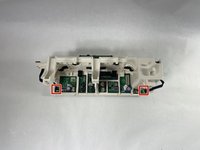
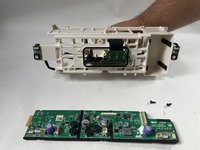
Orient the motherboard chassis so that the side with the six buttons is facedown on the table and the opposite side is visible to you.
-
Disconnect the seven-prong cable (the one with red, yellow, and black wires) plugged into the motherboard by prying on its edge/extruding lip with a spudger.
-
-
-
Orient the plastic chassis so that the port housing PCB is facing upward.
-
Remove the plastic black film covering the battery, leaving the blue battery exposed.
-
-
-
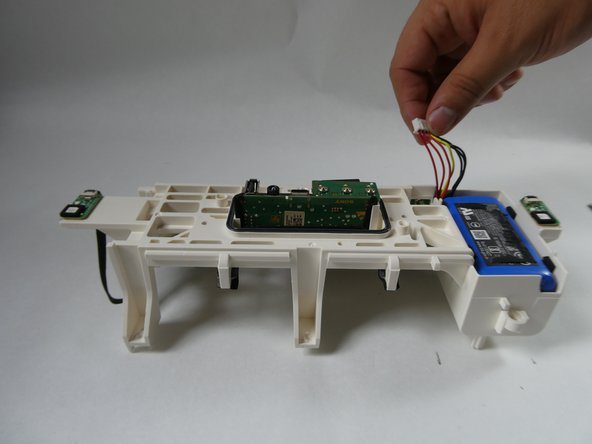
Lightly pull the seven-prong cable upwards until the battery is angled in such a way that you can get a proper grip on both sides with your fingers.
-
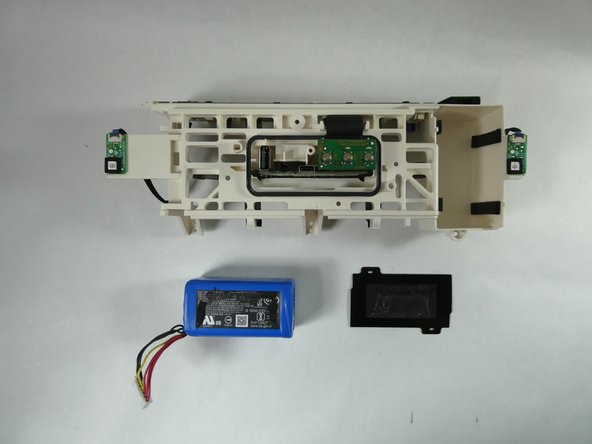
Using your fingers, pull upwards until the battery is removed from its enclosure.
-
-
-
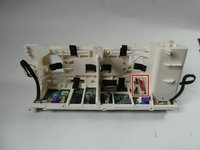
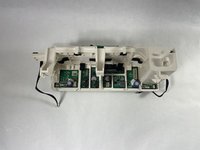
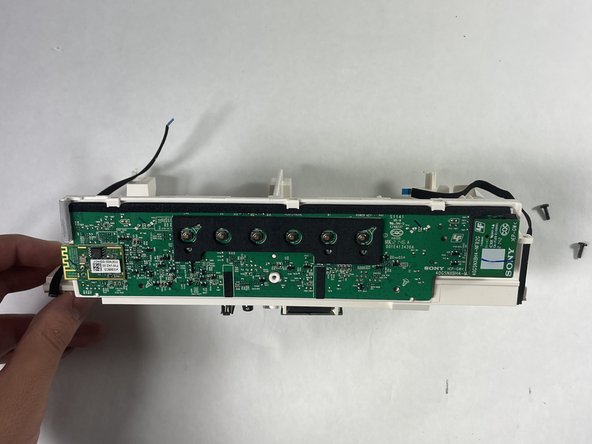
Orient the motherboard chassis towards you for a clear view of connection points.
-
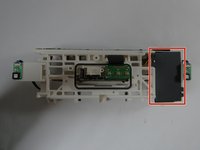
Disconnect both LED ribbon cables on the far right and left of the motherboard by gently pulling them up.
-
-
-
Pull the port housing cable up from the middle-back edge of the motherboard.
-
-
-
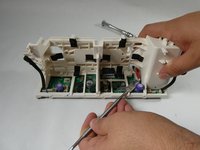
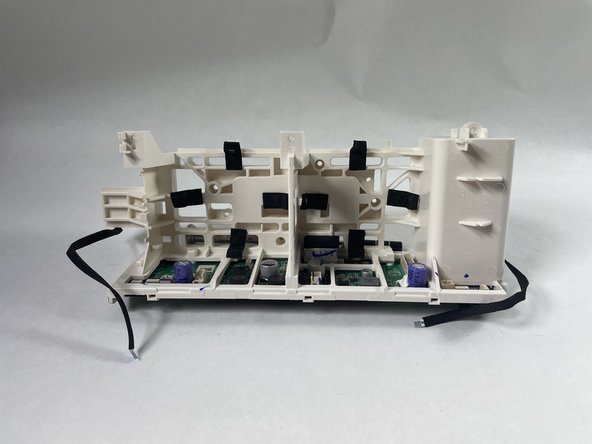
Orient the chassis so that the back of the motherboard where the six buttons are located is facing upwards.
-
Remove the two 10 mm screws that secure the motherboard to its chassis using a Phillips #1 screwdriver.
-
-
-
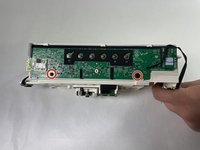
Gently remove the motherboard from the chassis.
-


To reassemble your device, follow these instructions in reverse order.

crwdns2935287:0crwdne2935287:0

UMass Dartmouth, Team 3-5, Botvin Fall 2022 crwdns2935289:0UMass Dartmouth, Team 3-5, Botvin Fall 2022crwdne2935289:0
UMASSD-BOTVIN-F22S3G5
crwdns2931471:04crwdne2931471:0
crwdns2935297:05crwdne2935297:0
crwdns2947412:04crwdne2947412:0
Do you sell the motherboard?
Is there anyway to revert or to replace the firmware version for SRS-XB43 speaker back to firmware version 3800? I have 3 speaker units that accidentally updated to firmware version 4800 very annoying. I just look for the way to rerun firmware version 3800 back for my speakers...!
Tienes la placa del centro de carga la vendes
Hi,where I can find motherboard for sale?