crwdns2915892:0crwdne2915892:0
The screen allows users to view pictures, videos, and menus. It is a delicate part of the camera that may need to be replaced if nothing is displayed or if the camera powers up, but doesn't allow the user to record or access menus.
Replacing the screen of the DCR-SR42 is a simple procedure that will take no more than 40 minutes. However, the user should be careful when disassembling the camera in order to avoid damaging the flex cable or any other internal components of the camera. The user should also ensure that the battery is disconnected from the camera at least an hour before disassembly is attempted, since capacitors inside the camera can remain charged with electricity some time after the battery is removed. It is necessary to allow capacitors to discharge to prevent injury to the user or damage to the camera.
For problems pertaining to the LCD screen, please refer to the Sony Handycam DCR SR-42 Troubleshooting Guide
crwdns2942213:0crwdne2942213:0
-
-
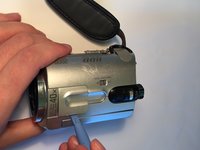
Remove the battery, and use the Phillips #00 precision screwdriver to then remove the three 3mm Phillips #00 screws under the battery.
-
-
-
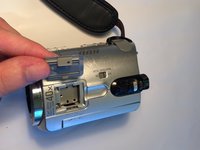
Remove the three 3mm #00 Phillips screws on the bottom of the camera.
-
-
-
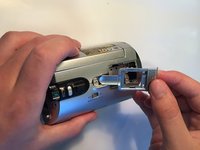
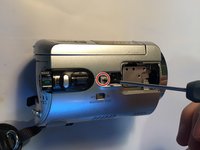
Remove the three 3mm Phillips #00 screws on the side of the camera.
-
Remove the 4mm Phillips #00 screw under the AV port cover.
-
-
-
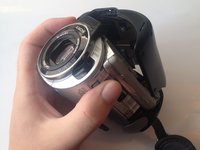
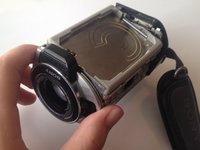
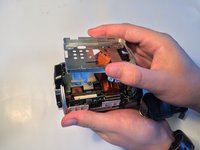
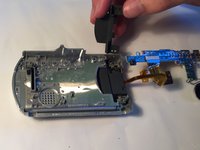
Gently pull the black plastic hard drive cover away from the body of the camera. This will expose the hard drive.
-
-
-
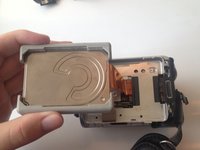
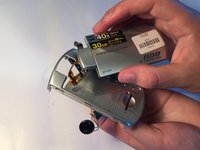
Lift the hard drive out of the camera by grasping the grey rubber mounting brackets and pulling them upwards.
-
-
-
Remove the rubber mounting brackets by pulling them off the hard drive.
-
-
-
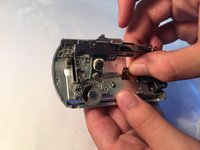
Carefully unplug the flex cable from the hard drive.
Do not just pull out the cable, make sure you unlock the connector first. There is a full width black lever which you can lift with your fingernails.
-
-
-
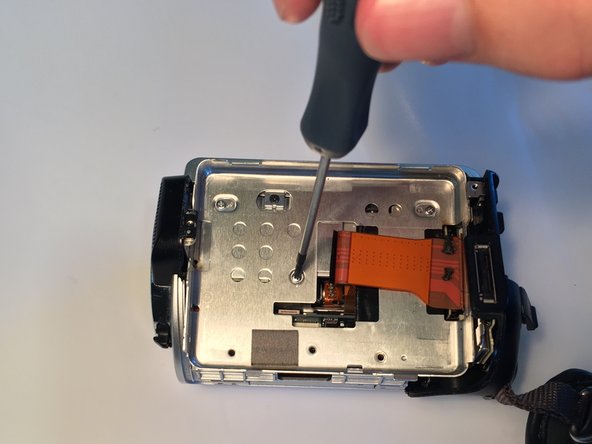
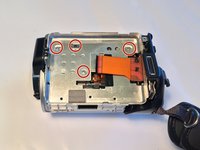
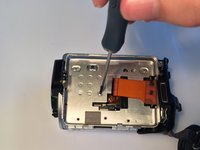
Remove the four 3mm Phillips #00 screws from under the hard drive.
-
-
-
-
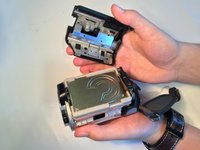
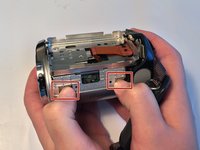
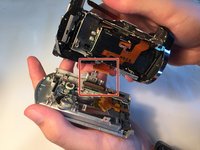
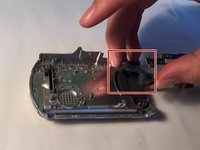
Press in on the two tabs as shown and lift the metal plate up and off the camera.
-
-
-
Remove the two 4mm Phillips #00 screws from the underside of the camera.
-
Remove the 2 mm Phillips #00 screw from the screen hinge.
-
Remove the two 6mm Philips #00 screws from the side
-
-
-
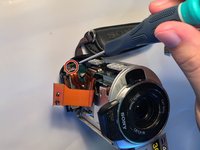
Use the plastic opening tool to remove the plastic cover from the top of the camera.
-
Remove the two 3mm Phillips #00 screws from underneath the plastic cover.
-
-
-
Remove the second plastic cover from the top of the camera.
-
Remove the 4mm Phillips #00 screw from underneath the cover.
-
-
-
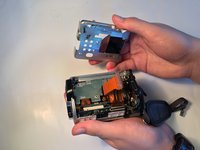
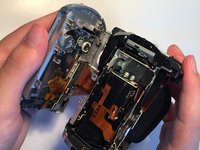
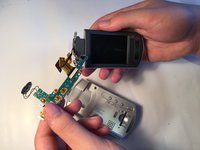
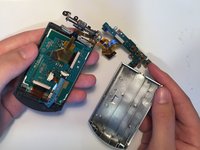
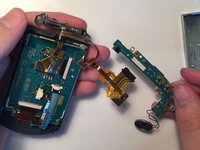
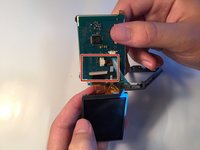
Carefully pry the screen assembly apart from the main body of the camera.
-
Unplug the flex cable from the screen assembly.
Do not pull out the flex cable without unlocking the cable by pulling up the locker switches on both sides of the flex cable connector
-
-
-
Remove the 5 3mm Phillips #00 Screws from the screen assembly.
-
-
-
Carefully lift up the sound chip and peel the flex cable off the screen case.
-
Lift off the plastic bracket from the hinge.
-
-
-
Remove the screen from the plastic case by pulling the flex cable and sound chip through the hole in the case.
-
-
-
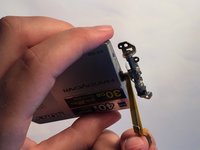
Turn the hinge sideways and remove the two 4mm Phillips #00 screws from the side of the screen.
-
-
-
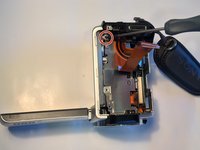
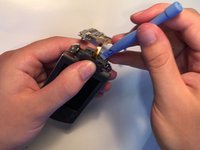
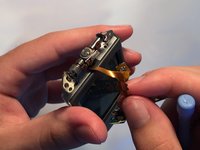
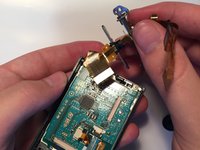
Use the plastic opening tool to remove the plastic hinge covers and expose the metal hinge.
-
Unwrap the flex cable from around the hinge.
-
-
-
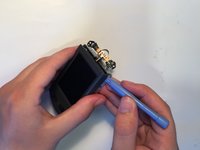
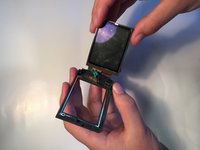
Use the plastic opening tool to open the screen case.
-
-
-
Unplug the flex cable from the sound chip.
-
Unplug the flex cable from the screen chip.
Where can we I buy the Flex Cable
aliexpress.com
see full answer in comments, below.
FLEX-CABLE MOUNTING INSIDE THE SMALL BOX IS MISSING
i had so much trouble and THIS MANUAL FAILED ME in this part. but i searched and found and only thanks to youtube video i completed the project.
video called “Sony Handycam DCR-SR200E LCD Flip Screen Cable Replacement”
-
-
-
Unscrew the 2mm Phillips #00 screw from the screen chip.
-
-
-
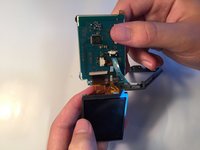
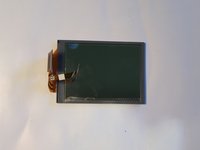
Remove the LCD screen and chip from the plastic case.
-
Separate the screen from the chip.
-
-
-
Unplug the screen cable from the screen chip.
-


To reassemble your device, follow these instructions in reverse order.
To reassemble your device, follow these instructions in reverse order.
crwdns2935221:0crwdne2935221:0
crwdns2935229:06crwdne2935229:0
crwdns2915084:0crwdne2915084:0

Baylor, Team 7-13, Williams Spring 2015 crwdns2935289:0Baylor, Team 7-13, Williams Spring 2015crwdne2935289:0
BU-WILLIAMS-S15S7G13
crwdns2931471:04crwdne2931471:0
crwdns2935297:010crwdne2935297:0
crwdns2947412:03crwdne2947412:0
Good narration,but very sofia fixated parts and needs to handle gently and carefully.not an easy
What’s a link to a replacement screen?
Had a loose hinge on the identical DCR-SR52 (screen was flopping around at the smallest movement), I could not have fixed it without this guide, thanks a lot.