crwdns2915892:0crwdne2915892:0
Is your Sonos Era 100 not playing any sound or receiving power? It is likely time to replace the power socket! In this guide we will walk you through the process with clear step by step instructions. It is important to first dissemble the outer casing to reach the inside components. Follow along this guide to see how to replace the power socket!
crwdns2942213:0crwdne2942213:0
-
-
Gently pull off the rubber foot on the the bottom of the speaker.
-
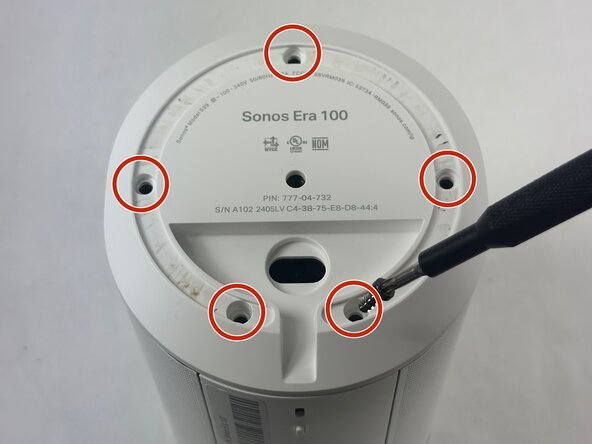
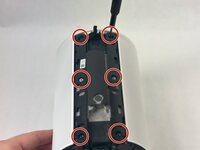
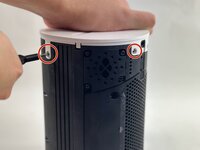
Remove the five 11 mm Torx T20 screws that secure the bottom plate.
-
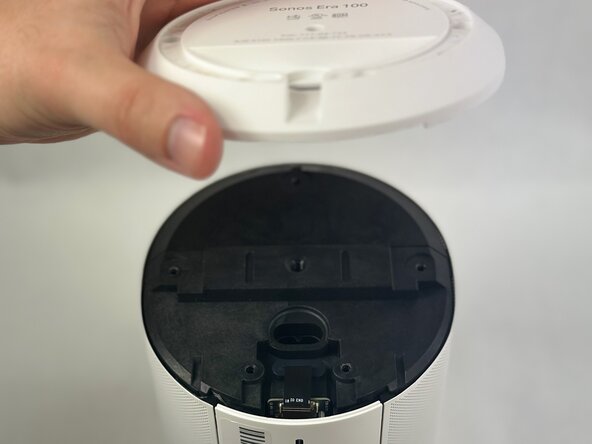
Carefully lift off the bottom plate.
-
-
-
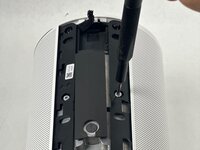
Carefully disconnect the ribbon cable connected underneath the bottom panel.
-
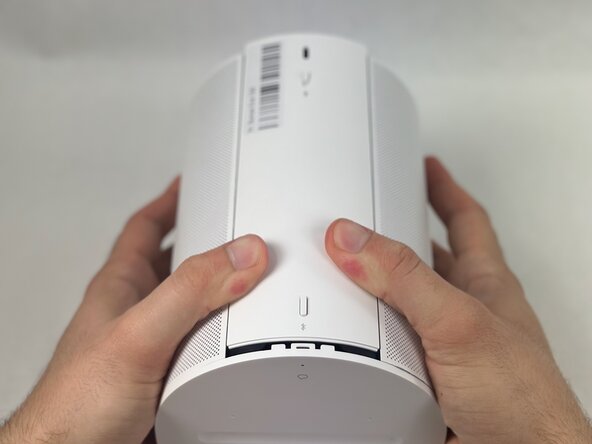
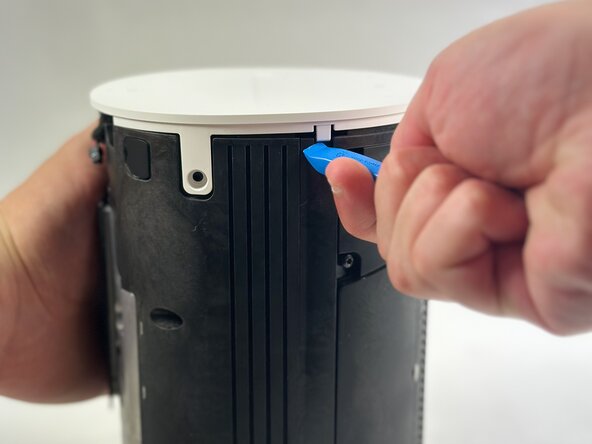
To detach the back panel, gently push it in a downward motion.
-
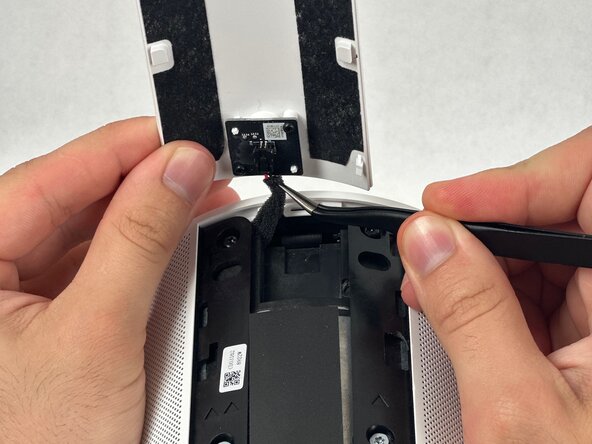
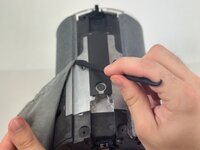
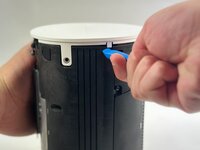
Use tweezers to disconnect the USB-C PCB from the back panel.
-
-
-
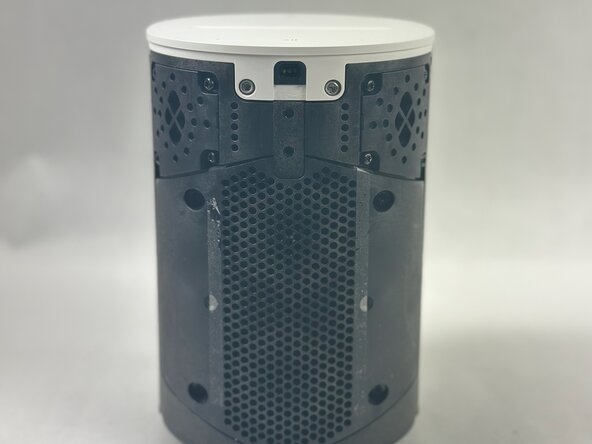
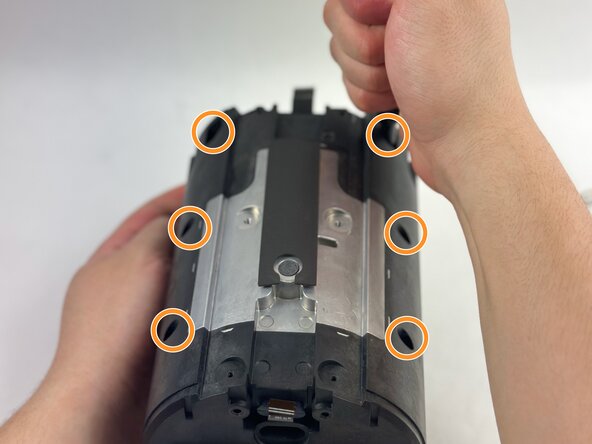
Remove the 8 mm and 11 mm T10 Torx screws securing the speaker grille.
-
-
-
Using a halberd spudger, carefully remove the foam tape. Do this by keeping tension on the foam shown in the images and slicing underneath the tape.
-
Pull the speaker grille off.
-
-
-
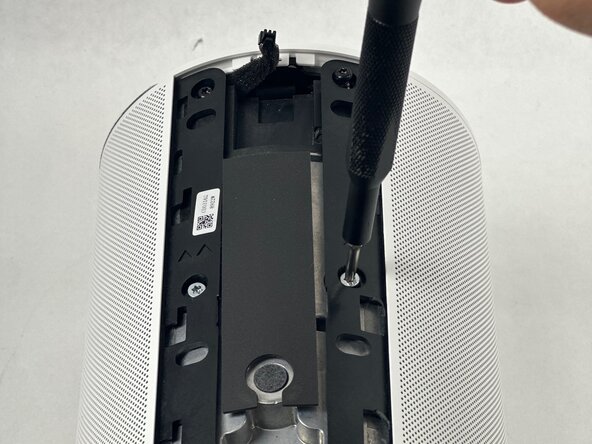
Remove all four T10 Torx screws securing the touch bar assembly.
-
Use an opening tool to release all four white retaining clips.
-
Lift the touch bar assembly perpendicular to the unit, with care not to strain the connected ribbon cable.
-
Lift the black ZIF locking flap that secures the touch bar assembly ribbon cable.
-
Disconnect the ribbon cable.
-
Remove the touch bar assembly.
-
-
-
-
Remover rubber plugs with a metal spudger
-
-
-
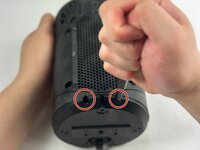
Remove front-bottom two T10 Torx 11 mm screws.
-
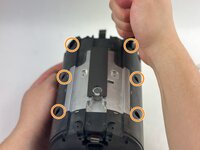
Remove the six front T10 Torx screws.
-
-
-
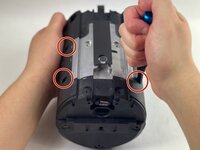
Remove the four T10 Torx screws on the back of the device.
-
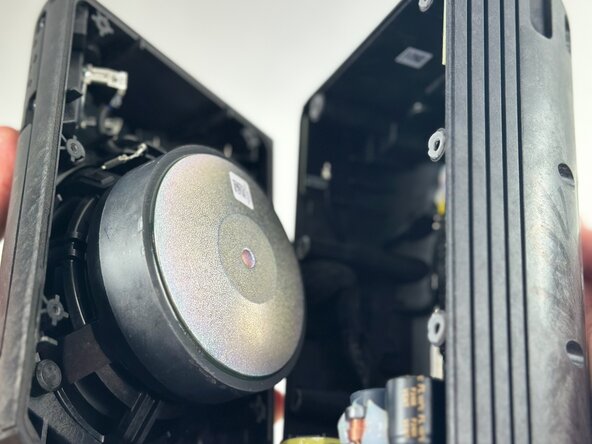
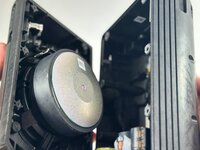
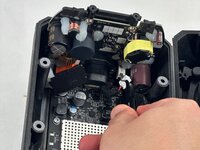
Pry open the speaker body to access the internals.
-
-
-
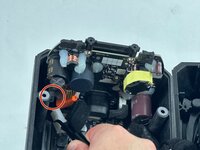
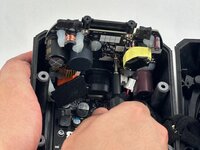
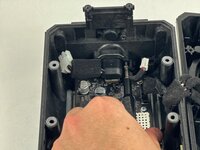
Disconnect both of the power supply board connectors from the motherboard.
-
-
-
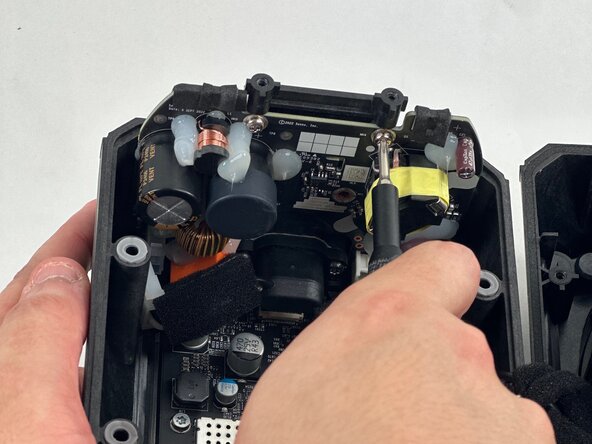
Use a T10 Trox screwdriver to remove the three 8 mm screws securing the power supply board.
-
-
-
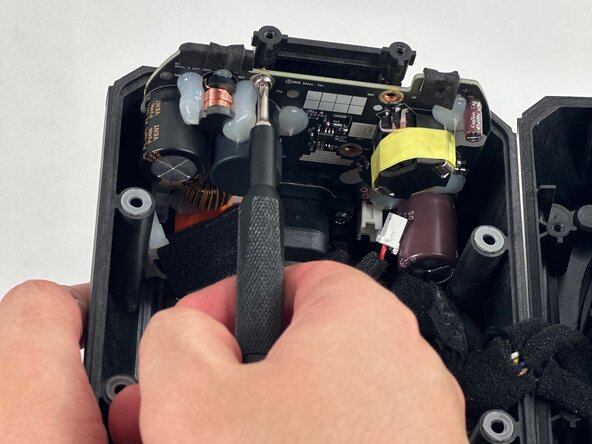
Remove the two 11 mm T20 Torx screws securing the socket.
-


To reassemble your device, follow the above steps in reverse order.
Take your e-waste to an R2 or e-Stewards certified recycler.
Repair didn’t go as planned? Try some basic troubleshooting or ask our Answers community for help.
To reassemble your device, follow the above steps in reverse order.
Take your e-waste to an R2 or e-Stewards certified recycler.
Repair didn’t go as planned? Try some basic troubleshooting or ask our Answers community for help.

crwdns2915084:0crwdne2915084:0

UMass Dartmouth, Team 2-1, Botvin Spring 2025 crwdns2935289:0UMass Dartmouth, Team 2-1, Botvin Spring 2025crwdne2935289:0
UMASSD-BOTVIN-S25S2G1
crwdns2931471:03crwdne2931471:0
crwdns2935297:07crwdne2935297:0