crwdns2915892:0crwdne2915892:0
The circuit board acts as the brains of the device and without it, the vacuum will not function. As a result, when dealing with the circuit board, be sure not to damage or scratch the surface, as it may damage components necessary for operation.
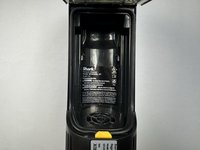
If you need to replace the circuit board of your Shark Wandvac Power Pet WV410, this guide will walk you through the steps. A faulty or unresponsive button may also warrant the need for such a replacement.
crwdns2942213:0crwdne2942213:0
-
-
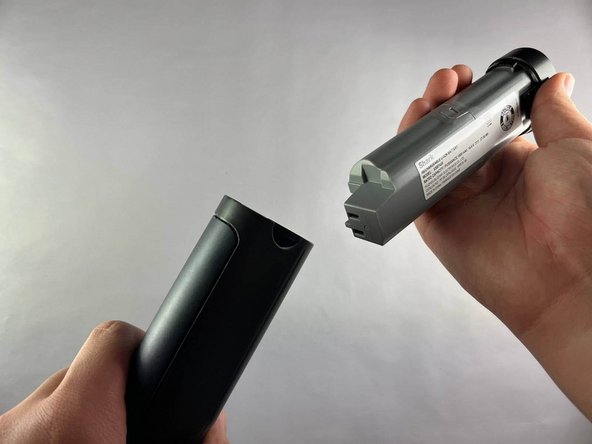
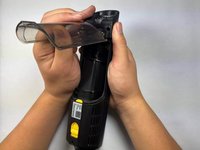
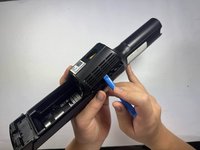
Squeeze the tabs at the base of the handle to release the battery from the vacuum.
-
-
-
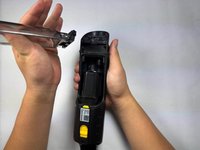
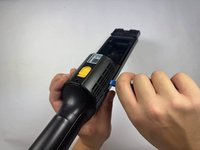
Pull the battery straight out from the bottom of the device.
-
-
-
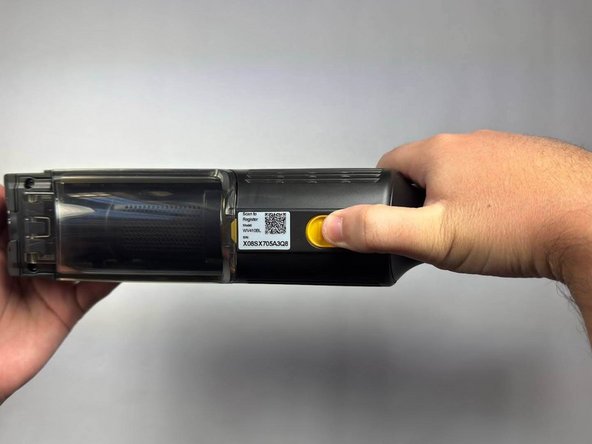
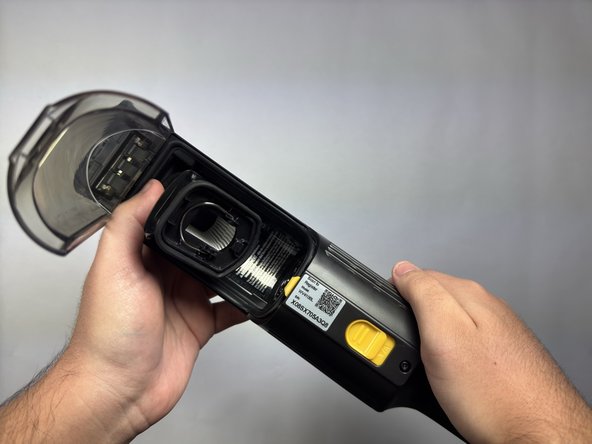
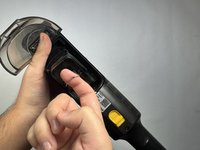
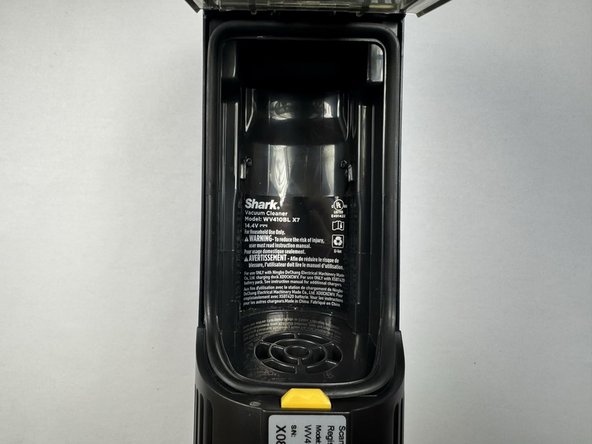
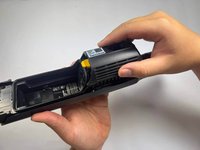
Push down on the yellow release tab to open the dust cover.
-
-
-
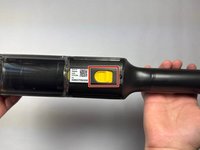
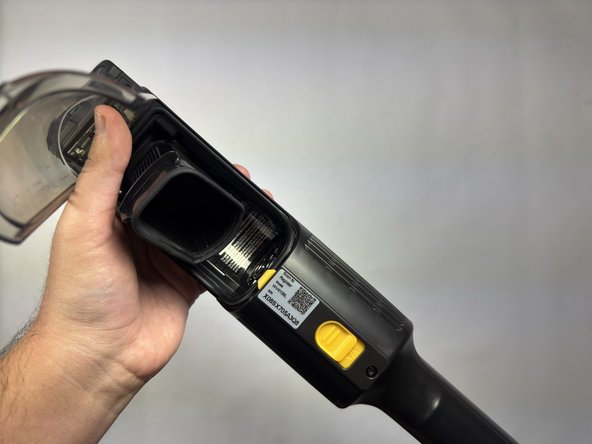
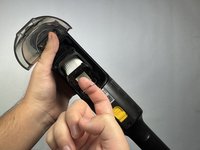
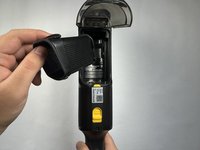
Firmly pull the filter box forward to reveal the filter opening.
-
-
-
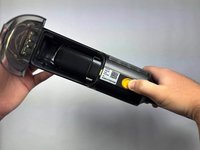
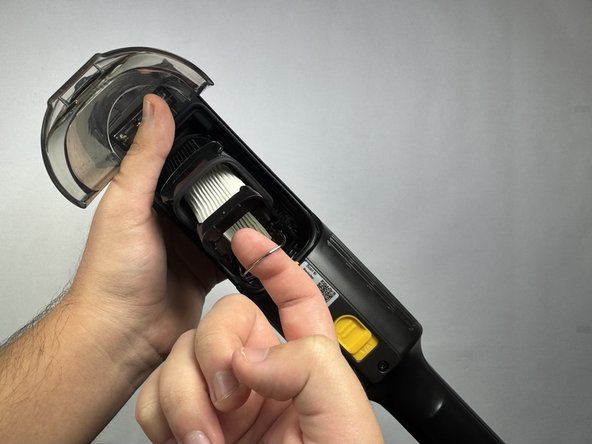
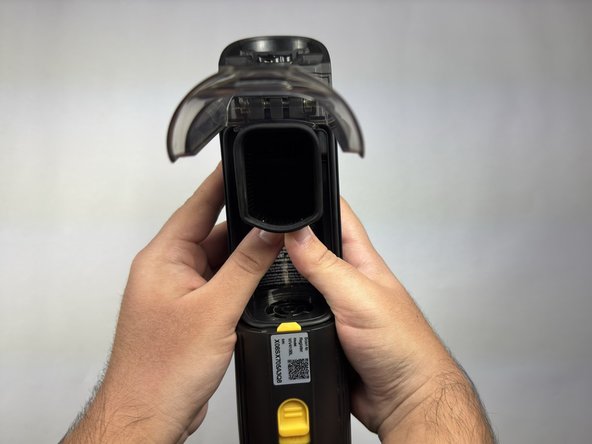
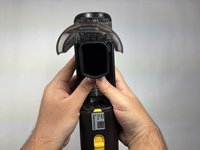
Lift the metal ring and pull the fabric filter out of the filter box.
-
-
-
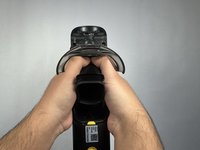
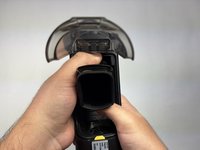
Flip up the filter cup and push down with your thumbs towards you.
-
-
-
-
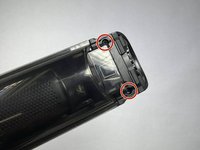
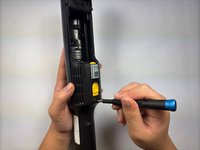
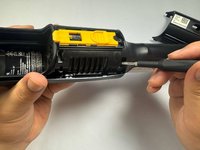
Use a Torx T3 screwdriver to remove the two screws that attach the dust cover to the vacuum.
-
-
-
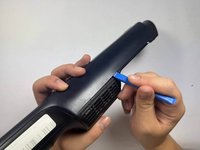
Push and slide the yellow release button down to open the dust cover.
-
-
-
Use a Torx T3 screwdriver to remove the single screw near the yellow dust cover slide-release button.
-
-
-
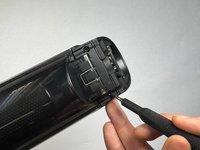
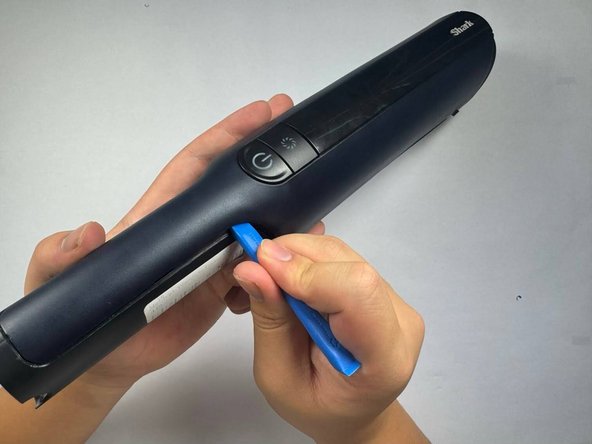
Use the plastic opening tool to pry between the seams of the yellow slide button cover and the vacuum frame to release the tabs holding them together.
-
Remove the black cover.
-
-
-
Use a Torx T3 screwdriver to remove the two screws.
-
-
-
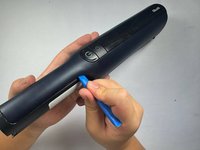
Pry along the edge of the dark blue cover to remove it.
-
-
-
Use a T3 Torx screwdriver to remove the single screw securing the circuit board.
-
-
-
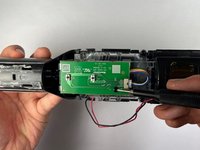
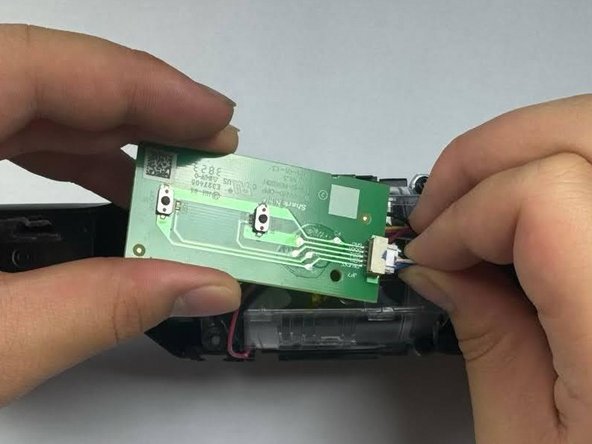
Press on the sides of the connector and gently pull it from its socket to disconnect the cable from the circuit board.
-
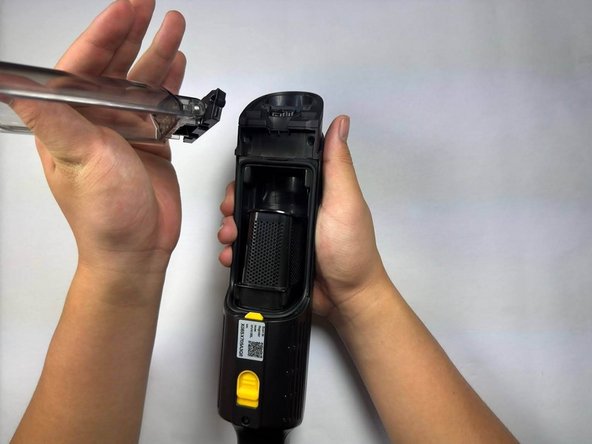
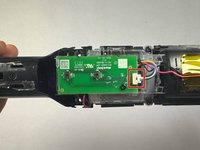
Remove the circuit board from the vacuum.
-


To reassemble your device, follow these instructions in reverse order. Take your e-waste to an R2 or e-Stewards certified recycler.
crwdns2935221:0crwdne2935221:0
crwdns2935227:0crwdne2935227:0
crwdns2935287:0crwdne2935287:0

CSU Los Angeles, Team 5-5, Kershman Fall 2024 crwdns2935289:0CSU Los Angeles, Team 5-5, Kershman Fall 2024crwdne2935289:0
CSULA-KERSHMAN-F24S5G5
crwdns2931471:05crwdne2931471:0
crwdns2935297:05crwdne2935297:0
crwdns2947410:01crwdne2947410:0
First time using this site and I’m genuinely impressed.