crwdns2915892:0crwdne2915892:0
The LED screen on this device allows you to operate its purifier system. Use this as a guide to replace the screen if it is damaged
crwdns2942213:0crwdne2942213:0
-
-
Unscrew the one 1.2 cm screw holding the grate at the top with a TR10 Torx screwdriver.
-
Use a prying tool to carefully pry along the outer edges to disengage the inner retaining clips.
-
Remove the grate.
-
-
-
Remove the two 1.2 cm screws with a TR10 Torx screwdriver.
-
-
-
Use a Phillips #1 screwdriver to remove the four 1 cm screws.
-
-
-
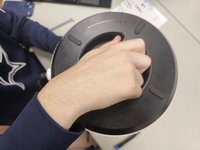
Flip the device over and unscrew the bottom by turning it clockwise.
-
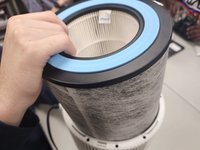
Remove the filter.
-
-
-
-
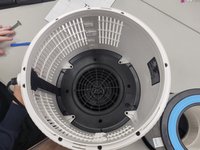
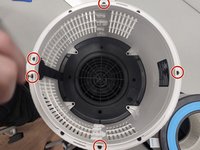
Remove the five 1 cm a Phillips screwdriver.
-
Unscrew the four 1.2 cm screws with a TR10 Torx screwdriver.
-
-
-
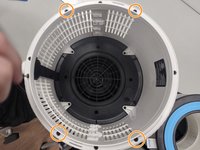
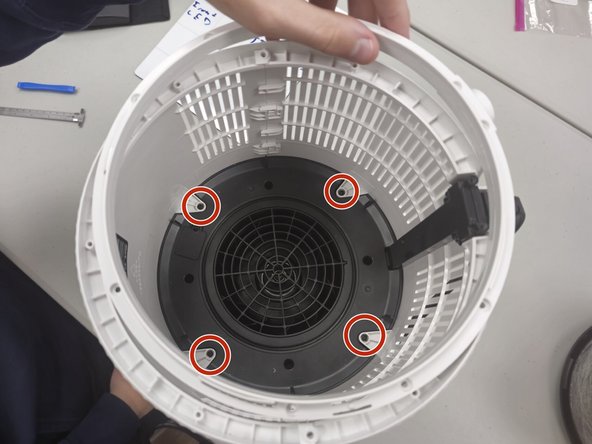
Remove the four 1 cm screws that secure the fan housing.
-
-
-
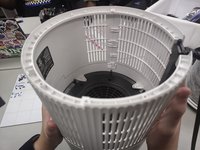
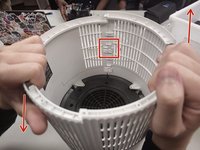
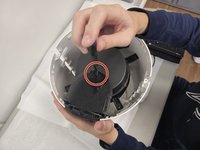
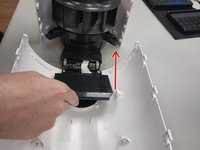
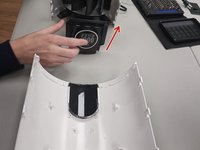
Make sure that you are pulling up on the side that allows, as pictured in the red box.
-
Gently slide the cases up and down, or hold one and gently pull up on the opposite side (Down on the left, up on the right for this picture).
-
-
-
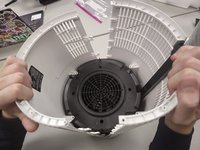
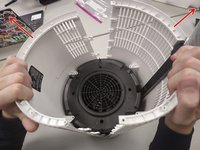
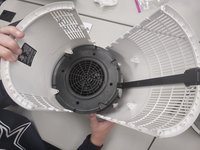
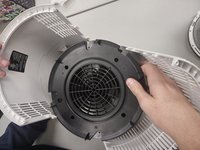
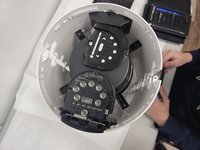
Gently open the case outwards as there are fragile electronics inside.
-
Remove the fan housing.
-
-
-
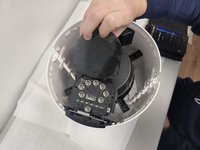
Remove the single Phillips screw on top of the device.
-
Lift up the plastic cover after removing the screw to replace the screen.
-
-
-
Remove all four 1 cm Phillips screws.
-
To reassemble your device, follow the above steps in reverse order.
Take your e-waste to an R2 or e-Stewards certified recycler.
Repair didn’t go as planned? Try some basic troubleshooting or ask our Answers community for help.
To reassemble your device, follow the above steps in reverse order.
Take your e-waste to an R2 or e-Stewards certified recycler.
Repair didn’t go as planned? Try some basic troubleshooting or ask our Answers community for help.


