crwdns2933423:0crwdne2933423:0

Shark AI Ultra AV2511AE Vacuum Brush Motor Replacement

crwdns2942213:0crwdne2942213:0

  1. Shark AI Ultra AV2511AE Vacuum Brush Motor Replacement, Vacuum Battery: crwdns2935265:01crwdnd2935265:01crwdnd2935265:02crwdne2935265:0 Shark AI Ultra AV2511AE Vacuum Brush Motor Replacement, Vacuum Battery: crwdns2935265:01crwdnd2935265:02crwdnd2935265:02crwdne2935265:0
    • Orient the device upside-down

    • Remove two 15 mm screws using a Phillips #1 screwdriver.

    • Remove the battery cover.

  2. Shark AI Ultra AV2511AE Vacuum Brush Motor Replacement: crwdns2935265:02crwdnd2935265:01crwdnd2935265:03crwdne2935265:0 Shark AI Ultra AV2511AE Vacuum Brush Motor Replacement: crwdns2935265:02crwdnd2935265:02crwdnd2935265:03crwdne2935265:0 Shark AI Ultra AV2511AE Vacuum Brush Motor Replacement: crwdns2935265:02crwdnd2935265:03crwdnd2935265:03crwdne2935265:0
    • Using the two paper tabs on each side of the battery, slide it up and out of the robot.

    • Using an opening tool, disconnect the wire connector from the robot.

    • Remove the battery.

  3. Shark AI Ultra AV2511AE Vacuum Brush Motor Replacement, Vacuum Brush Motor: crwdns2935265:03crwdnd2935265:01crwdnd2935265:02crwdne2935265:0 Shark AI Ultra AV2511AE Vacuum Brush Motor Replacement, Vacuum Brush Motor: crwdns2935265:03crwdnd2935265:02crwdnd2935265:02crwdne2935265:0
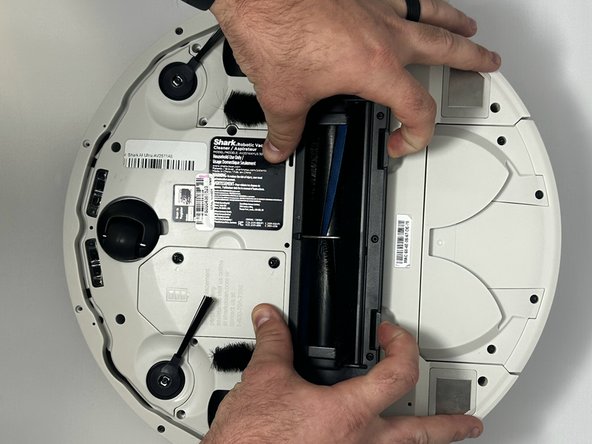
    • Remove the debris container.

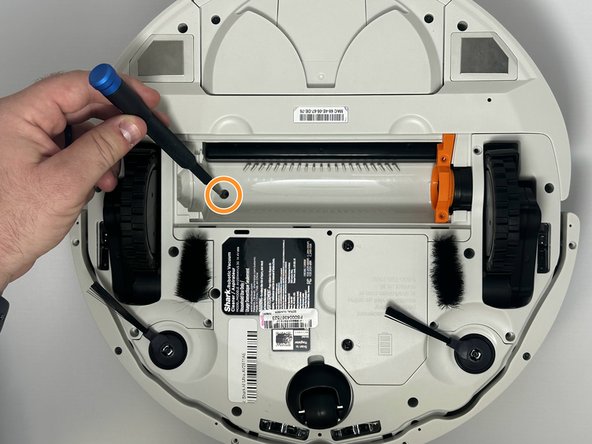
    • Remove the main brush cover from the vacuum to expose the roller.

  4. Shark AI Ultra AV2511AE Vacuum Brush Motor Replacement: crwdns2935265:04crwdnd2935265:01crwdnd2935265:03crwdne2935265:0 Shark AI Ultra AV2511AE Vacuum Brush Motor Replacement: crwdns2935265:04crwdnd2935265:02crwdnd2935265:03crwdne2935265:0 Shark AI Ultra AV2511AE Vacuum Brush Motor Replacement: crwdns2935265:04crwdnd2935265:03crwdnd2935265:03crwdne2935265:0
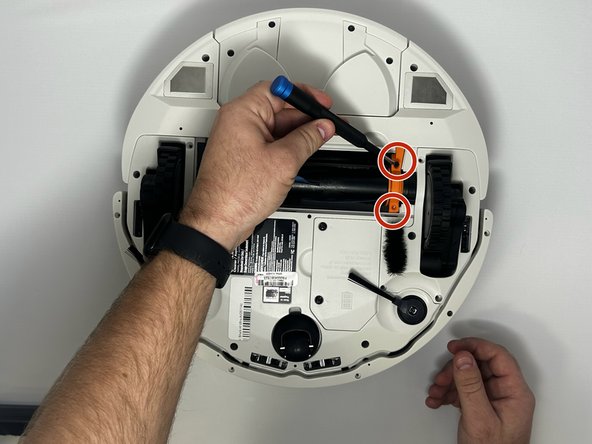
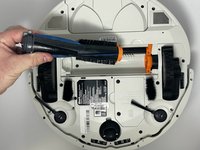
    • To remove the main brush, grab the non-orange side and simply lift up and out of orange connector.

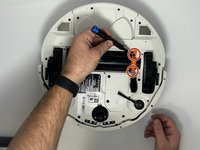
    • Remove two 8mm screws using the TR9 screwdriver on orange piece.

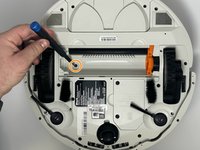
    • Remove the one 12mm screw that is located inside the main brush.

    • Screws may have some Loctite residue. Remove all screws with caution as to not strip the heads.

  5. Shark AI Ultra AV2511AE Vacuum Brush Motor Replacement: crwdns2935265:05crwdnd2935265:01crwdnd2935265:01crwdne2935265:0
    • Using the TR15 Screwdriver, remove the five 11mm screws surrounding the drive wheel.

    • Gently pull the wheel assembly out.

    • Make sure to pull lightly on the wheel assembly to ensure wires do not rip apart.

    • Repeat for other drive wheel.

  6. Shark AI Ultra AV2511AE Vacuum Brush Motor Replacement: crwdns2935265:06crwdnd2935265:01crwdnd2935265:02crwdne2935265:0 Shark AI Ultra AV2511AE Vacuum Brush Motor Replacement: crwdns2935265:06crwdnd2935265:02crwdnd2935265:02crwdne2935265:0
    • Remove the two 12mm screws on either side of the swivel wheel using the TR15 screwdriver.

    • Remove the other three 12mm screws that surround the base.

  7. Shark AI Ultra AV2511AE Vacuum Brush Motor Replacement: crwdns2935265:07crwdnd2935265:01crwdnd2935265:03crwdne2935265:0 Shark AI Ultra AV2511AE Vacuum Brush Motor Replacement: crwdns2935265:07crwdnd2935265:02crwdnd2935265:03crwdne2935265:0 Shark AI Ultra AV2511AE Vacuum Brush Motor Replacement: crwdns2935265:07crwdnd2935265:03crwdnd2935265:03crwdne2935265:0
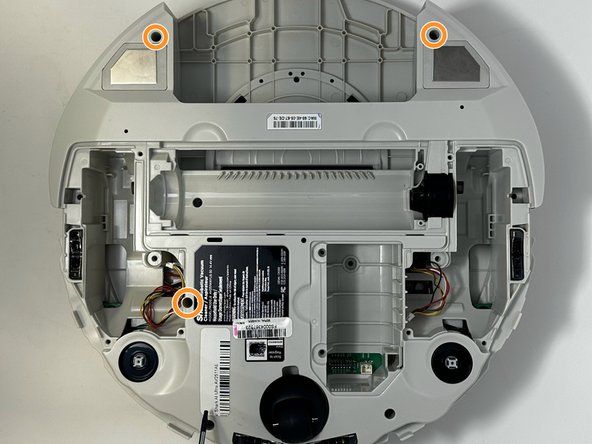
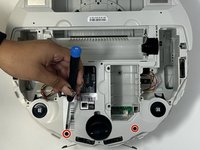
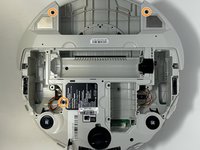
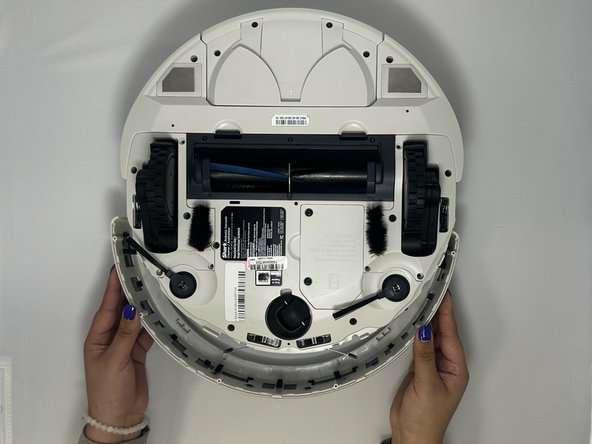
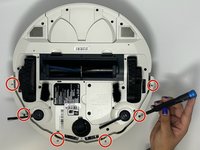
    • Remove six 8mm screws using the TR9 screwdriver.

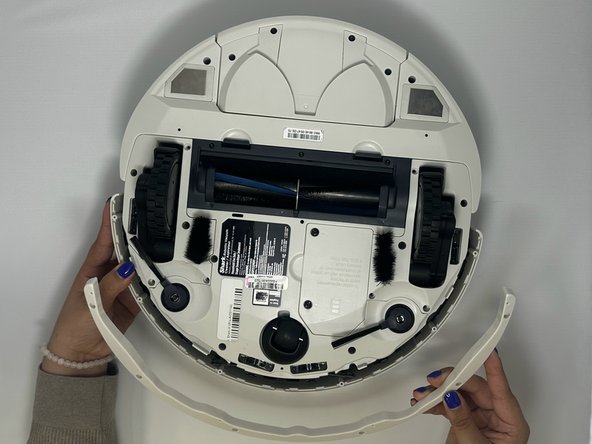
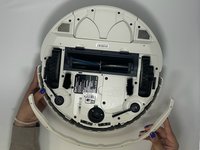
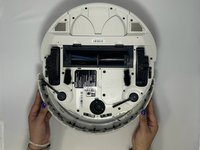
    • Separate the bottom of the bumper from the top by simply pulling them apart or using the spudger.

    • Remove both pieces of the bumper from the vacuum.

  8. Shark AI Ultra AV2511AE Vacuum Brush Motor Replacement: crwdns2935265:08crwdnd2935265:01crwdnd2935265:02crwdne2935265:0 Shark AI Ultra AV2511AE Vacuum Brush Motor Replacement: crwdns2935265:08crwdnd2935265:02crwdnd2935265:02crwdne2935265:0
    • Orient the device to be right side up.

    • Remove the top of the vacuum and separate the power cable.

    • Carefully pull up the top to not rip any wires out.

  9. Shark AI Ultra AV2511AE Vacuum Brush Motor Replacement: crwdns2935265:09crwdnd2935265:01crwdnd2935265:03crwdne2935265:0 Shark AI Ultra AV2511AE Vacuum Brush Motor Replacement: crwdns2935265:09crwdnd2935265:02crwdnd2935265:03crwdne2935265:0 Shark AI Ultra AV2511AE Vacuum Brush Motor Replacement: crwdns2935265:09crwdnd2935265:03crwdnd2935265:03crwdne2935265:0
    crwdns2935267:0crwdne2935267:0
    Tweezers
    $4.99
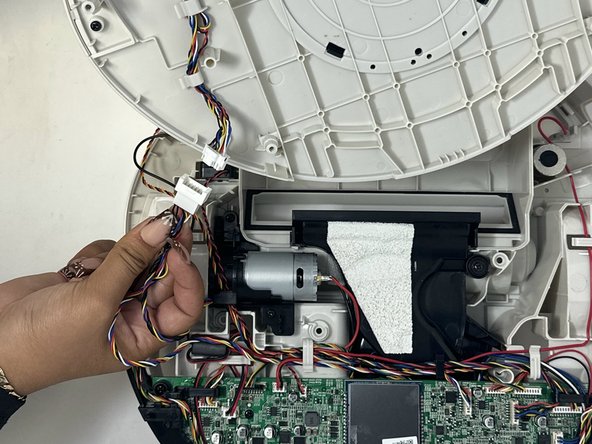
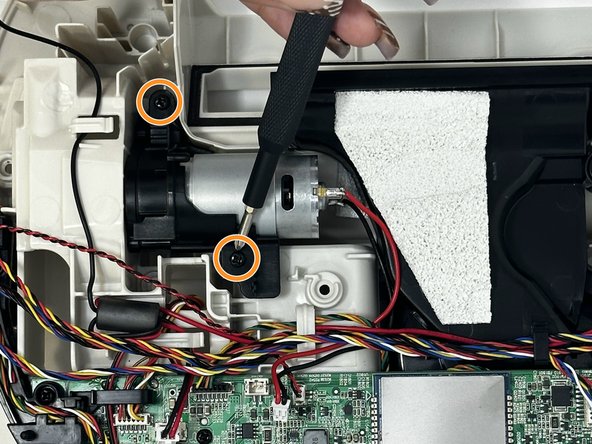
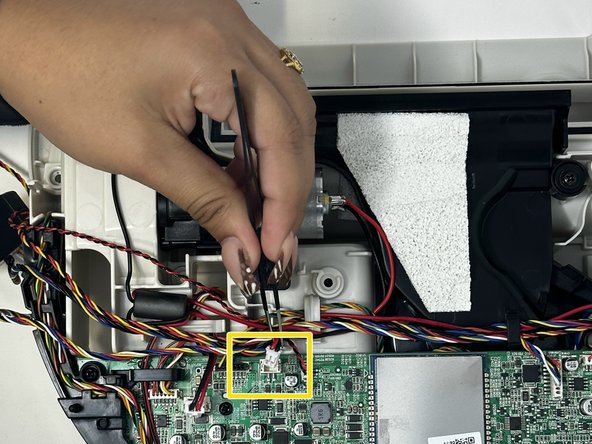
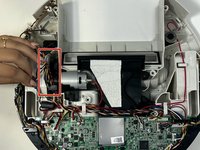
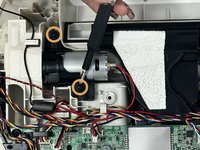
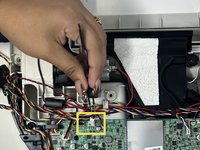
    • Remove the wires that are hooked above the motor.

    • Remove the two 8mm screws that are holding the motor to the vacuum using the Phillips #1 screwdriver.

    • Using tweezers, separate the power wire from the motherboard.

  10. Shark AI Ultra AV2511AE Vacuum Brush Motor Replacement: crwdns2935265:010crwdnd2935265:01crwdnd2935265:03crwdne2935265:0 Shark AI Ultra AV2511AE Vacuum Brush Motor Replacement: crwdns2935265:010crwdnd2935265:02crwdnd2935265:03crwdne2935265:0 Shark AI Ultra AV2511AE Vacuum Brush Motor Replacement: crwdns2935265:010crwdnd2935265:03crwdnd2935265:03crwdne2935265:0
    • Remove the motor from the vacuum.

    • The wire might be under other wires. Careful when removing to not tear or dislodge other wires.

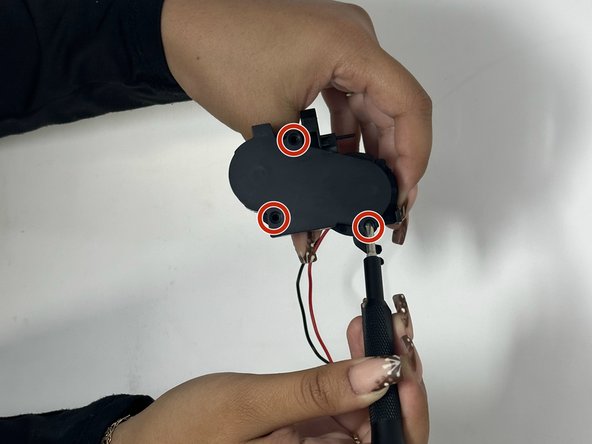
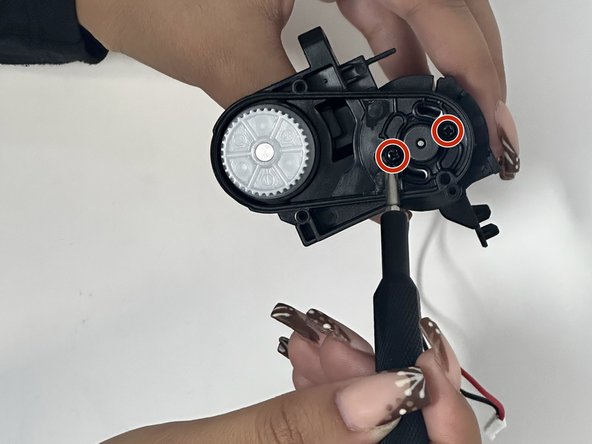
    • Remove the three 8mm screw using the Phillips #1 screwdriver.

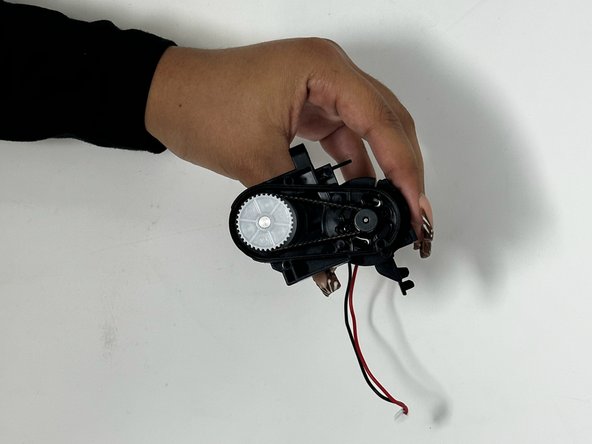
    • Separate the cover from the gearbox.

  11. Shark AI Ultra AV2511AE Vacuum Brush Motor Replacement: crwdns2935265:011crwdnd2935265:01crwdnd2935265:03crwdne2935265:0 Shark AI Ultra AV2511AE Vacuum Brush Motor Replacement: crwdns2935265:011crwdnd2935265:02crwdnd2935265:03crwdne2935265:0 Shark AI Ultra AV2511AE Vacuum Brush Motor Replacement: crwdns2935265:011crwdnd2935265:03crwdnd2935265:03crwdne2935265:0
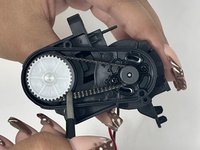
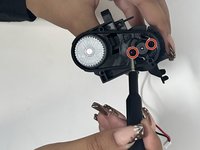
    • Remove the belt from the gears using pliers.

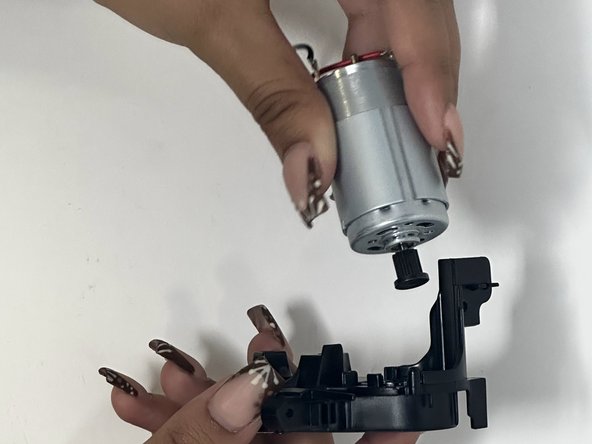
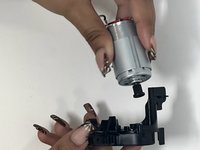
    • Remove the two 5mm screws using the Phillips #1 screwdriver.

    • If holding vertically, the motor will fall out once the screws are removed.

    • Separate the motor from the gearbox.

crwdns2915888:0crwdne2915888:0

To reassemble your device, follow these instructions in reverse order.

Frankie Medina

crwdns2935283:009/20/23crwdne2935283:0

325 crwdns2915208:0crwdne2915208:0

crwdns2935297:03crwdne2935297:0

crwdns2915084:0crwdne2915084:0

Utah Tech University, Team 1-3, McMurrin Fall 2023 crwdns2935289:0Utah Tech University, Team 1-3, McMurrin Fall 2023crwdne2935289:0

UTAHTECH-MCMURRIN-F23S1G3

crwdns2931471:03crwdne2931471:0

crwdns2935297:07crwdne2935297:0

crwdns2947412:03crwdne2947412:0

Where did you get a replacement motor?

John Thompson - crwdns2934203:0crwdne2934203:0

Great directions! Can you share a pic of the bottom side of the top of the unit? I have a silver cylinder counter weight I’m looking to see where it goes

Nick Grypma - crwdns2934203:0crwdne2934203:0

This guide is incorrect. The description say sit is about the SIDE BRUSH motor (there are two). The instructions are for replacing the BRUSH MOTOR (there is one). The side brush motors are much more complex to replace. Please fix the description.

Roger Worden - crwdns2934203:0crwdne2934203:0

crwdns2917038:0crwdne2917038:0

crwdns2936625:0crwdne2936625:0:

crwdns2936751:024crwdne2936751:0 0

crwdns2936753:07crwdne2936753:0 19

crwdns2936753:030crwdne2936753:0 80

crwdns2942667:0crwdne2942667:0 1,302