crwdns2915892:0crwdne2915892:0
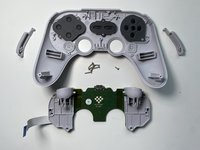
This Prerequisite-Only guide shows how to remove the front board from the 8BitDo SN30 Pro+
crwdns2942213:0crwdne2942213:0
-
-
Place the controller face down.
-
Remove the battery cover.
-
Remove rechargeable battery or AA batteries.
-
-
-
Remove L2 and R2 trigger buttons by pushing them away from the grips.
-
-
crwdns2935267:0crwdne2935267:0Tweezers$4.99
-
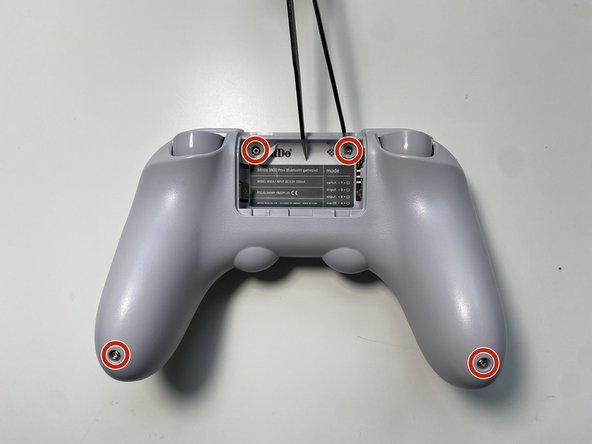
Use Tweezers to uncover two screws under the label in the battery compartment.
-
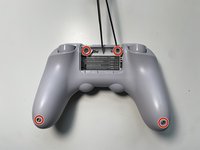
Use a T6 screwdriver to remove the four 7.3 mm screws securing the rear cover.
-
-
-
-
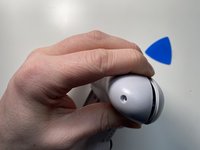
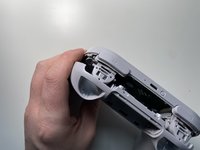
At the end of each grip, pry apart the covers.
-
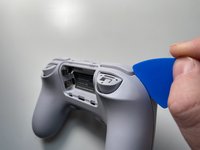
Use fingernail or opening pick to undo the two top clips.
-
One clip next to L button.
-
One clip next to R button
-
Undo the final clip between the joysticks.
-
-
-
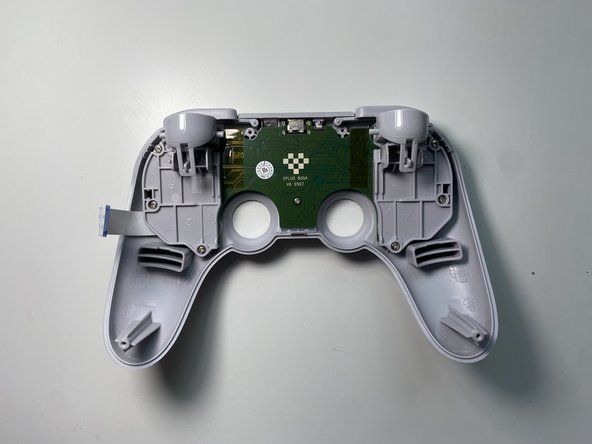
Carefully move the rear cover away and from the front cover. Place it to the left.
I just used this guide to open a Pro2 controller, the only difference was the ribbon cable was between the analog sticks. Otherwise it went perfectly.
You have to be careful not to break the clip on the middle bottom (between the analog sticks)
-
-
-
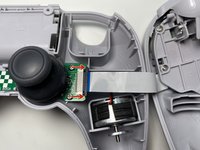
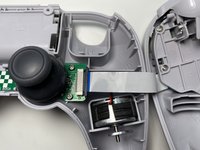
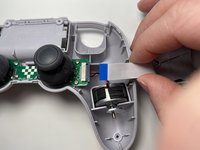
Unlock the ribbon cable by push open the black plastic tab.
-
Pull the ribbon cable out of the connector in the direction of the cable.
-
-
-
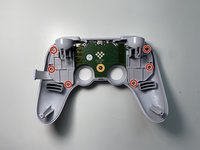
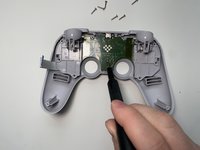
Use a Phillips screwdriver to remove the seven screws securing the main circuit board.
-
Six 10.1mm screws
-
One 5.8mm screws
-
-
-
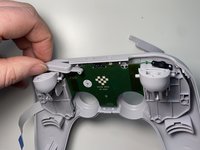
Slide the R buttons up and off its peg.
-
Slide the L button up and off its peg.
-
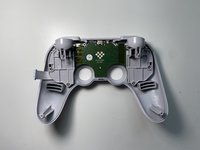
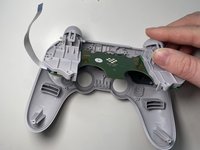
Remove the main board by rotating it towards the USB-C port. Then lift it out.
-
To reassemble your device, follow these instructions in reverse order.
To reassemble your device, follow these instructions in reverse order.
crwdns2935221:0crwdne2935221:0
crwdns2935227:0crwdne2935227:0
crwdns2947410:01crwdne2947410:0
if you need a replacement ribbon the specs are
length: 70mm
pitch: 0.5mm
pins: 20
forward side pinning (that means the contacts are on the same side)
some listings add the total width, thats 20.5mm


