crwdns2915892:0crwdne2915892:0
This guide will show you how to replace the screen of your beloved Samsung Galaxy Z Flip 4.
You'll need the following tools:
- iOpener/Heatgun
- Phillips #00 screwdriver
- Spudger
- Multiple Picks
- Suction cup
crwdns2942213:0crwdne2942213:0
-
-
Make sure your phone is turned off before starting this guide.
-
-
-
Get your iOpener/Heatgun and start by heating up the bottom back cover.
-
Start heating around the edges and place your suction cup. When heated enough, you should be able to insert a pick between the frame and the back glass.
-
Go around the frame and cut all the glue to remove the back cover.
-
-
-
Get your iOpener/Heatgun and start by heating up the upper back cover.
-
Start heating around the edges and place your suction cup. Be careful of the display when heating. When heated enough, you should be able to insert a pick between the frame and the back glass.
-
Go around the frame and cut through all the glue to remove the back cover. Be careful not to cut too deep into the glue to avoid damaging the display.
-
Finally, remove the plastic clip that holds the secondary display connector in place and unplug the cable with a pair of pliers.
-
-
-
Unscrew the cover that covers the main battery and wireless coil connectors.
-
Disconnect the connectors and remove the charging coil.
-
-
-
-
Remove the two screws holding the cover for all connectors on the motherboard.
-
Disconnect the battery and all other connectors.
-
-
-
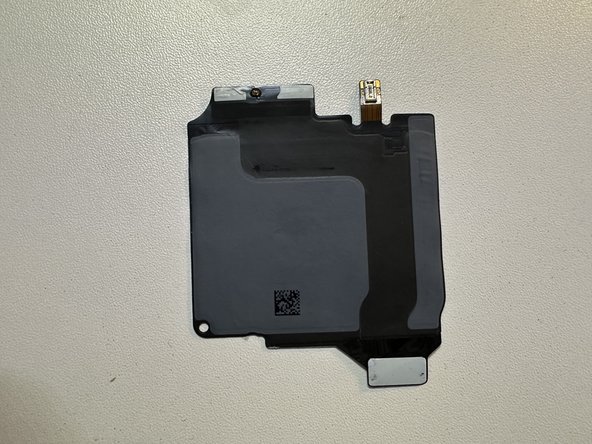
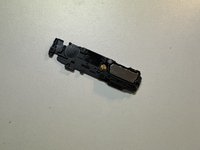
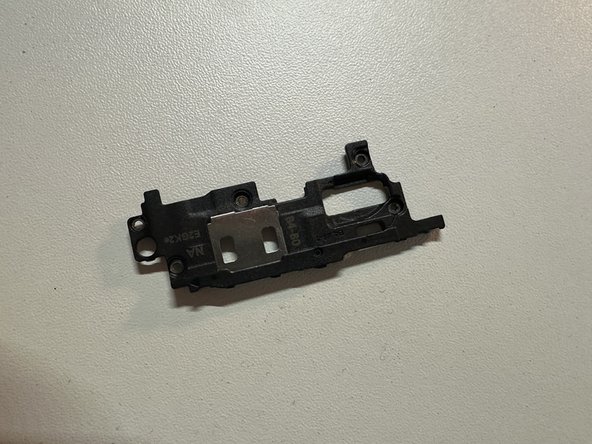
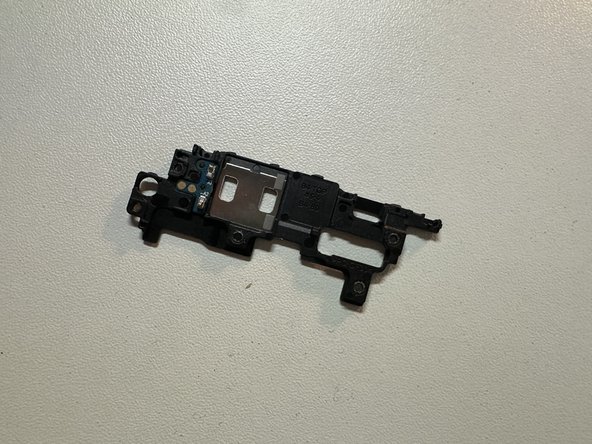
Remove the 4 screws holding the speaker cover in place.
-
Lift it with a spudger to remove it.
-
-
-
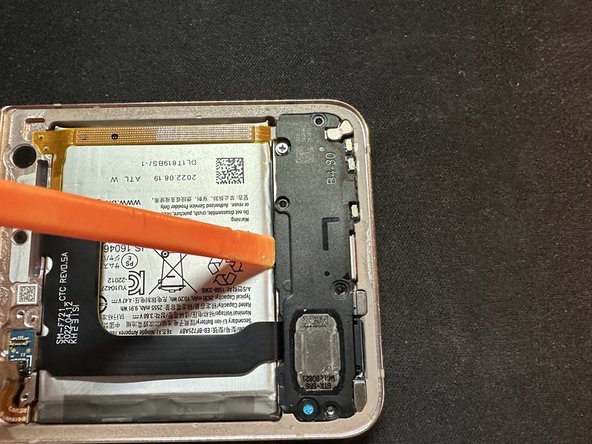
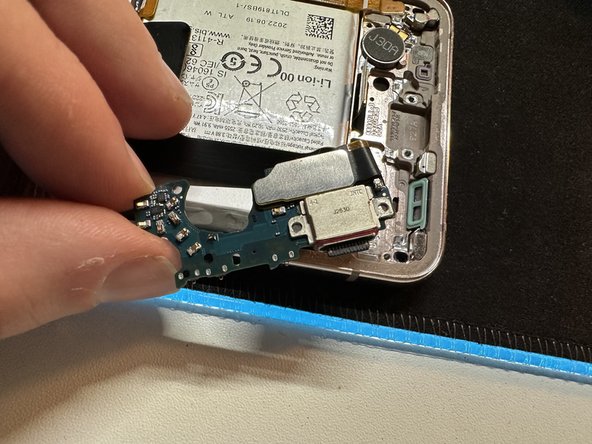
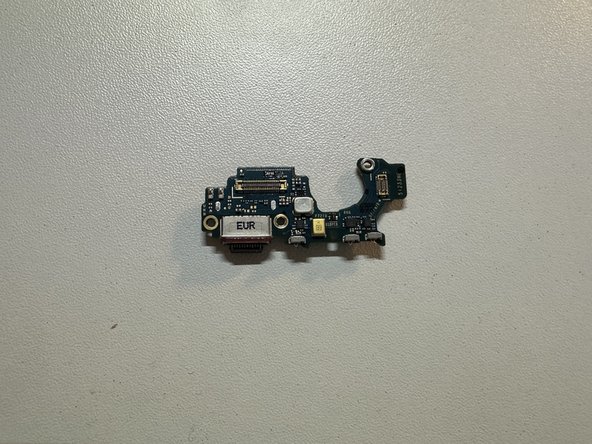
Disconnect the two cables on the top of the charging sub-board.
-
Remove the two remaining screws holding the board in place.
-
Before you can remove it, flip it over and remove the last remaining connection to the display assembly.
-
-
-
Remove the 5 screws holding the top cover and remove it with a spudger.
-
-
-
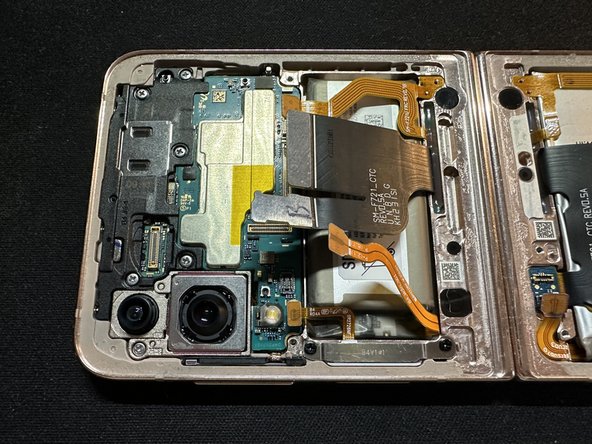
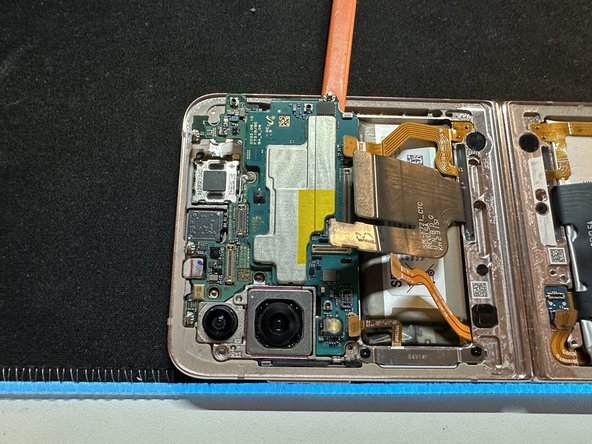
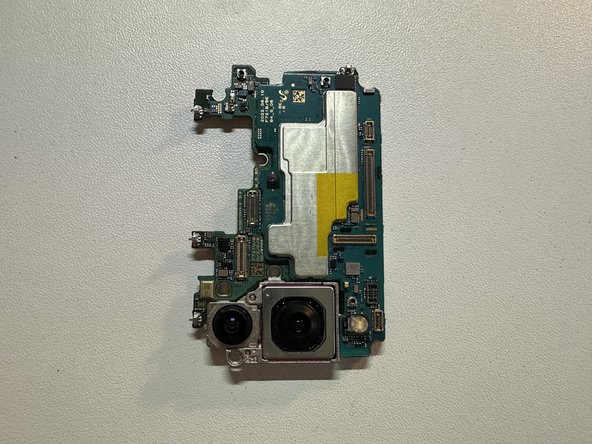
Unscrew the last screw holding in the logic board, next to the cameras.
-
Remove the SIM tray
-
Lift out the logic board with a spudger.
-
-
-
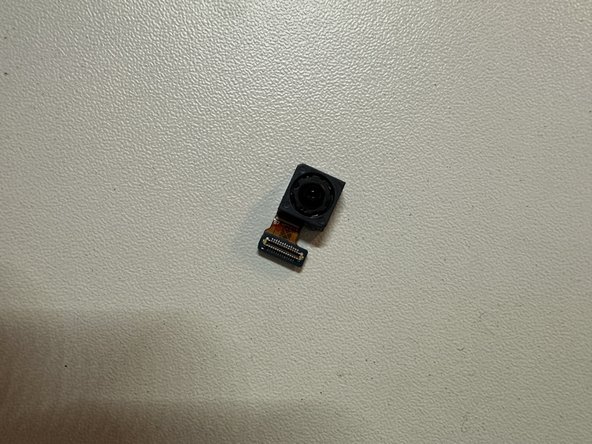
This can be a little tricky since the camera is glued in.
-
Heat up the display where the front camera is located
-
Try lifting the camera out with tweezers.
-
-
-
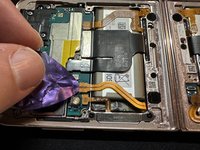
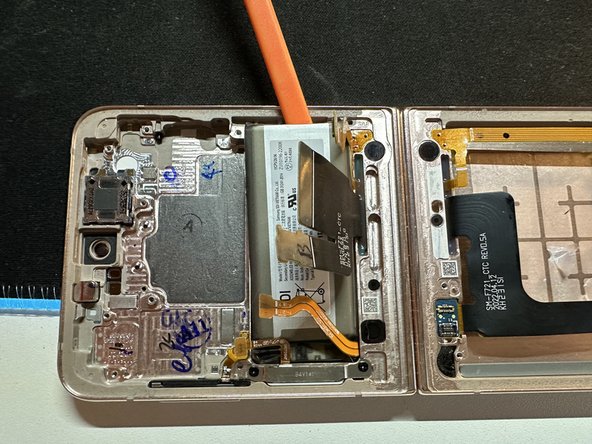
Use isopropyl alcohol to loosen the adhesive on the battery. Pour some Isoprop into the space between the battery and the frame.
-
Wait about 30 to 60 seconds for the alcohol to work, then lift the battery with a spudger.
-
Repeat the same procedure for the secondary battery.
-


You did it!
To reassemble your device, follow these instructions in reverse order.
You did it!
To reassemble your device, follow these instructions in reverse order.
crwdns2935221:0crwdne2935221:0
crwdns2935229:02crwdne2935229:0

crwdns2947412:05crwdne2947412:0
Have done this. but when turning the Flip on, the Galaxy logo shows up, then it shows the desktop and asks for pin code for half a second and then goes black. After that it will not turn back on again, the small screen on the back says there is something wrong. What could be wrong then?
same problem, did you find the solution ?
rrtech -
Sadly, no luck, no
Have actually found a solution now, sort of. Doing this stops the phone from turning off the screen when I close it and it wont turn on the screen when opening it BUT the button works.
The screen I got had a magnet with a vertical red line, the original screen has one horisontal. Don't know if that is a real problem but I swapped it for the original anyway. Then, for my solution to actually work I had to add three layers of thin double sided tape into the socket of the magnet. The video I found that led me in to this solution was this one:
https://youtu.be/iugeHg7Ruo8?si=dDmrjkPf...
That is due to the magnet. you'll have to pull it and rearrange the magnet to the correct position then glue it down for the display sensor to work. What I'm having issues with is the back display is doing that now. I've replaced the display and the back lights up both times on boot up but goes dark like the front display does when the magnet isn't positioned right. Is there a magnet for the back display as well?