crwdns2915892:0crwdne2915892:0
Replacement of the motherboard requires removal of a few other components first. See the prerequisite guides before attempting just the motherboard.
crwdns2942213:0crwdne2942213:0
-
-
Heat the iOpeners in a microwave for 1-2 minutes.
-
Place heated iOpeners on screen edges to heat the adhesive.
-
-
-
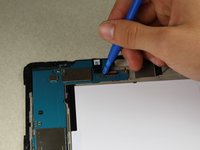
Separate the screen assembly from the back by wedging the picks between the two components.
-
Slide the picks along the edge and leave them holding the device open all around the edges.
-
-
-
Place suctioning device near the corner of the screen and gently lift up to create a gap between the front panel assembly and the back.
-
Insert the picks to hold the two components apart once a gap is created.
I irreversibly damaged screen by following this guide. There are connector tapes at the edge of the screen and one of them was damaged by inserting and sliding the picks when lifting the screen. Too bad that author didn't mention to be careful when dealing with edges
Where can i get one of these screens for the best price. My mother is a retired senior and happened to drop sumthng on her tablet. I wld like to have it repaired as she just bought it for her xmas present a cple months ago. Now we see a new screen is around 300 $ but does anyone know if other screens from older samsung tablets that are also 9.7 “ will work or whr is cheapest place to find one ?
-
-
-
Once all edges have been disconnected, carefully lift the screen off by pulling one side up.
-
-
crwdns2935267:0crwdne2935267:0Tweezers$4.99
-
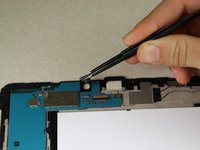
Using the tweezers, gently peel up on the silver tape covering the connector.
-
-
-
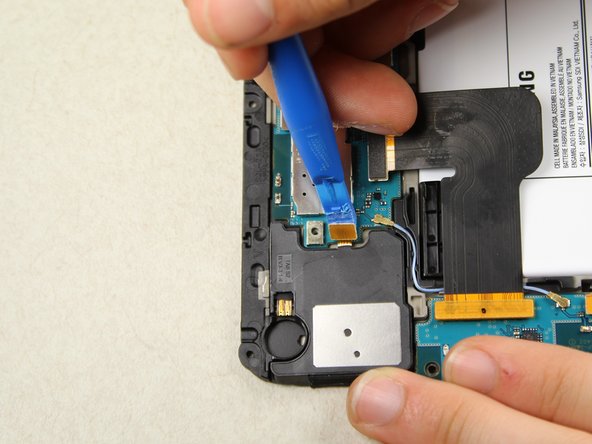
Use the plastic opening tool to get under the connector piece. This will allow you to remove the front panel assembly from the rest of the device.
-
-
-
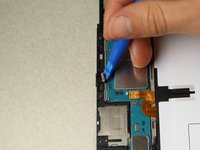
Detach the connecter from the inside of the device.
-
Lift the screen to separate the front panel assembly from the rest of the device.
-
-
-
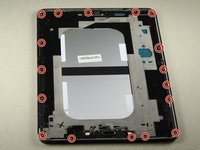
Remove the 17 silver 3.0 mm Phillips head screws located around the edge of the device using the screwdriver.
-
-
-
-
Remove the 2 centrally-located black 3.0 mm Phillips head screws using the screwdriver.
-
-
-
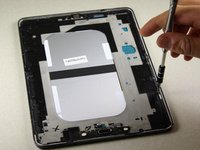
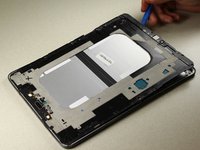
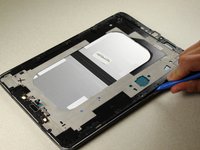
Use the plastic opening tools to gently separate the middle panel from the rest of the device.
-
Move the tool around under the edges until you can remove the panel by hand.
Make sure the SIM trays are removed first. Otherwise the connector comes off the board.
-
-
-
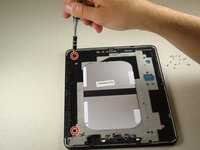
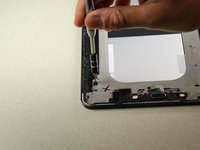
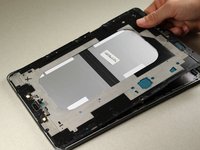
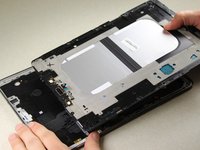
Lift up the central panel starting from one corner to separate it from the rest of the device.
-
Pull towards the top of the device as you lift out to ensure that the charging port connection is not damaged.
-
-
-
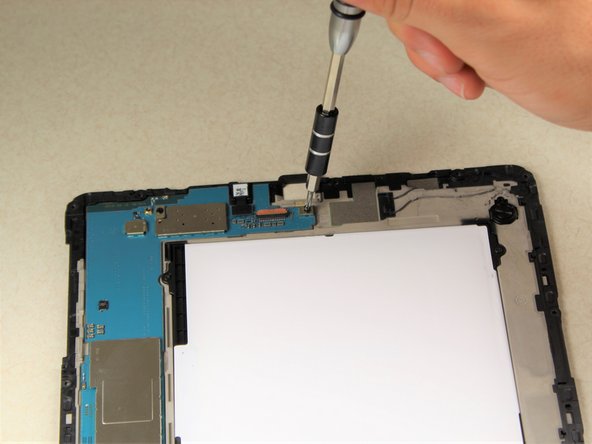
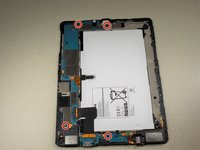
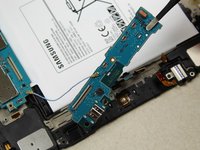
Using the screwdriver, remove the 4 black 3.0 mm Phillips head screws located on the upper and lower motherboard.
-
-
-
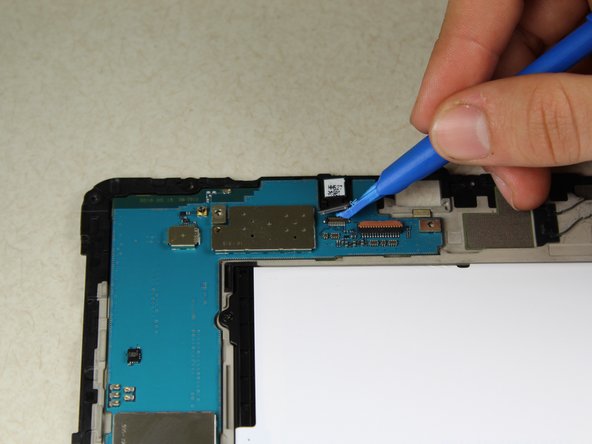
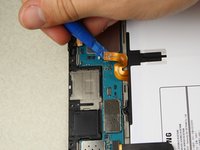
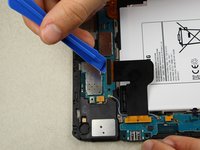
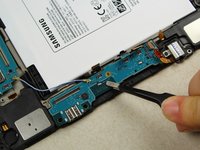
Using the plastic opening tools unlock the 11 connectors that must be undone before the motherboard can be removed.
-
-
-
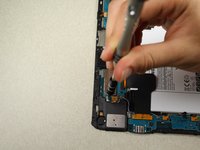
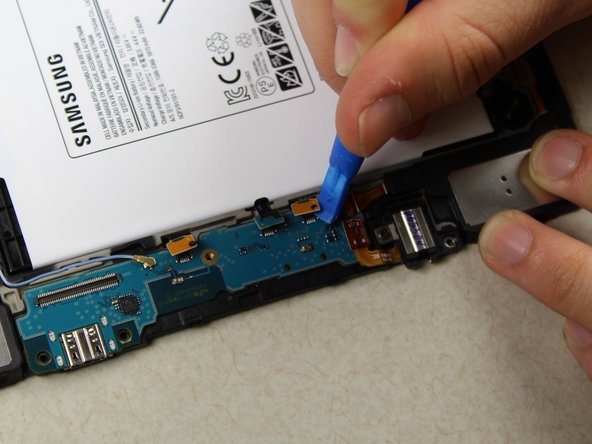
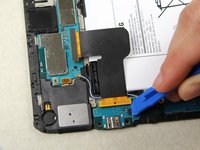
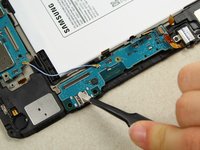
Using the plastic opening tool, continue disconnecting cables on upper motherboard.
-
-
-
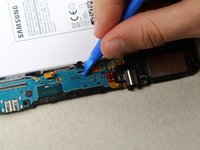
Continue disconnecting along the left side of the device.
-
-
-
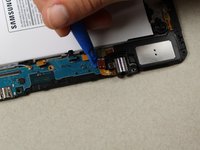
Continue removing cables on the lower motherboard.
-
-
crwdns2935267:0crwdne2935267:0Tweezers$4.99
-
Using tweezers, remove the green plastic film to reach the last cable.
-
-
-
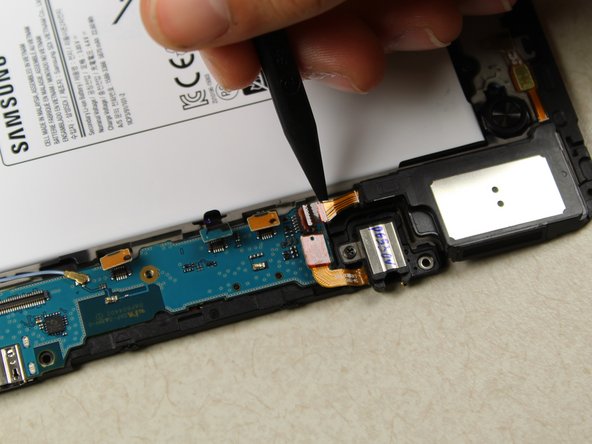
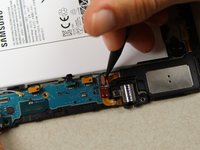
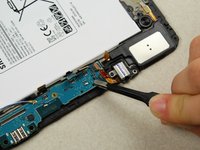
Carefully lift the orange flap using the black spudger. Then disconnect the cable from the motherboard.
-
-
-
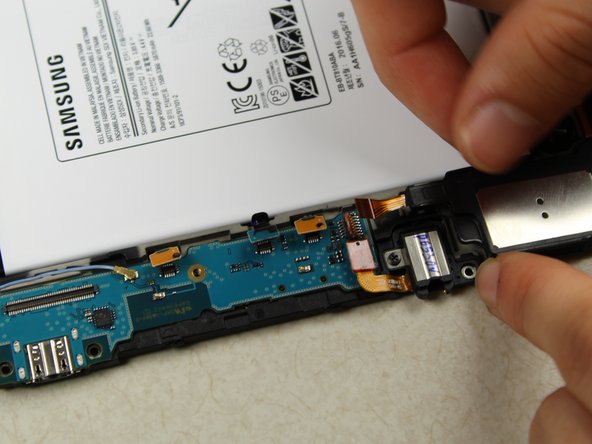
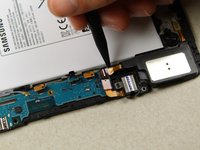
Using the tweezers, gently pull the cable off of the motherboard.
-
-
-
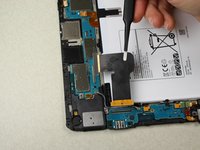
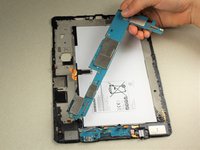
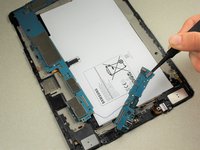
Carefully lift the top portion of the motherboard off of the back panel with your hands.
-
-
-
Using the tweezers, wiggle under the lower motherboard to remove adhesive.
-
Carefully grab the adhesives with the tweezers and lift up.
-
-
-
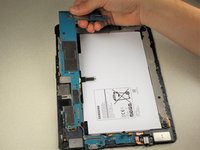
Gently lift up the lower motherboard.
-
-
-
Remove both pieces of the motherboard carefully from the back panel.
-


To reassemble your device, follow these instructions in reverse order.
To reassemble your device, follow these instructions in reverse order.
crwdns2935221:0crwdne2935221:0
crwdns2935229:09crwdne2935229:0

crwdns2915084:0crwdne2915084:0

Cal Poly, Team S16-G5, Livingston Spring 2018 crwdns2935289:0Cal Poly, Team S16-G5, Livingston Spring 2018crwdne2935289:0
CPSU-LIVINGSTON-S18S16G5
crwdns2931471:05crwdne2931471:0
crwdns2935297:012crwdne2935297:0
crwdns2947412:02crwdne2947412:0
cool like it thanks for the help.
Very understandable, thank you very much! From the Philippines!
Do not remove the screen if you’re replacing the battery, much easier to heat up and pry off the back. Plus no chance of damaging your screen.
Joseph Watson - crwdns2934203:0crwdne2934203:0