crwdns2915892:0crwdne2915892:0
The SIM card tray on your Samsung Galaxy Tab A9 Plus (Models SM-X210, SM-X16B, SM-X215) holds your cellular provider's SIM card. This small tray enables your tablet to connect to mobile data networks and make calls when you're away from Wi-Fi. If this tray is damaged, bent, lost, or simply missing, your tablet won't be able to access crucial cellular services.
In this guide, we will walk you through the relatively simple steps to access and replace the SIM card tray in your Galaxy Tab A9 Plus and reconnect your device to cellular networks. While replacing the tray is straightforward, accessing it requires opening the tablet. You will need a heat gun for this, as the adhesive used to seal the device is quite strong and doesn't loosen sufficiently with tools like iOpeners alone. This process should be straightforward and suitable for users with little to no prior repair experience.
If your tablet cannot detect a SIM card, shows "No Service," or you're having trouble inserting or removing the tray, a damaged or missing tray could be the issue. Replacing the tray is the next step if troubleshooting doesn't resolve the problem.
Opening the device breaks water-resistance seals, requiring a new adhesive to restore. If your screen is cracked, wear safety glasses/gloves and consider taping it to prevent injury. While not the primary focus, be cautious if you encounter a swollen battery during disassembly, handling it carefully as it's a fire hazard. Use anti-static tools to protect components. Be patient, organize parts, use the correct tools, and avoid excessive force when opening or working inside the tablet.
Before you begin the repair, power off and unplug your device completely to prevent electrical hazards. Back up essential data beforehand as a precaution.
Following this guide and taking these precautions, you can successfully replace your Galaxy Tab A9 Plus SIM card tray and return it online.
crwdns2942213:0crwdne2942213:0
-
-
Power the device off by holding the power button for 10-15 seconds.
-
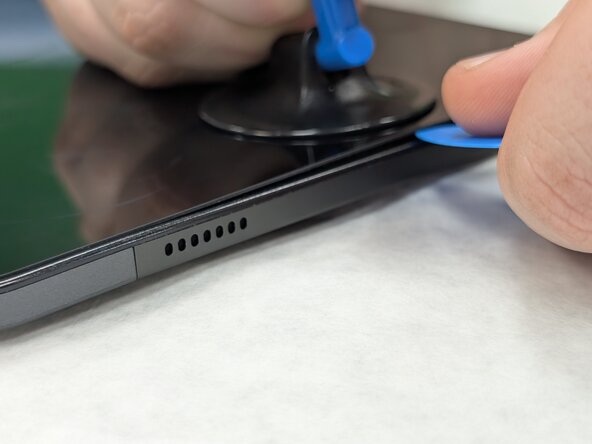
Use the heat gun to evenly heat the edge of the device and loosen the adhesive securing the screen to the tablet.
-
Use the suction tool to separate the screen from the case, and insert an opening pick to help keep the screen edge separated from the rest of the device.
-
Slide a second pick around the edge to cut through the remaining glue of the screen.
-
Continue placing plastic opening picks in the gaps about every inch or so intill the screen fully separates.
-
-
-
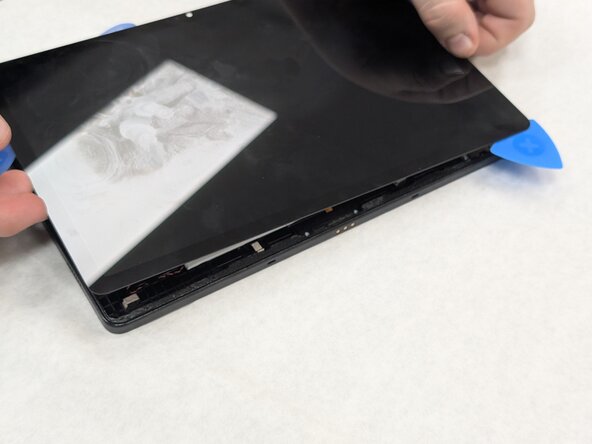
Gently lift the screen towards the top of the device (the side with the front camera), being careful not to damage the orange flex cable.
-
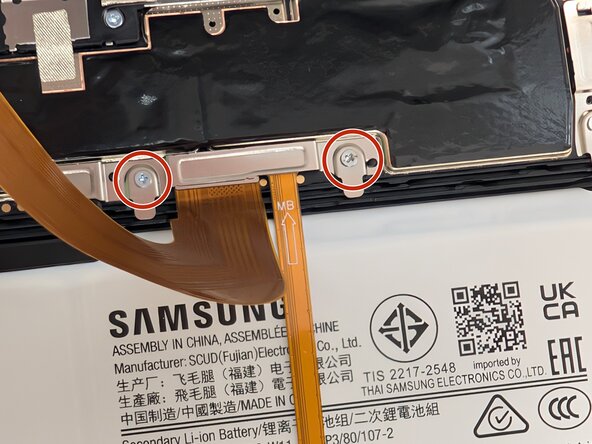
Use a JIS #00 screwdriver to remove two 2.4 mm screws securing the metal bracket.
-
Remove the metal bracket covering the connector and place it to the side to use for reassembly.
-
-
-
-
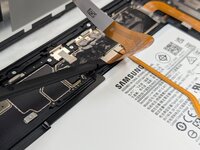
Carefully slide a spudger or opening pick under the glued-down cable to separate its adhesive and disconnect the cable.
-
Remove the display screen from the tablet.
-
-
-
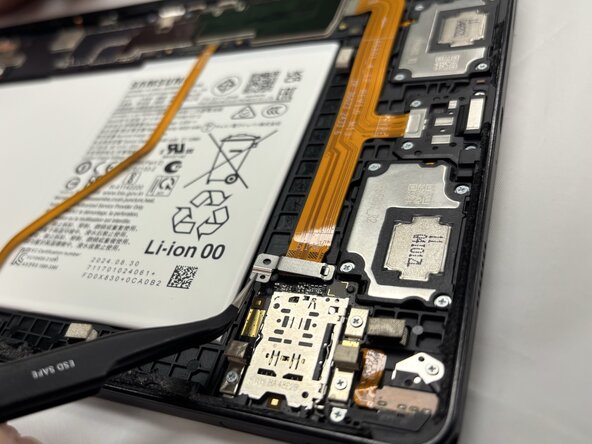
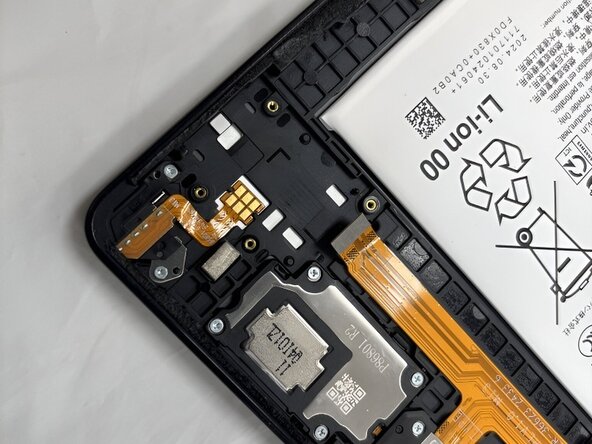
Insert the SIM tool into the small hole on the side of the case until the tray pops out. Then remove the tray and set it aside.
-
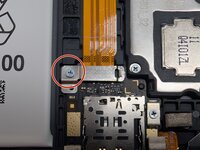
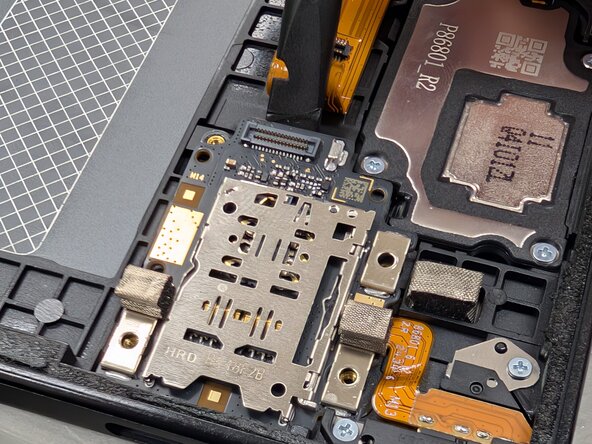
Use a JIS #00 to remove the single 2.3 mm screw that holds the metal bracket in place.
-
Remove the metal bracket that covers the press connector and set aside with its screw.
-
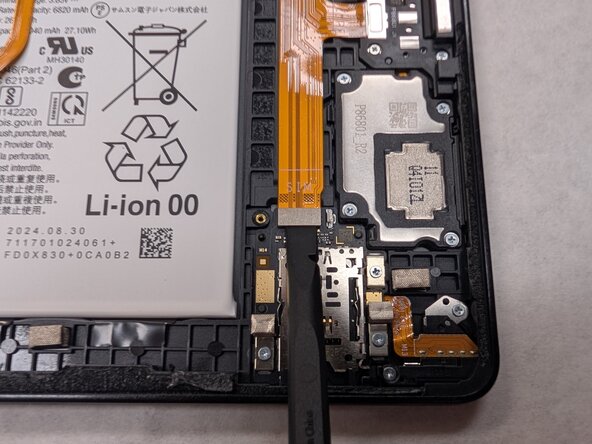
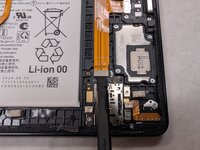
Place a spudger or an opening tool under the connector's edge and pry straight up to disconnect it.
-
-
-
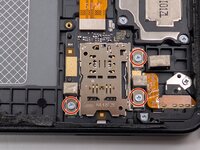
Unscrew the three JIS #00 screws found around the edges of the SIM Tray.
-
Gently wedge the spudger underneath the SIM port to get leverage to remove it more easily.
-
Remove the SIM port from the device, ensuring that no debris or dust remains where it was previously located.
-


To reassemble your device, follow these instructions in reverse order. Take your e-waste to an R2 or e-Stewards certified recycler.
To reassemble your device, follow these instructions in reverse order. Take your e-waste to an R2 or e-Stewards certified recycler.

crwdns2915084:0crwdne2915084:0

University of North Texas, Team 1-6, Kilpatrick Spring 2025 crwdns2935289:0University of North Texas, Team 1-6, Kilpatrick Spring 2025crwdne2935289:0
UNT-KILPATRICK-S25S1G6
crwdns2931471:03crwdne2931471:0
crwdns2935297:010crwdne2935297:0