crwdns2915892:0crwdne2915892:0
If your screen is cracked, pixelated, or won’t turn on whatsoever, use this guide to replace the screen. This guide can also be used as a prerequisite to other replacement guides.
Before starting the process, make sure that you troubleshoot your display to write off any other possible solutions and possibly remove the need for replacement. Check out this page for more details on how to troubleshoot the display: Samsung Galaxy Tab A8 Screen Is Blank Or Unresponsive
The screen may become unresponsive due to slow processing or the battery running out of power. The screen is simply a place for the computer inside to output information, and can be affected by many different device components. If it seems that the device isn’t charging properly, check out this guide for battery replacement: [insert link here]
The screen could also degrade over time, and most of the issues associated are due to dirt, grime and other contaminants dirtying the screen. Be sure to clean the device before any attempt to replace the display to prevent additional problems arising.
Below are some video and step-by-step instructions for replacing the screen, with images for visual aid if the video fails to load.
crwdns2942213:0crwdne2942213:0
crwdns2936621:0crwdne2936621:0
-
-
Fully power off the device.
-
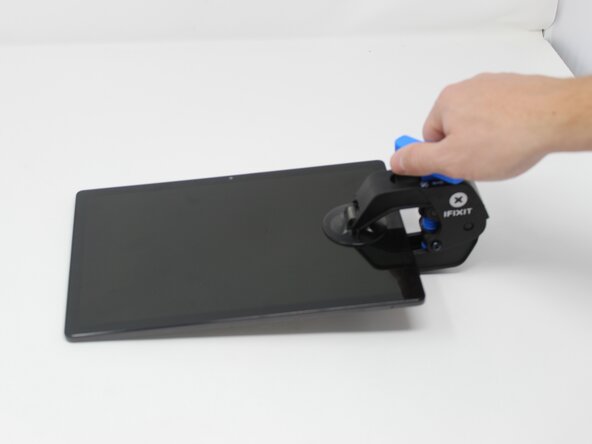
Apply anti-clamp or other suction device to apply constant upward force on the screen.
-
Orient the screen so it is face-up.
-
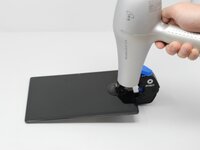
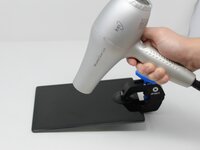
Heat the screen to soften the adhesive with a heat gun or blow dryer. Be sure to heat all sides as evenly as possible.
-
-
-
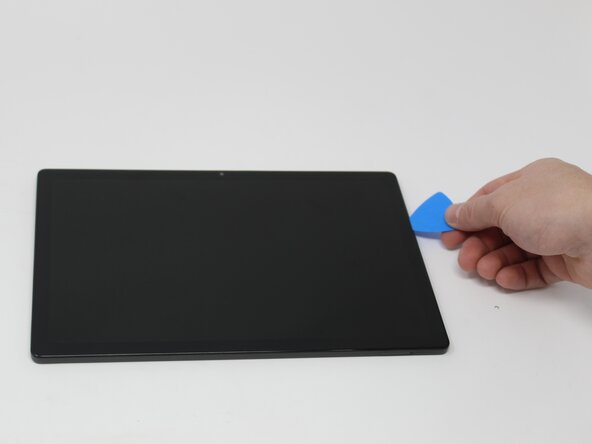
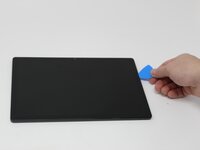
Use plastic Opening Picks, or a Jimmy if necessary, to remove the adhesive and get under the screen.
-
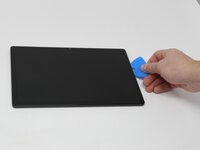
Using the plastic Opening Picks, move around the screen slowly, one corner at a time. Every few inches, leave an additional Opening Pick behind where you are working to hold the screen open while continuing to remove the adhesive.
-
-
-
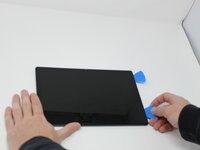
Continue to pry the screen off with the Opening Picks, using additional tools if more leverage is required.
-
If the device cools and the adhesive solidifies, reheat the device where necessary to soften the remaining adhesive.
-
-
-
Attach the JIS J000 Phillips screwhead to the screwdriver.
-
Remove the 1.8mm screw holding the clamp that holds the screen ribbon in place.
-
Carefully disconnect the ribbon wire from the main body of the device, and remove the screen.
-
Insert the new screen by connecting the ribbon to the board.
-


To reassemble your device, follow these instructions in reverse order.
To reassemble your device, follow these instructions in reverse order.
crwdns2935221:0crwdne2935221:0
crwdns2935229:03crwdne2935229:0
crwdns2947410:01crwdne2947410:0
Great video, I have a samsung 5se with a screen starting to lift and thinking about attempting to repair. It works perfectly just starting to see glue in places. I am curious as to the type of adhesive you used on this repair and if it can be purchased on this site?