crwdns2915892:0crwdne2915892:0
Prerequisite-only guide to remove the motherboard cover on your Samsung Galaxy S9+.
crwdns2942213:0crwdne2942213:0
-
-
Switch off your phone.
-
Use an iOpener to loosen the adhesive beneath the rear glass. Apply the iOpener for at least two minutes. You might want to repeat this step several times during the back cover removal.
-
-
-
In the following steps, you'll be cutting through the adhesive securing the back cover.
-
You'll be slicing through the adhesive in the areas shown:
-
Thick portions of adhesive
-
Thin areas of adhesive
-
Avoid prying or slicing in this area, to protect the fingerprint sensor flex cable.
-
-
-
Press a suction cup onto the back cover.
-
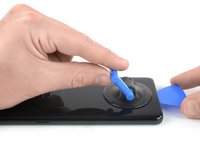
Lift the back cover's bottom edge with your suction cup, opening a slight gap between the back cover and the frame.
-
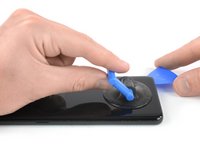
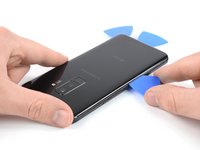
Insert an opening pick in the gap and slide it to the bottom right corner.
-
-
-
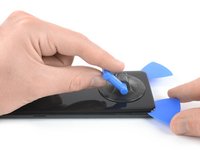
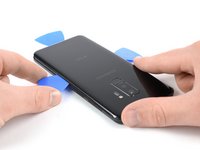
Insert a second opening pick and slide it to the bottom left corner.
-
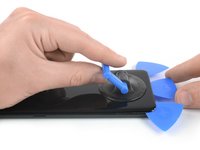
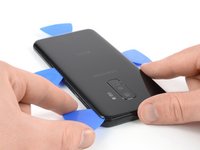
Insert a third opening pick at the bottom end of the phone. This opening pick stays there during the rear glass removal procedure to prevent the adhesive from resealing.
-
-
-
Start to slide the tip of the opening pick from the bottom left corner along the side of the S9 Plus.
-
Leave the opening pick in its place after you cut the adhesive half way up the left side of the phone.
-
Slide the opening pick from the bottom right corner half way up the frame and leave it there.
-
-
-
-
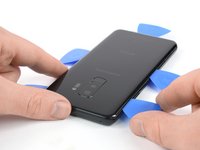
Insert a fourth opening pick at the right side of the frame and slide it to the top right corner.
-
Slide a fifth opening pick along the left side of the phone to the top left corner.
-
Use the opening pick to cut the remaining adhesive under the upper part of the rear glass.
-
-
-
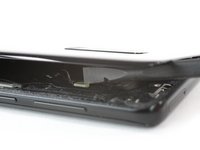
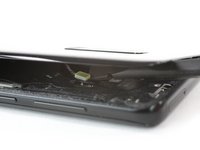
Carefully lift the side of the rear glass where the volume button is located.
-
Use the edge of a spudger to pry up and disconnect the fingerprint sensor flex cable.
-
-
-
Remove the nine 4 mm Phillips #00 screws.
-
-
-
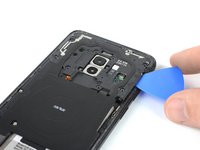
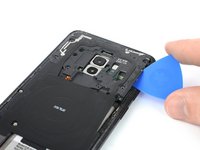
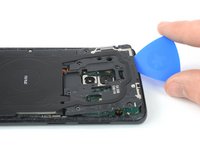
Insert an opening pick under the right side of the plastic cover containing the NFC antenna and charging coil.
-
Flip the opening pick sideways to lift the cover out of its plastic clips.
-
Work your way around the plastic cover, prying up to release the remaining clips.
-
-
-
Remove the plastic cover containing the NFC antenna and the charging coil.
-
-
-
Use the flat end of a spudger to pry up and disconnect the battery flex cable.
-
-
-
Remove the two 4 mm Phillips #00 screws.
-
-
-
Remove the plastic cover from the motherboard.
-
To reassemble your device, follow these instructions in reverse order.
To reassemble your device, follow these instructions in reverse order.


