crwdns2915892:0crwdne2915892:0
Trying to replace the screen, incl. digitizer.
It is based on
and
Actually you need only to remove the battery but I removed the motherboard etc. for safety reasons.
crwdns2942213:0crwdne2942213:0
-
crwdns2935267:0crwdne2935267:0Spudger$2.99
-
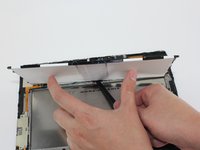
Using the nylon spudger or plastic opening tool along the edges of the screen, separate the back case off of the device.
-
-
-
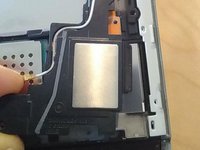
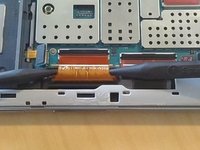
Place your finger on the thin black bar at the end of the ribbon tape and flip each one up.
-
Gently pull the ribbon tape on the battery away from the bar. Repeat this process for the second ribbon tape.
I would recommend disconnecting the battery at this stage in the process, as the connector can be lifted without disconnecting the cables. It’s generally best practice to disconnect the battery before disconnecting any other cables.
After disconnecting old battery, press and hold the on/off switch for about 20 seconds before connecting- new battery. This will reset the charging system in the tablet and allow your new battery charge properly .
-
-
crwdns2935267:0crwdne2935267:0Phillips #000 Screwdriver$5.49
-
Remove the six 3mm screws around the battery with the Phillips PH000 screwdriver.
This step seems unnecessary, as the battery connector can be disconnected without lifting the battery. If you struggle to lift the connector, you could follow this step to get better leverage.
-
-
crwdns2935267:0crwdne2935267:0Spudger$2.99
-
Lift up the battery from the bottom and situate the black nylon spudger underneath the battery.
-
Use the black nylon spudger to disconnect the multi-colored wires from the rest of the device.
-
-
-
Remove the three 3mm screws on the top right side of the device with the Phillips PH000 screw head.
-
Remove the one 3mm screw on the top left side of the device with the same method.
-
-
-
-
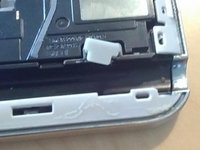
Remove the gray rubber piece.
-
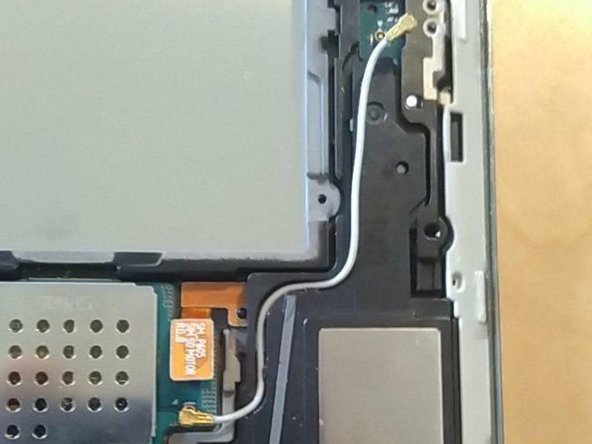
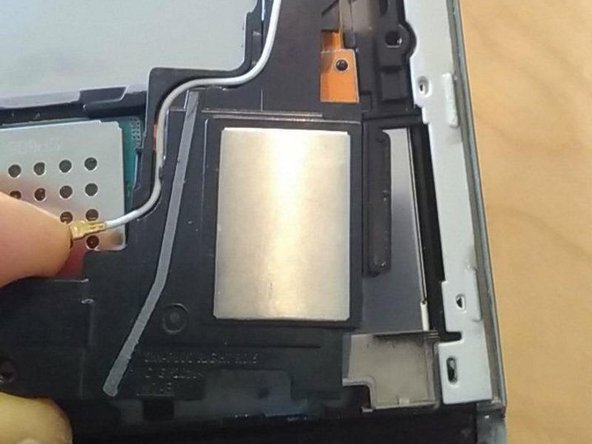
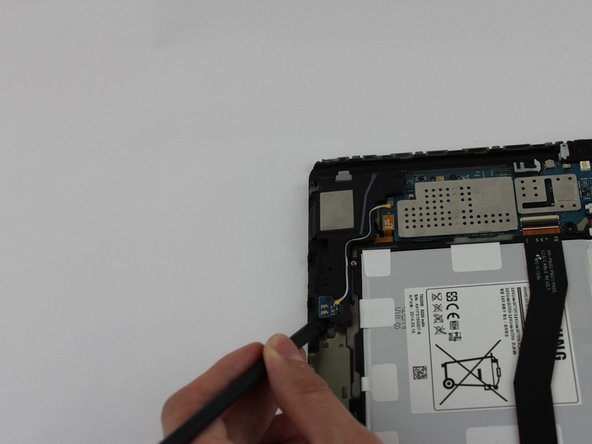
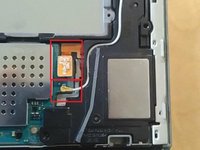
Use a spudger or fingernail to disconnect the blue antenna cable from the motherboard.
-
Remove the right speaker unit.
-
-
-
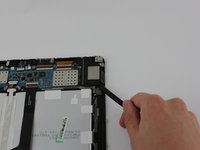
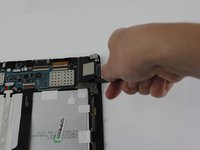
Remove the loudspeaker modules located on the parts where the screws were removed by using the black nylon spudger.
-
-
-
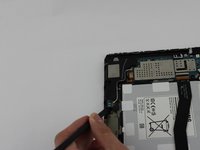
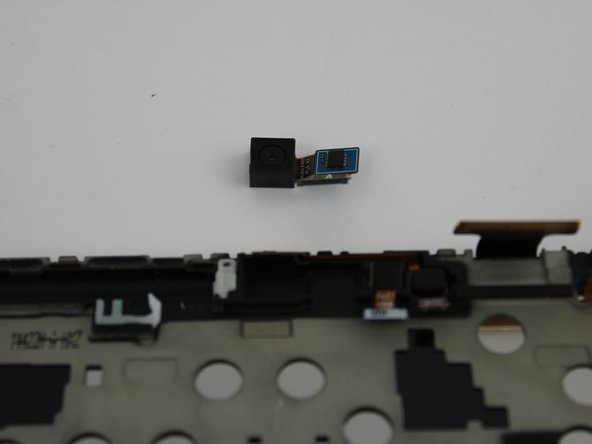
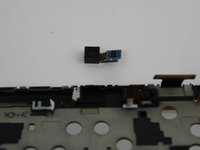
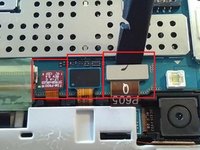
Disconnect the camera piece from the motherboard.
-
-
-
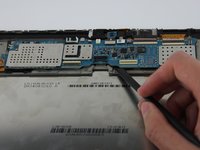
Disconnect all cables on the motherboard.
-
-
-
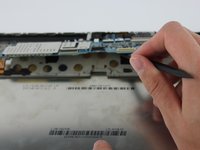
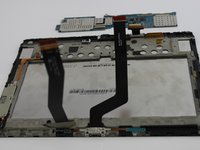
Use the black nylon spudger to gently lift the motherboard away from the frame.
-
Remove the motherboard.
Hola. Muy bien tu blog.
No encuentro la barrita delgada negra se me ha roto. Como hago
Hola. Muy bien tu blog.
No encuentro la barrita delgada negra se me ha roto. Como hago
-
-
-
remove middle frame by pulling it off
-
-
-
rub of the glue with the fingers
-
remove residues with makeup remover or similar
Urgent question. My digitizer broke. When I wanted to replace it the fixers in my country said it cannot be replaced alone. The whole lcd should be bought with a difitizet. I found all websites sell them separated. So if my lcd is fine why should I change the whole thing?
If you have the right tools you can do it, but only then. I tried it once and broke the LCD.
Watch the linked youtube clip, listed in the introduction of this tutorial
-


To reassemble your device, follow these instructions in reverse order.
To reassemble your device, follow these instructions in reverse order.
crwdns2935221:0crwdne2935221:0
crwdns2935229:09crwdne2935229:0
crwdns2947412:04crwdne2947412:0
is the digitizer glued to the lcd screen?
it is see referenced YouTube video
The e battery and screen cable clasps that hold tge cables in….. Where do i get them repaired
Hi can somebody help me
Remove stylus before you remove. There’s a nubbin on the main board that may dislodge it stylus is in place. it is easily reinserted, but easy hassle to avoid.
Matt - crwdns2934203:0crwdne2934203:0
It’s worth mentioning that there is a part of the device casing, accessible from the back, that can be removed but has very fragile retaining clips. Although the picture does show that the prying tool is lifting the screen, it is hard to see. You will not be able to access the charge port by removing a portion of the casing. You must remove the case from the screen side.
Eden Mugg - crwdns2934203:0crwdne2934203:0
Be careful!!!
the first picture of this first step and the instructions are misleading. What you need to remove is the back cover of the tablet. Use the opening tool along the edges of the back cover, NOT on the screen as the picture and the instructions say.
rene carmona - crwdns2934203:0crwdne2934203:0
Its not misleading. You need to remove from the front as removing from the back you will tear the grey clipping from the glued back piece. You will not be able to replace the charge port from removing just the back either as you should be doing both.
Bradley Carr -
I agree this first step should be revised and include a warning.
My battery was swollen and the screen was separating from the case (big gap along edge).
Purchased new battery. Have spudger. Have done phone battery replacements before without issue.
I tried to do the separation but apparently was between the screen assembly and the back electronics rather than separating the entire electronics from the back casing.
The screen glass “exploded”…I’ll be finding glass particles in my office for the next few years I think. In addition, not realizing why things weren’t working I figured I would have to replace the screen anyway and continued on only to discover that a bunch of ribbon cables were destroyed during separation.
Given this process is listed as “EASY” there really should be some clear warnings about making sure the spudger doesn’t end up between the screen assembly and back electonics but rather ends up between the back case. The angle of the spudger in the photo doesn’t make this obvious.
What a waste.
mattp - crwdns2934203:0crwdne2934203:0