crwdns2915892:0crwdne2915892:0
Use this guide to replace the dead or worn-out battery in your Galaxy Buds+ case (model number SM-R175). If your Samsung Galaxy Buds+ charging case is no longer holding a charge effectively, it may be time to replace the battery.
A functional battery provides power to your earbuds. Over time, the battery's capacity diminishes, affecting how long your earbuds stay charged. Replacing the battery in your charging case will restore reliable charging performance.
This guide will walk you through each step to replace the battery in the Samsung Galaxy Buds+ charging case. Before you start, be sure to have all of the necessary tools and a compatible replacement battery.
Express caution when opening the case, as it contains small and delicate components. Make sure to discharge the battery to at least 25% to reduce the risk of a fire if the battery is punctured. If your battery is swollen, take appropriate precautions.
After completing the repair, you may want to calibrate your battery to ensure the best performance.
crwdns2942213:0crwdne2942213:0
-
-
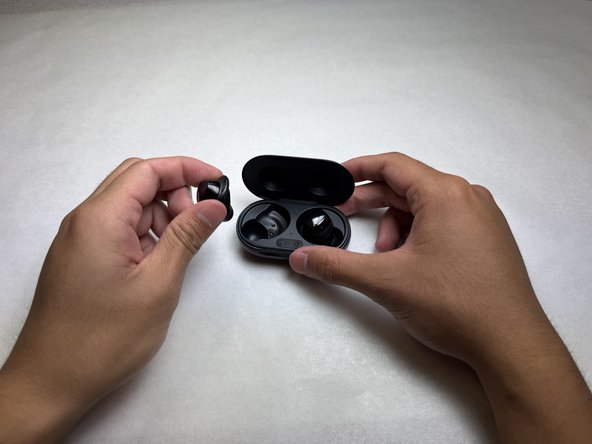
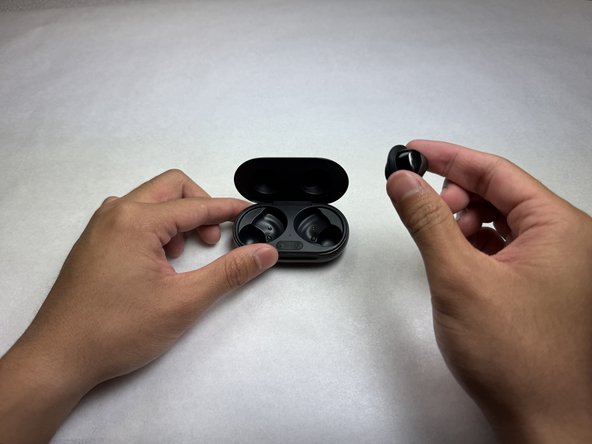
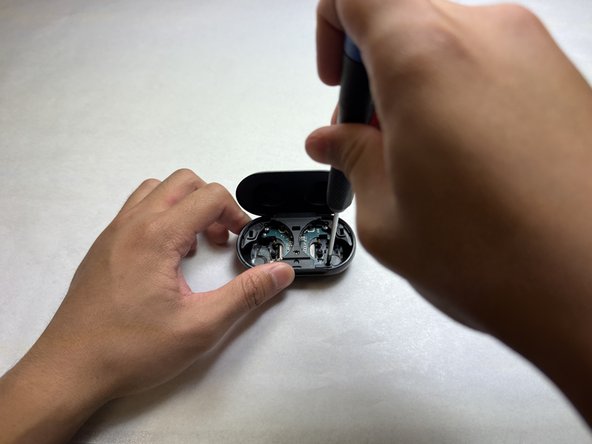
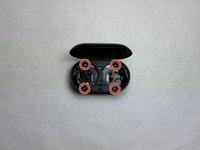
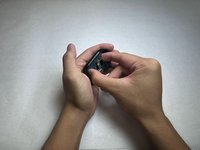
Open the case and remove both of the earbuds.
-
-
-
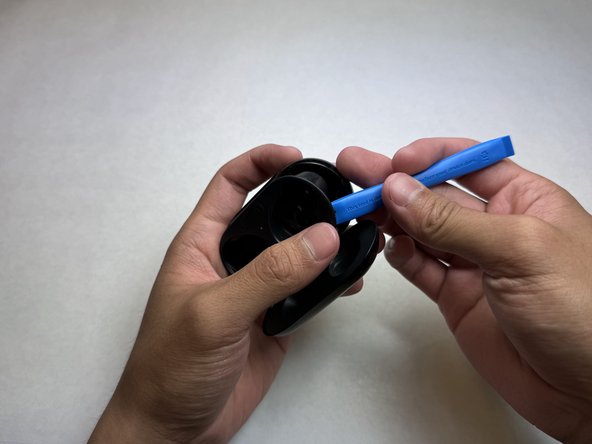
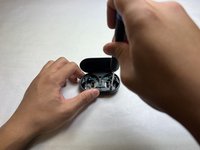
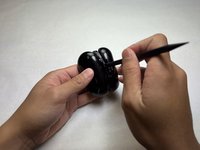
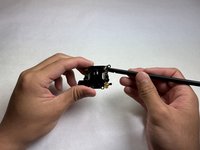
Insert an opening tool between the interior plastic cover and the exterior case.
-
Once inserted, pry up to begin separating the interior cover from the exterior case.
-
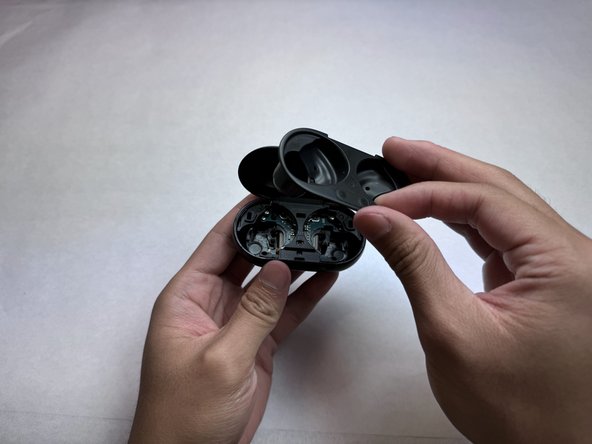
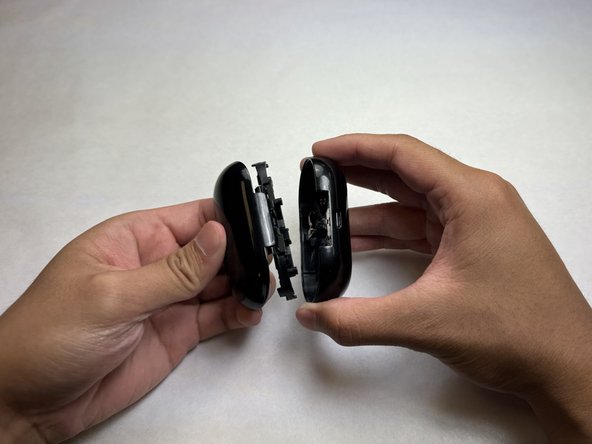
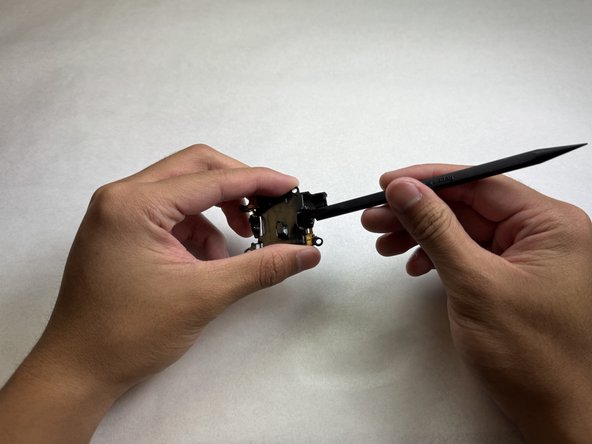
Move the opening tool around the edge until all of the clips holding the interior cover in place are released.
-
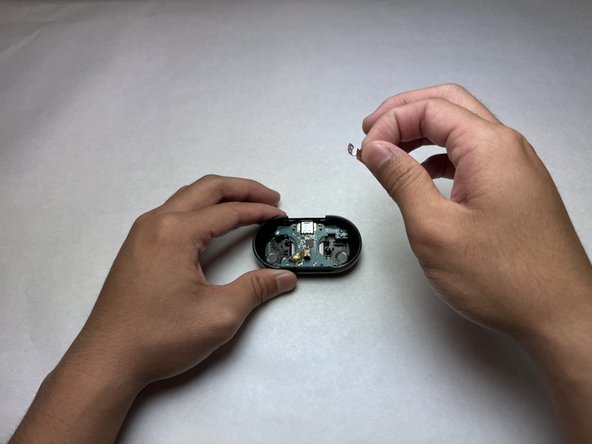
Remove and place the interior cover to the side.
-
-
-
Use a Phillips #000 screwdriver to remove the four screws holding the case's lid and hinge.
-
-
-
Flip the case over to the back.
-
Use a nylon spudger to pry and pop out the hinge from the body of the case.
-
-
-
-
Use a Phillips #000 screwdriver to remove the two screws on either side of the USB-C port.
-
Remove the metal shielding from the USB-C port.
-
Remove the final Phillips #000 screw securing the motherboard and battery to the case.
-
-
-
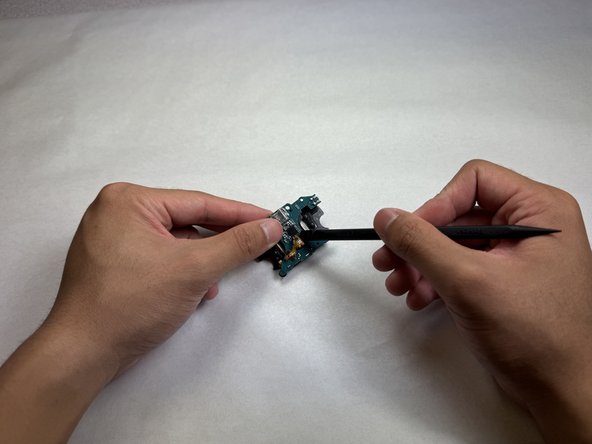
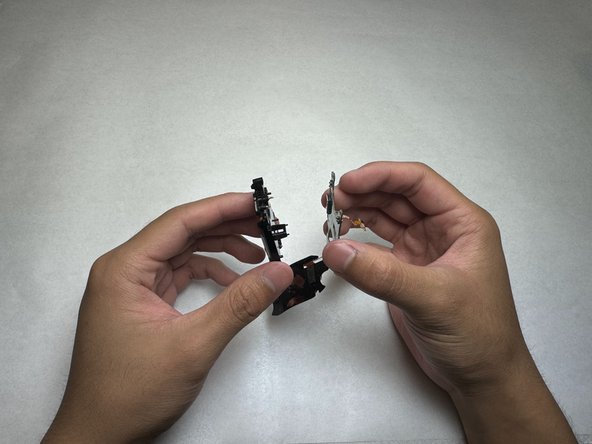
Firmly hold the case in one hand and pull out the motherboard and battery from the case using two fingers.
-
-
-
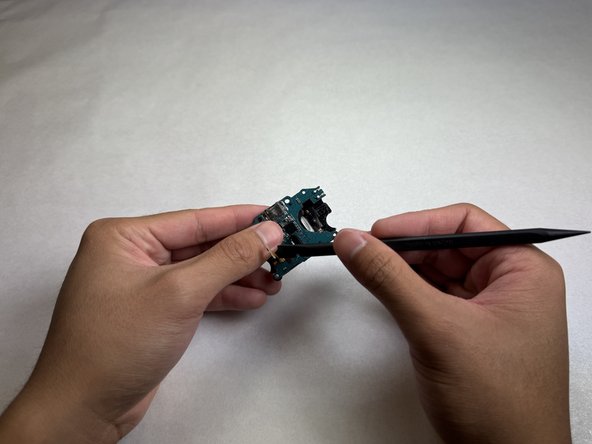
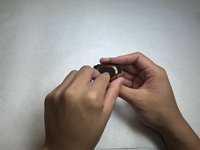
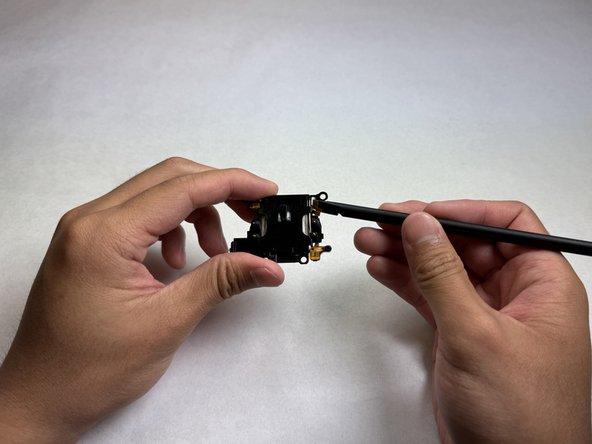
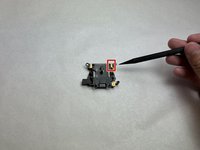
Identify the LED indicator and gently detach it from the plastic housing of the motherboard using the spudger.
-
-
-
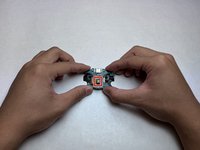
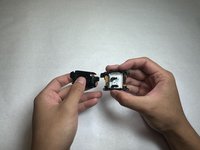
Flip the board over and peel off the wireless charging coil.
-
-
-
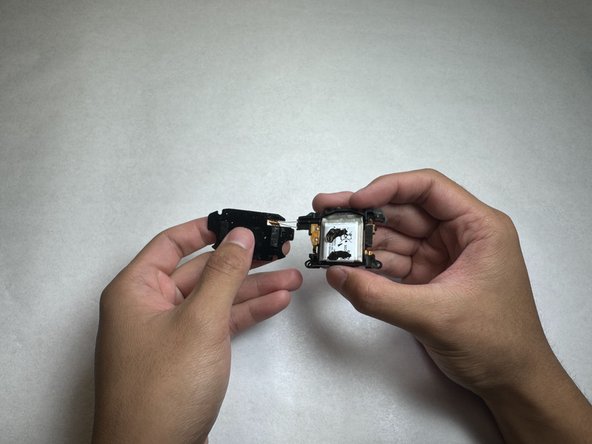
Separate the motherboard from the battery and plastic housing.
-
-
-
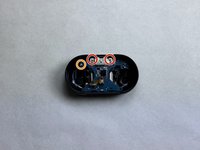
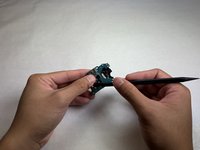
Identify the positive and negative terminal pads that are connected to the battery.
-
Use the spudger to detach the pads from the plastic housing.
-
-
-
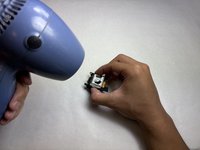
Use a heat gun or hair dryer on medium to low heat to soften the battery adhesive for 20-30 seconds.
-
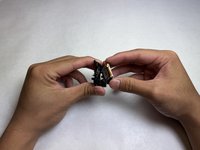
Insert the spudger between the battery and the plastic housing and gently pry up until the battery is free.
-
-
-
Remove the battery from the plastic housing.
-


To reassemble your device, follow the above steps in reverse order.
For optimal performance, after completing this guide, calibrate your newly installed battery.
Take your e-waste to an R2 or e-Stewards certified recycler.
To reassemble your device, follow the above steps in reverse order.
For optimal performance, after completing this guide, calibrate your newly installed battery.
Take your e-waste to an R2 or e-Stewards certified recycler.
crwdns2935221:0crwdne2935221:0
crwdns2935229:03crwdne2935229:0
crwdns2915084:0crwdne2915084:0

UC Davis, Team 1-5, Morris Fall 2024 crwdns2935289:0UC Davis, Team 1-5, Morris Fall 2024crwdne2935289:0
UCD-MORRIS-F24S1G5
crwdns2931471:03crwdne2931471:0
crwdns2935303:01crwdne2935303:0
crwdns2947412:04crwdne2947412:0
This is an excelent guide. Followed it to the T and I would say there's nothing else to add. Thank you for it!
How to fine samsung galaxy airduds lpus case battery
Hey there! Here is an Amazon link where you can order the battery along with some tools too: https://a.co/d/8NPdu7n
Superb guide. Followed it step by step to disassemble and reassemble, was a breeze. Need to take note of the small pair of square and trapezoid magnets position before putting all parts back. Battery replacement price is around RM26.90 a piece in Malaysia (Shopee discounted price)