crwdns2915892:0crwdne2915892:0
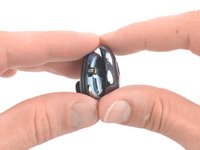
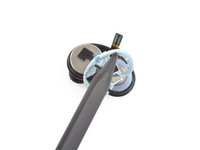
Use this guide to replace a worn-out or dead battery in your Galaxy Buds Live. The photos for this guide were taken with the left earbud, but the procedure is the same for both buds.
Galaxy Buds Live are rated IPX2 for ingress-resistance, meaning they are splash resistant. After this repair, they may lose their water protection.
crwdns2942213:0crwdne2942213:0
-
-
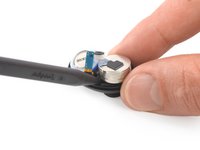
Place the tip of an opening pick between the plastic cases on the curved inside of the earbud.
-
Insert the pick at a steep angle.
-
-
-
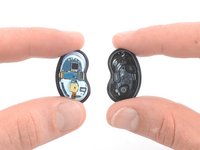
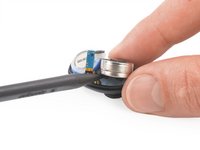
Keep the opening pick at a steep angle and slide it along the top to loosen the case.
-
-
-
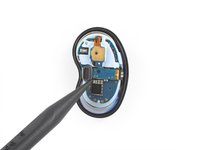
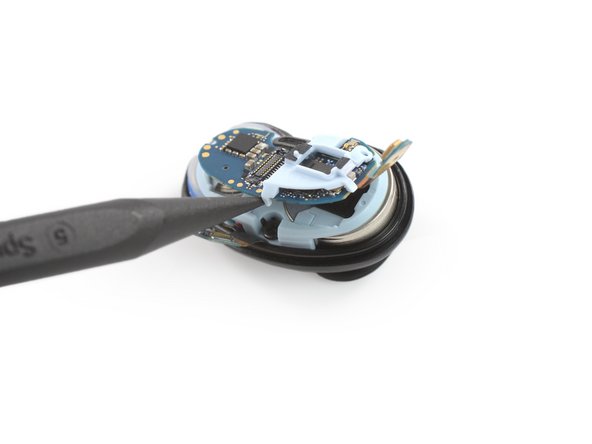
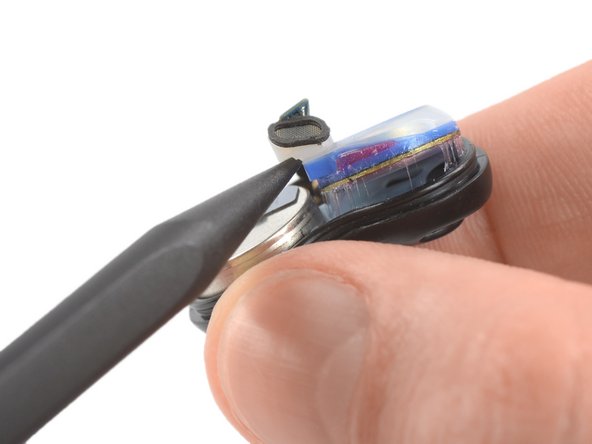
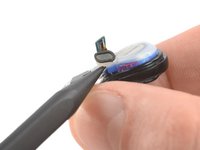
Use the pointed end of a spudger to lift up and disconnect the main connector.
-
-
-
-
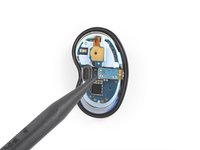
Use a spudger to gently lift up the motherboard.
-
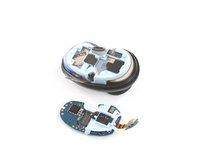
Remove the motherboard.
-
-
-
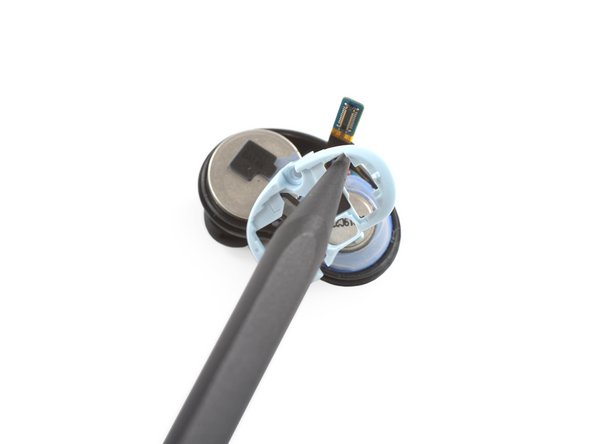
Use a Phillips screwdriver to remove the 3.4 mm-long screw which is securing the plastic frame.
-
-
-
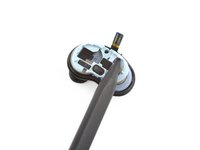
Use a spudger or your fingers to remove the plastic frame by pulling it upwards.
-
-
-
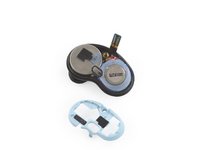
Use the pointed end of a spudger to slightly lift up the speaker driver obscuring the battery.
-
-
-
Insert the pointed end of a spudger underneath the battery.
-
Use constant, steady pressure to pry the battery up.
-
-
-
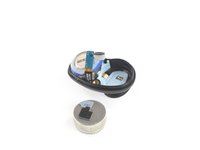
Remove the battery.
-


To reassemble your device, follow these instructions in reverse order.
For optimal performance, calibrate your newly installed battery: Charge it to 100% and keep charging it for at least 2 more hours. Then use your device until it shuts off due to low battery. Finally, charge it uninterrupted to 100%.
Take your e-waste to an R2 or e-Stewards certified recycler.
Repair didn’t go as planned? Try some basic troubleshooting, or ask our Answers community for help.
crwdns2935221:0crwdne2935221:0
crwdns2935229:015crwdne2935229:0


crwdns2947412:04crwdne2947412:0
Thanks!!! This works great to clean the felt earwax filter underneath the metal grate as well!
Graxias. Podrías indicarme la referencia de la bateria?
Thanks for the guidance.
It was easy to open the bud and to take it apart.
Just notice that there's no marking for + or - anywhere, to know on what side to put the battery. and the new one that I've got was wider then the plastic circle on the original battery.
I have a question. I can see that there is a battery contact point under the battery but that should be one of the terminals, right? Where is the contact for the other terminal? Is it part of the motherboard that sits on top of the battery?